
Santa Claus has the right idea! Visit this wonderful Croquembouche, but only once a year.
This decadent french deliciousness means ‘crunch in the mouth’ and it’s loaded with a rich pastry cream topped with a caramel drizzle! I’m not gonna lie – this dessert is for the serious sugar engineers out there and can be quite time consuming. If you break it down step-by-step, it makes it easier to accomplish (big breath!). The puffs and pastry cream can be made ahead of time, but the assembly of the croquembouche should be done as close to serving time as possible.
Ok sugar pros, let’s get ready to build! I promise the results are dreamy, sparkly, and decadent. Personally, I making this dessert. Unfortunately I’m always a bit overambitious thinking it will take less time than it actually does! But, here are a few tips for saving time.

Plan Ahead! There are four essential pieces to create the core of the croquembouche and two of them you can make ahead of time.
- Make Ahead: Puff Pastry Dough (freeze if you like then thaw or keep in an airtight container up to 3 days)
- Make Ahead: Pastry Cream (make up to 3 days beforehand)
- Day of: Filling & Dipping
- Day of: Assembly
Step 1: Let the workout begin…! The pâte à choux (dough) gets prepared stovetop and then moved to the KitchenAid for its final mixing. I am a petite (nice way of saying vertically challenged) mom, so I always stand up on a chair behind the stove when I’m at the point of stirring the pâte à choux. If you were to watch me, you’d see arms flailing about as I’m stirring the dough, hips moving like Shakira and my glasses steaming up from the hot dough as if I’m getting a steam facial. I mix longer than what most recipes ask for to get the ‘wet’ out of the dough as best as possible, then I plop it back in the KitchenAid to finish it off.
Once you’re done with preparing your dough, place it in a pastry bag with a 1/2″ wide plain tip. I draw circles on a piece of parchment paper to help me make them all equal in size (trust me, you will thank me later when you get to the assembly part), then pipe the pâte à choux into small mounds.
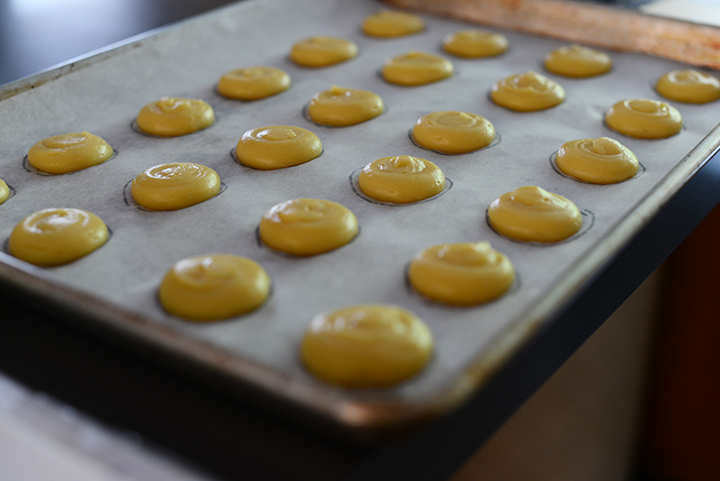

Once I pipe all of the puffs, I dab water on my pinky and gently push down the top of the pâte à choux with my finger to avoid any little curly q’s on the top (this helps them to cook evenly with no brown bits on top).
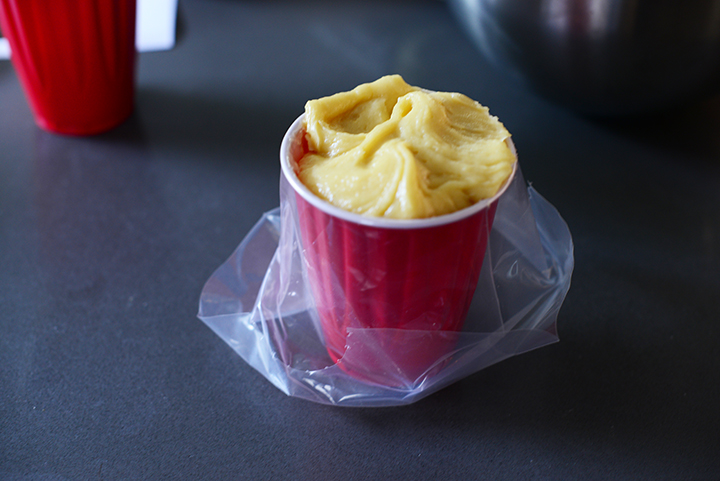
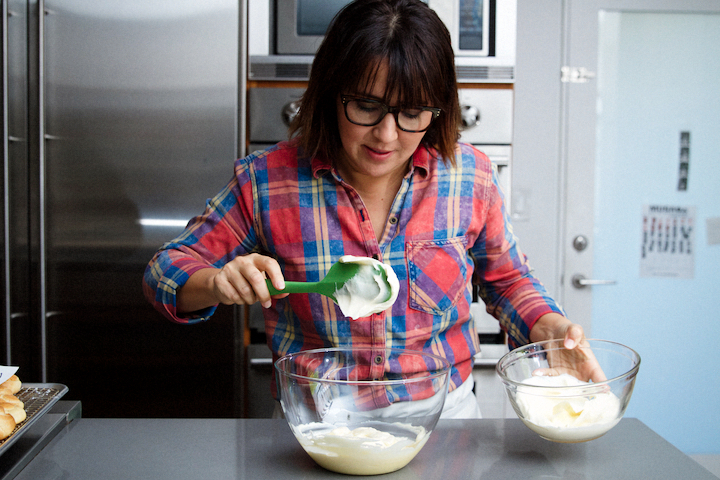
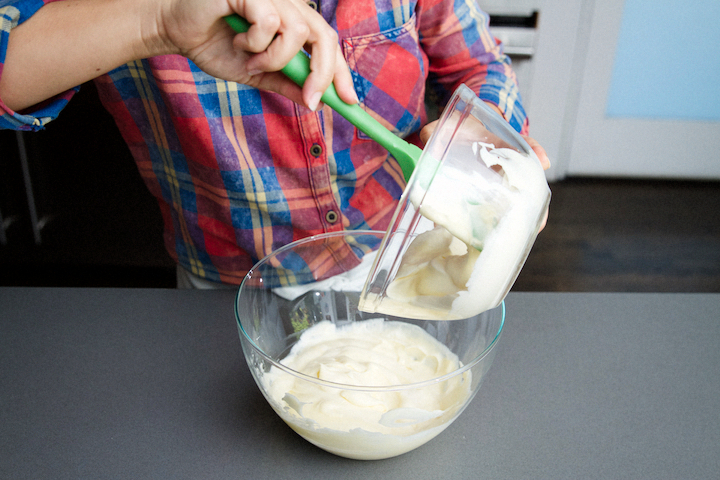
Next is the pastry cream. This is a delicious stovetop cream made up of vanilla bean and butter! Tip: I added whipping cream before I piped it into the puff to make it a bit lighter and fluffier, but you can skip this step if you prefer pastry cream only.
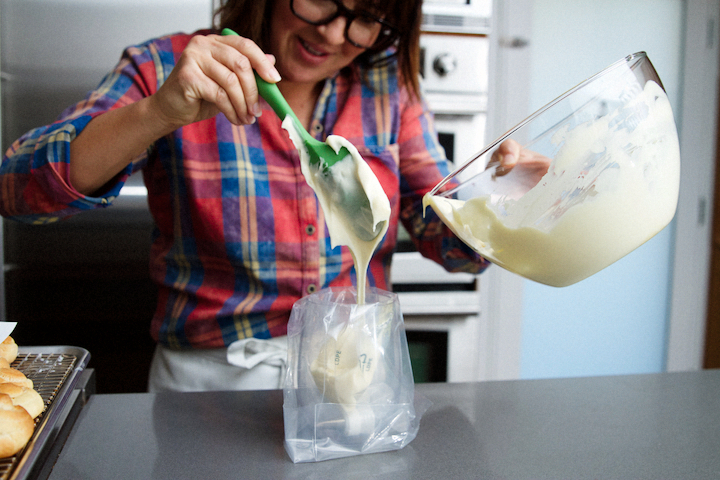
Now, pipe your pastry cream into your puffs in an assembly-line fashion. Next, make the caramel and dip the puffs into the sauce (be sure to use gloves for this part) to get the ‘crunch’ part of this lovely dessert. If you want, you can sprinkle with nonpareils, but you have to work fast. It will look beautiful golden and glossy. But, skip this part if your brow is already sweating!
As a next-level decorating tip, you can alternate your Croquembouche with white covered royal icing, but mind you, this is advanced pastry making! I’ve used an awesome royal icing recipe in other recipes if you want to venture into this more sophisticated decorating world.

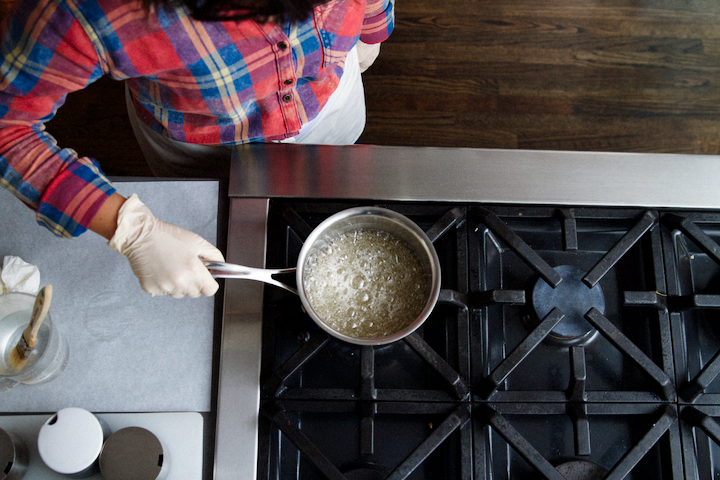
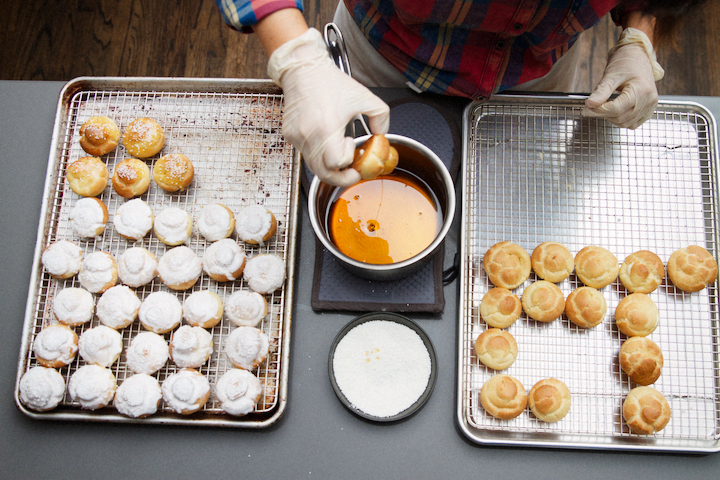

Dipping your puffs. This part involves working with hot caramel. I know, it can be a bit daunting. My advice is to wear rubber gloves to avoid getting burned and also just dip the top section of your puff! Likewise, if you like the white glazed look, royal icing works better than glaze because it dries easily and the coverage looks better.
Assembly: To assemble your croquembouche, start with the bottom layer. I dip the sides, then use caramel to help glue it to the tree (lined by parchment). Or, if it’s easier, try using a knife to wipe the back of the puff with caramel and glue that way. Do what works for you and feels comfortable. The trick is to work fast, as the caramel will start to get hard. I will reheat it once, but after that you are better off making a new batch to complete this croquembouche. I alternated with white and caramel covered puffs for the tree.
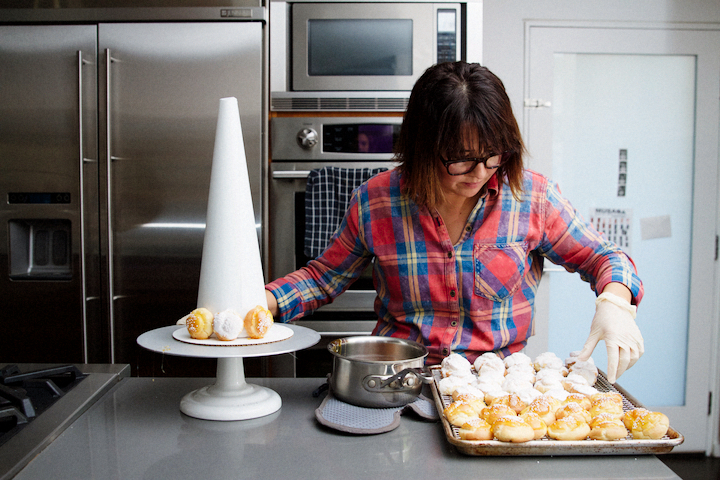
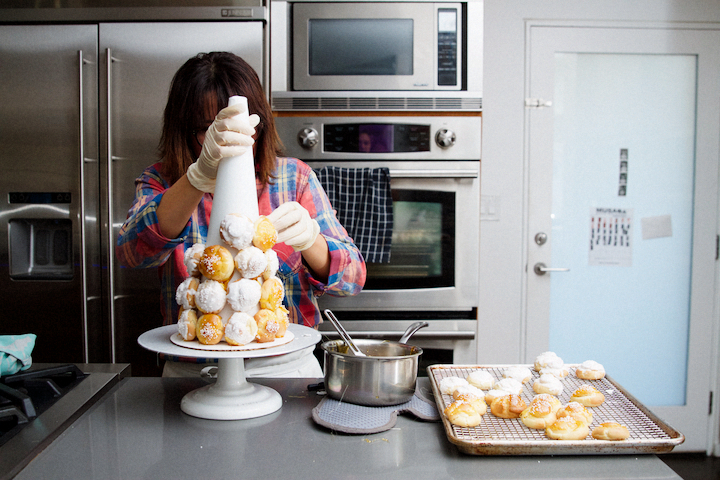

Decorating: Make a fresh batch of caramel for the webbing. There are many ways to do this gorgeous technique. I took my time and applied it with a single fork and a cake stand that turned. My secret trick is I’d dunk the fork, and start twirling the cake stand to wrap the puffs in webs of sugar. YUM!
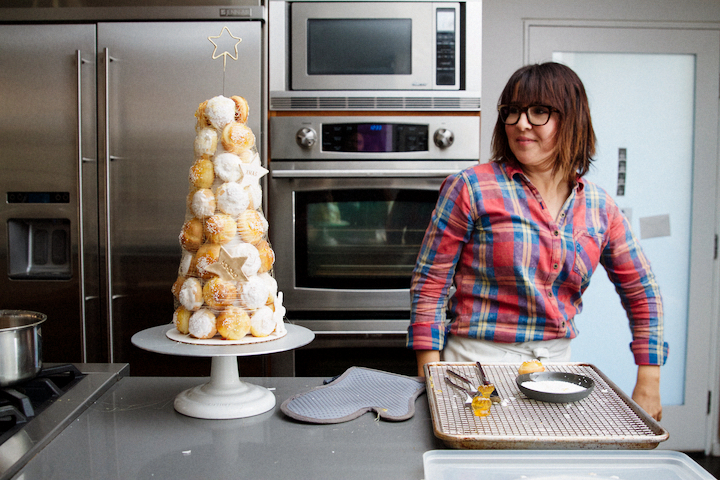
At this point, I’m pretty much patting myself on my Sweet Nerd back with the gorgeous work that I can’t stop admiring.

If you want to go above and beyond, you can create some adorable fondant stars in all different shapes and sizes. You can paint or splatter them with edible gold to get some contrast.
I purchased this adorable TOPS Sparkler Wand to wow the crowd plus it’s a great attention-grabber so everyone can ooh and aww over your edible work of art when you present it. And, congrats, its official! You’ve now graduated from the Sugar Engineering School of Croquembouche University.

Photos by: Maria Hedrick Photography
November 29, 2017 This recipe requires 3.5 of time. Pâte à Choux 1Combine milk, butter, sugar, and salt in a saucepan and bring to a boil over high heat. 2Reduce the heat, and add flour all at once and stir vigorously. Cook stirring constantly with a wooden spoon, until the dough begins to come away from the sides of the pan (about 7-10 minutes). The goal is to release the steam from the wet dough (as much as possible). 3Transfer to the bowl of a standing mixer fitted with the paddle and beat at medium speed until cooled to body temperature. Add the eggs, one at a time, beating well after each addition and scraping down the sides of the bowl with a rubber spatula. Beat in the egg whites. Add extra if needed until dough is the right consistency (use drip method to determine readiness). 4Transfer dough to a piping bag with a 1/4 inch open round tip. 5On a piece of parchment paper, trace 1 1/4" - 1 1/2" circles. Next, flip over paper and pipe the dough starting at the center of the traced circle working your way outward until it forms a mound and reaches the outer circle. 6Bake at 350 until golden brown. Pastry Cream 1Mixing Bowl: Mix cornstarch, ¼ cup sugar (reserve the other ½ cup sugar for later), ½ cup milk (reserve other 1 ½ cups for later), and egg yolks. Set aside and start saucepan mixture. 2Saucepan (nonreactive): Place on stovetop over medium-low heat. Add the reserved 1 ½ cups milk, ½ cup sugar, and salt. Scald milk. 3Temper the egg mixture by gradually adding about 1/3 of the hot mixture, whisking constantly so the egg doesn’t cook. Return this mixture back into the saucepan and continue cooking over medium heat, vigorously stirring with a whisk, until the mixture comes to a boil and the whisk leaves a trail in the pastry cream, usually about 5-7 minutes. Remove from heat, stir in the vanilla and the butter, and cool over an ice bath. 4Optional: For a lighter filling, you can fold in whipping cream. To make the whipping cream, whip 3/4 cup cold heavy cream + 1/4 cup sifted powdered sugar until stiff peaks form. Next, fold this into the pastry cream. Refrigerate for up to 3 days. Caramel For Dipping & Assembly 1To make the caramel: In a medium saucepan, combine 2/3 cup water, sugar, and corn syrup, and bring to a boil over high heat until syrup is amber in color. Remove from heat. Dip side of each puff into the caramel, and arrange puffs by rows. (If sugar is still clean, you can rewarm once on low flame to liquify.) For the assembly, make a fresh batch of caramel. Dip a fork into the caramel and let most of the sugar drip off the fork. Then, spin the cake turntable while threading the sugar around the puffs. This will help create a web. Continue this process until you have reached your desired sugar web. Serve immediately. Optional, Royal Icing 1Add vanilla flavoring into 1/2 cup water and set aside until step 3. 2In the mixer (paddle attachment), gently mix confectioners sugar and meringue powder on low. 3Add 1/2 cup flavored water and mix on low until it is thick and lumpy. 4Now drizzle the remaining water as needed until it becomes a thick like honey consistency. 5At this point, turn mixer on medium speed for 3 minutes or so until icing is thick and fluffy. Stop when it forms a soft peak. Optional, Fondant Stars 1Roll out white fondant to 1/8 inch thick and make star shaped cut-outs. Splatter with edible glitter or food coloring.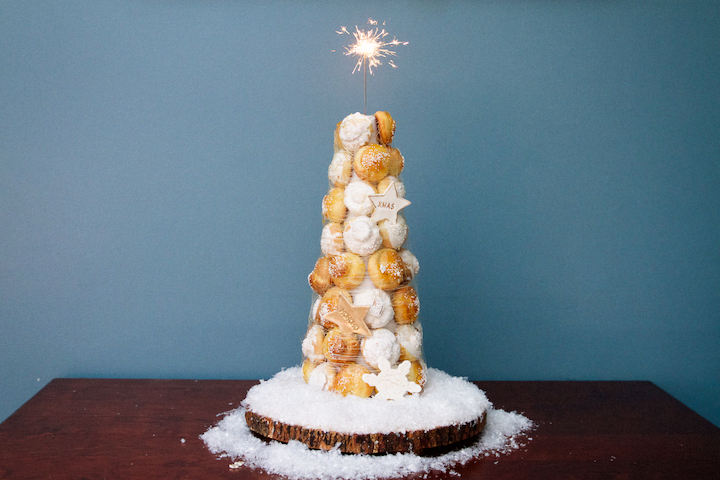
Croquembouche Puff Pastry
By TheSweetNerd Cremes and Puddings
Directions


LET’S BAKE TOGETHER!
Don’t Miss A Recipe


Dang! Total respect on this one. I don’t know if I could hack it myself, but it has me thinking maybe I could…?
Such a gorgeous and fun dessert to make!!
Yes, this one requires time and patience. But, I love the reward of eating one, two, three, or more puffs!