
Remember those push-pops we bought from the ice cream trucks when we were kids? The ice cream was yummy and all, but it was the pushing that made those babies so popular. I was thinking back on those days while prepping for a baking session with my little nerds and thinking what fun we could have making our own push-pops, only with cake. And just like that, the ombre cake pops were born!

To get started, you can buy a mix from the store (no judgement) or try our super-easy recipe and make your own vanilla cake from scratch.
Once you have your batter mixed up, divide it into three groups. Add a couple of drops of food coloring to the first bowl, a few more to the second, and a few more still to the third to get increasingly pink cake batter. This is how you get the ombre in your ombre cake pops.
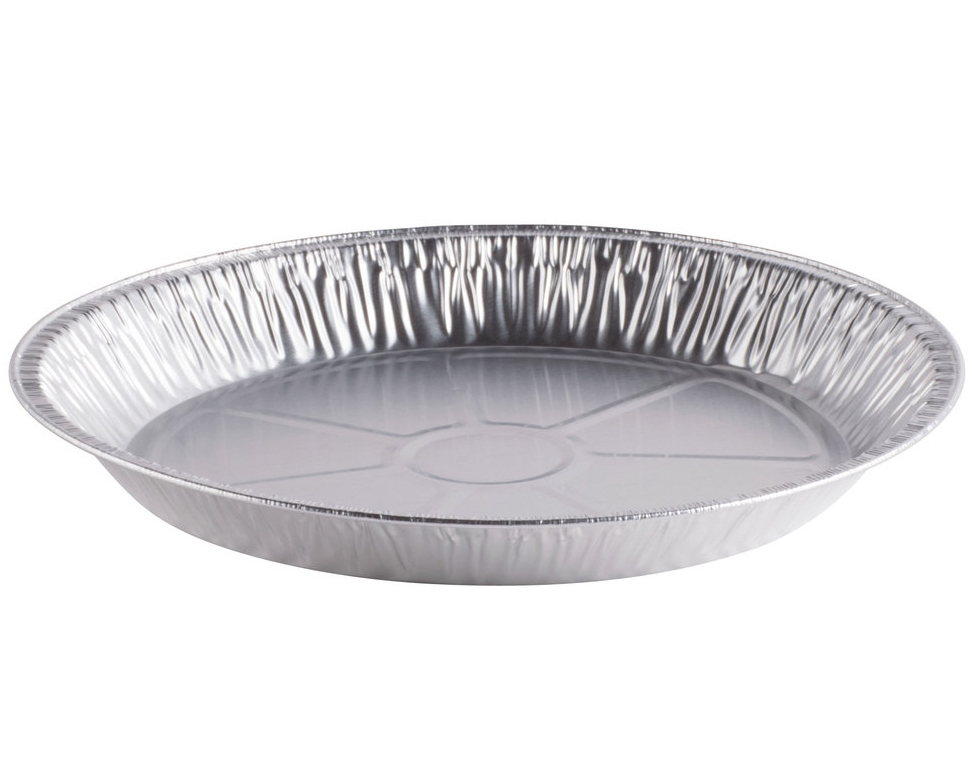
Scoop the batter into greased pie tins just until it covers the bottom of the cake pan. All you need is a layer of batter about 1/4″ thick. The biggest challenge is testing your patience with baking one or two at a time depending on how many cake rounds you may own. I say, go to your local grocery store, and buy the stack of disposable 9″ foil pie tins. You can bake them all at once, and clean up is snap. You want the layers thicker than a fluffy pancake, but not by much!
If you have older kids and want to make a day of it, involving them in the baking up front can be fun. But you can also make the cakes ahead of time and freeze them for up to a month before you get to making them in to push pops.

To start putting these ombre cake pops together, you will need the plastic cake pop containers. You can buy them by the 24-pack on Amazon and keep them on hand for when you and the kids are feeling crafty.
Using a circular cookie cutter that matches the diameter of the cake pop container, set the kids to work cutting out circles of cake, making round cut-outs in each shade of pink.
Then it’s time to start layering!

Start by pushing a circle of cake into the cake pop container. Add a layer of our perfect buttercream frosting. Repeat. To get that ombre effect, start with the lightest shade of cake, adding darker shades as you go.
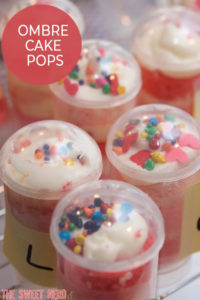
Our Little Nerds executed this flawlessly! You can see how the pinks grow darker as they climb up to the top.

Cap it off with one last dollop of buttercream and a few sprinkles to match. You can stick with pink, or add other colors to make it a little more festive.

The girls and I had so much fun with this one. And unlike the ice cream push pops, these little cuties won’t melt. The containers come with round tops that allow room for the final swirl of frosting so you can make a while batch and transport them pretty easily.

Happy pushing!
OUR FAVES
- EKIND Push Pops

Photos by: Maria Hedrick Photography
Cupcakes 2 1/4 cups cake flour (9 ounces), plus more for dusting the pans 1 cup whole milk, at room temperature 6 large egg whites (3/4 cup), at room temperature 1 3/4 cups granulated sugar (12 1/4 ounces) 12 tablespoons unsalted butter (1 1/2 sticks), softened but still cool Easy American Buttercream Frosting 3 cups (680 grams) unsalted butter, at room temperature 6 cups confectioners sugar, sifted Decorating Cupcakes 1Glass Measurer: Pour milk, egg whites, and extracts into 2-cup glass measure, and mix with fork until blended. 2Mixer: Mix cake flour, sugar, baking powder, and salt in bowl of electric mixer at slow speed. 3Add butter; continue beating at slow speed until mixture resembles moist crumbs, with no powdery streaks remaining. 4Add all but 1/2 cup of milk mixture to crumbs and beat at medium speed (or high speed if using handheld mixer) for 1 1/2 minutes. 5Add remaining 1/2 cup of milk mixture and beat 30 seconds more. Stop mixer and scrape sides of bowl. Return mixer to medium (or high) speed and beat 20 seconds longer. 6Divide and scoop batter into three separate bowls. Create an ombre of pink hues for each bowl of batter. Pour into foil pie tins covering the bottom and about a 1/4 inch up the side. 7Bake at 350F. Bake until thin skewer or toothpick inserted in the center comes out clean, 10 minutes. Let cool completely and then cut rounds that will fit into the push pop. Easy American Buttercream Frosting 1Cream the butter in a standing mixer. Aerate room temperature butter for about 1 minute on medium speed. 2Add the sugar, about 1 cup at a time, until it is fully incorporated. Then add the next cup and incorporate again. Repeat until you have added all the sugar. (Be sure to scrape down in between mixing). Last, add the vanilla and salt. Beat at low speed for 15 seconds until incorporated. Finally, whip (on medium to high speed) for about 4-5 minutes until light and fluffy. Enjoy! Assembly & Layer 1Cut one circle (the size of the diameter of the push pop) from each of the three pink colored cakes. Also, pour the frosting into a ziploc or a piping bag to make it easier to layer into push pop. Start with the cake, and then frosting, and then repeat this process twice more. Lastly, top with decorations. Keep for up to 5 days in refrigerator.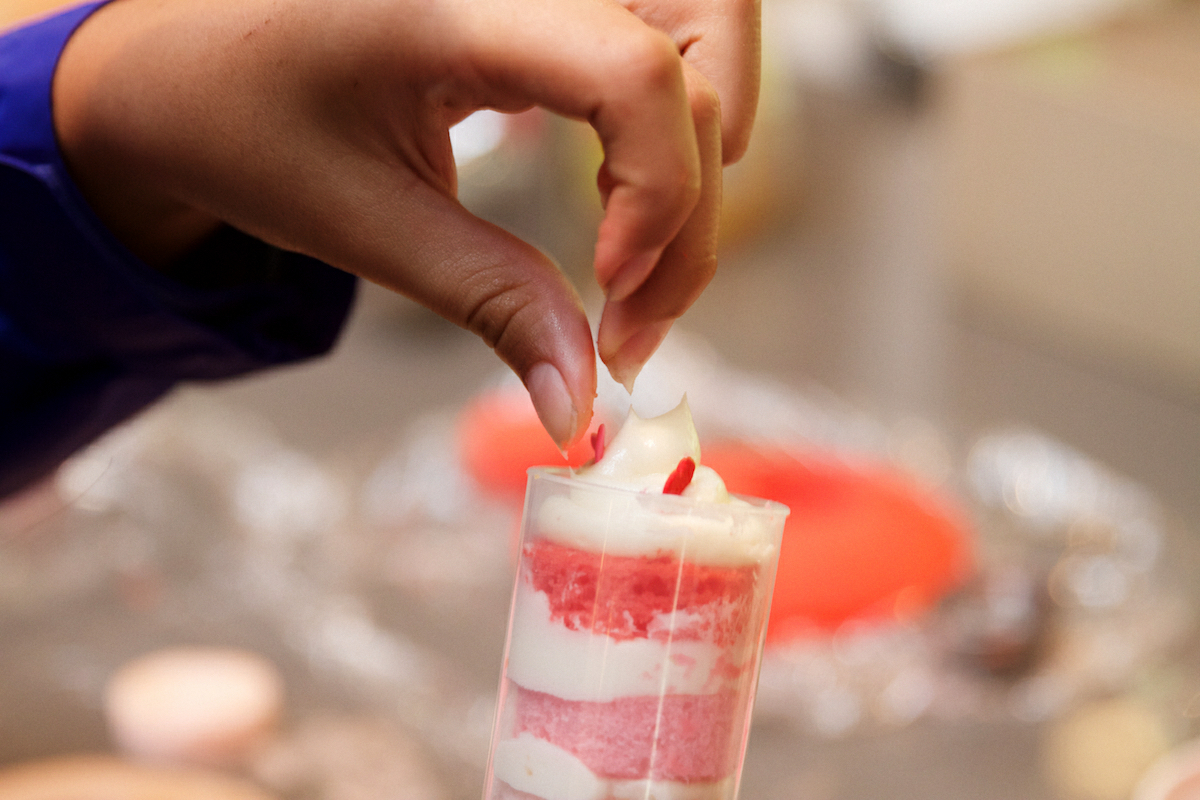
Ingredients
Directions


LET’S BAKE TOGETHER!
Don’t Miss A Recipe

Move Over Pink, We're Making Purple Valentine's Day Cookies


Such a cute idea for the kids for Valentine’s Day Cindy! Bet they’re totally delish too!
Thanks Mary Ann. The kids gobbled them down before they even made it into the pop! Go figure-
Push Pops were my favorite ice cream treat as a kid! These are absolutely adorable! Such a fun day for the kids!!
I loved push pops too and since there aren’t too many ice cream trucks these days, guess who is the new ice cream woman in the neighborhood? ME! No really, it was awesome watching the kids enjoying the motion of pushing them up!
I can almost taste the buttercream. And I bet you could tweak this idea for lots of celebrations. I’m thinking red, white and blue for the 4th of July! Or rainbow for a kinder party. Great idea, Cindy. Thanks!
Yes, there are so many versions of this push pop with lemon, strawberry, and chocolate. Thinking down the line of doing a fruit version.
Oh my gosh, you have the luckiest kids in the world. Do they realize that? These are the cutest things ever. So doing this with my kids for Valentine’s Day!
Awww shucks, thanks. Funny thing is that my kids prefer Oreos to my homemade cookies. Little buggers! Will convert them yet.
Love this idea. It’s so versatile and seems relatively easy. I’m so going to try this for a holiday with the younger cousins- they’d love it!
These look so colorful, yummy, and fun! I want to try these with my little sweethearts!