
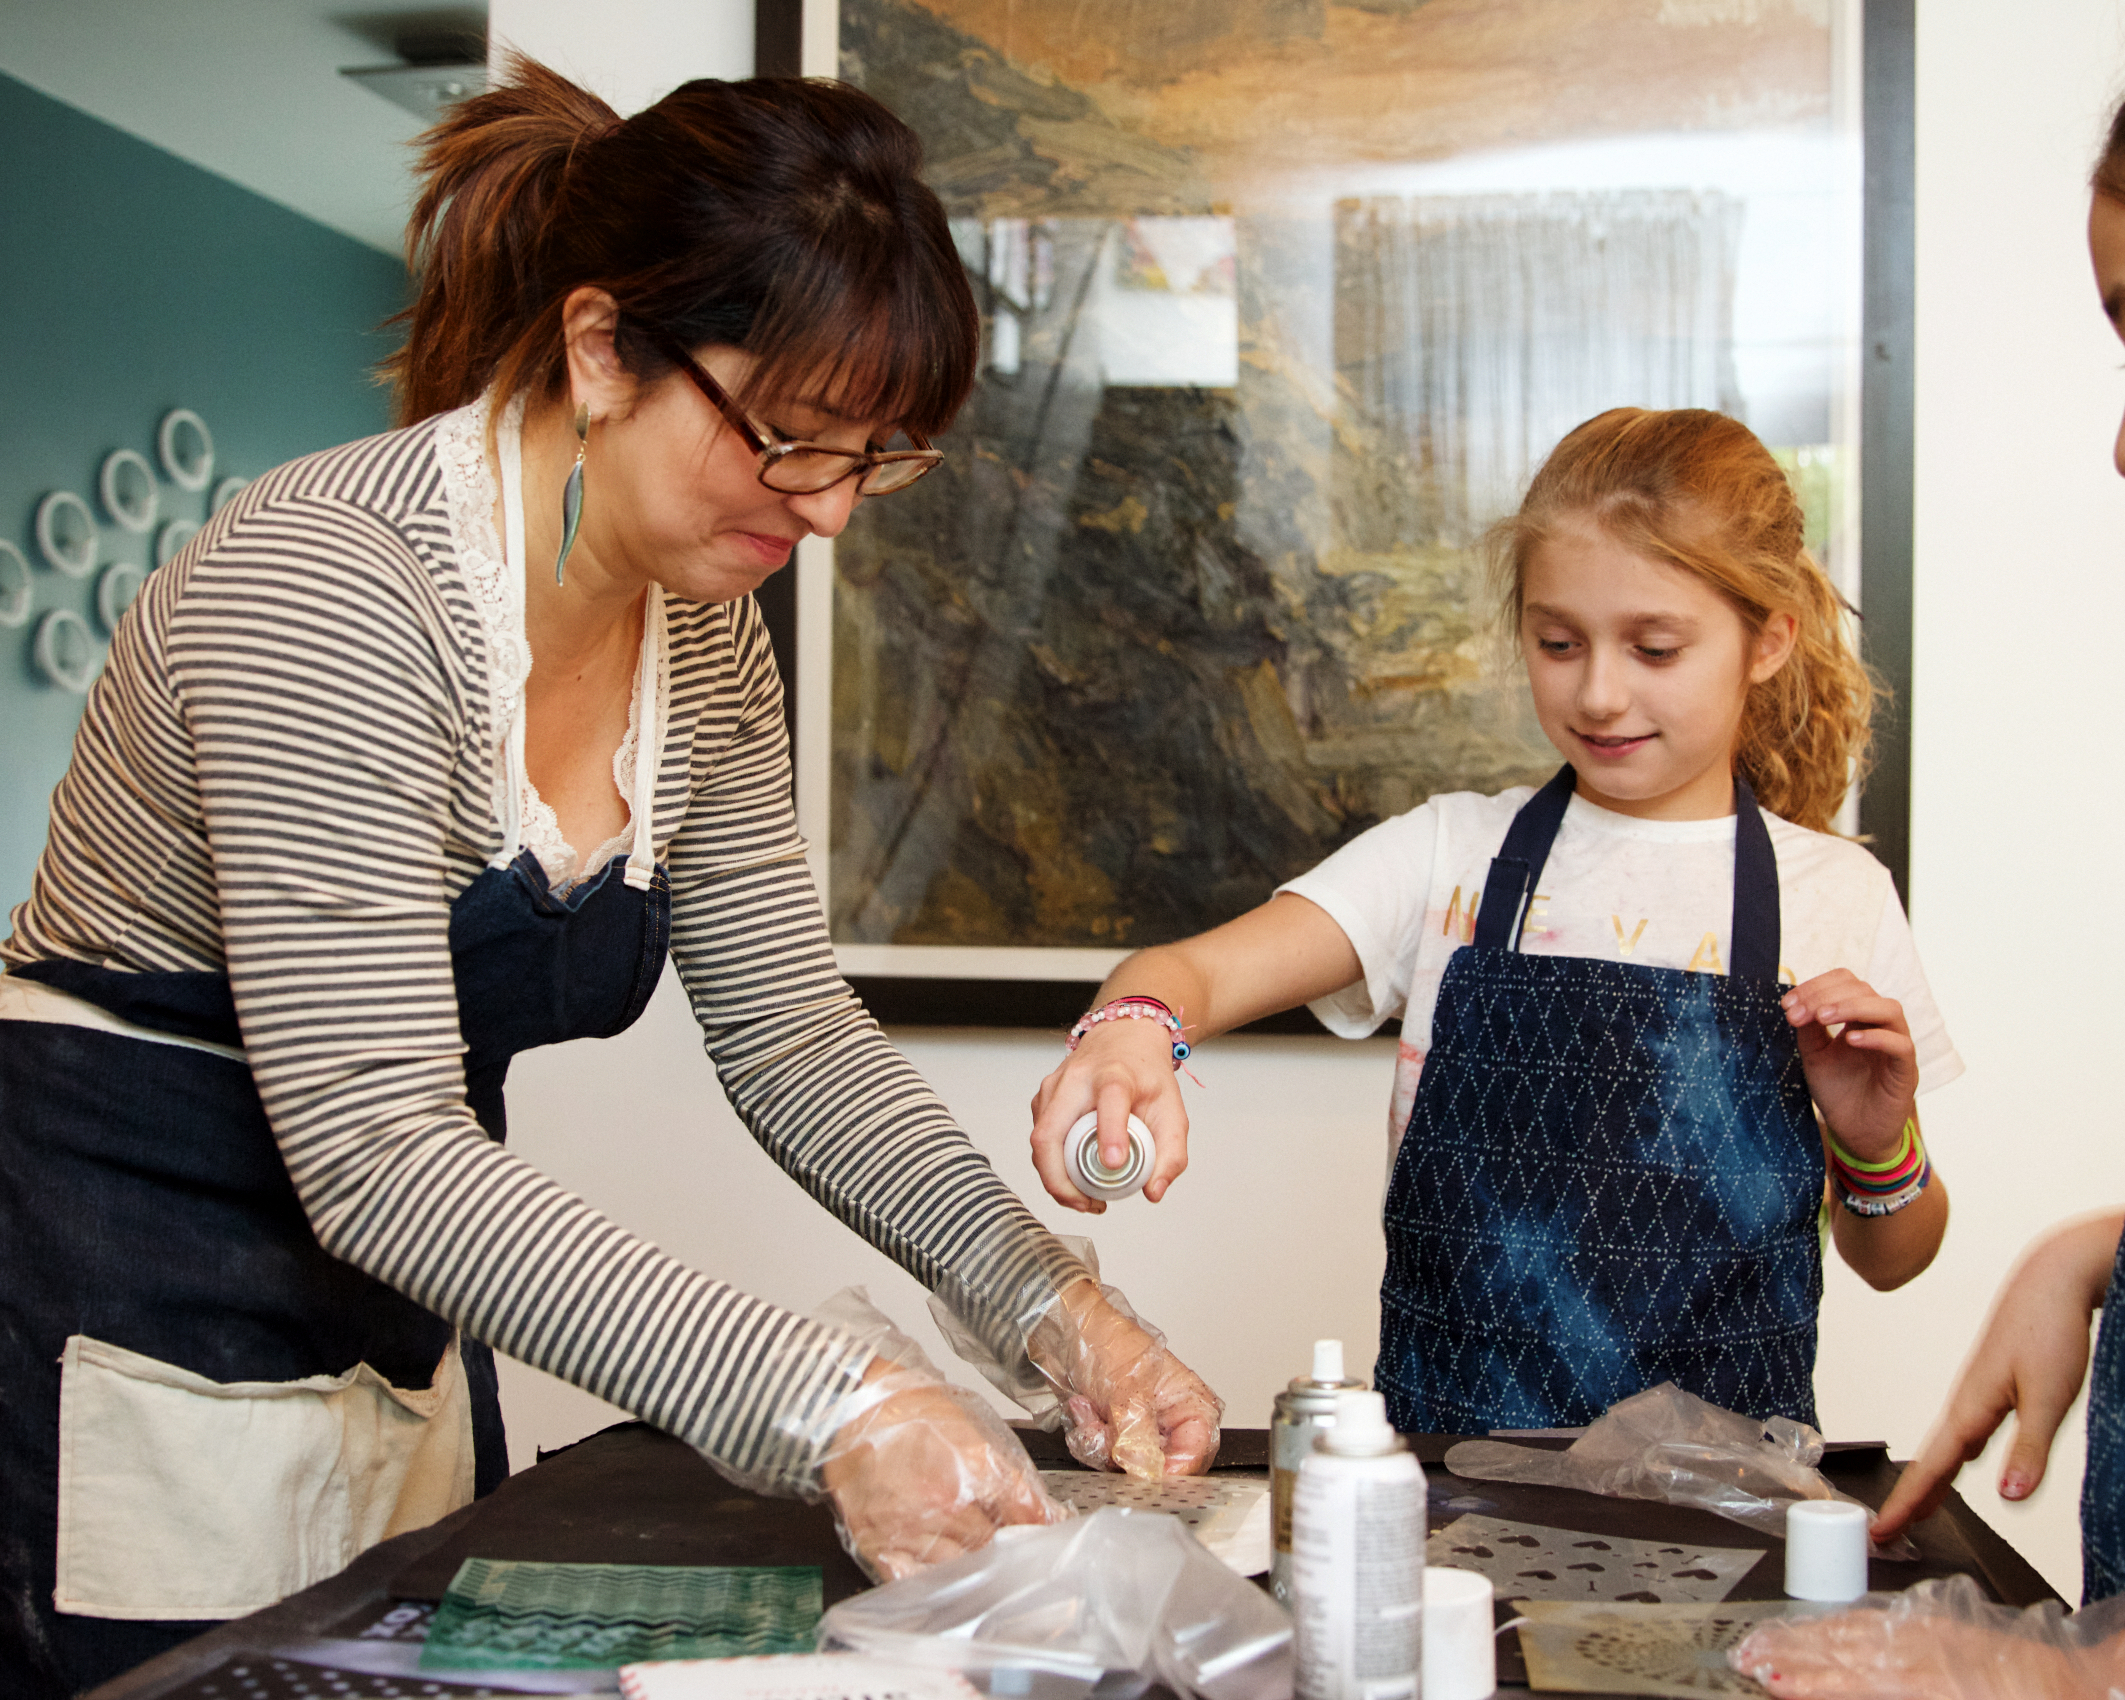
Kids love decorating cookies and one easy way I’ve discovered is through stencils. In my latest Little Nerds session, I was amazed at what the little gals came up with. We had so much fun playing around with easy stencil cookies, spraying edible paint, using royal icing, and fondant. All of these styles got such great results! And I was totally surprised to find that they were loving the black fondant!

We amped up the glitz and glam factor by choosing fun stencil designs mixed up with gold and silver metallic spray. The girls loved the transformation of a Plain Jane cookie to a DIY-style gift package for their besties that would even make Martha Stewart jealous. But the funniest part was these girls ended up exchanging the cookies with each other! Makes my Sweet Nerd heart melt and helps me appreciate my time with these little baking buddies.
A couple of easy steps for prepping before the big spray cans come out:
- Cookie: First, follow this easy sugar cookie recipe. Match the cut-out shape with the size of the stencil you will use. For me, I did 3.5″ squares.
- Fondant Roll & Cut: I am fairly a rookie with fondant, but so far Satin Ice Fondant has worked easily for me. I sprinkle a bit of cornstarch while rolling it (to prevent sticking) and then use a knife or a pizza cutter to match the size of the cookie.
- Glue: To adhere the fondant cutout to your cookie, I opted for Wilton’s piping gel, but there are so many ways to do this. If you don’t have this on hand, try brushing a little bit of corn syrup as your glue. Here is a great blog post from one of my favorite bloggers on how-to make edible glue at Sweetopia.net.
- Prep: Lay the cookie down on a parchment-lined cookie sheet before you begin to spray.
- Stencils & Spray: See notes below for my favorite brands.
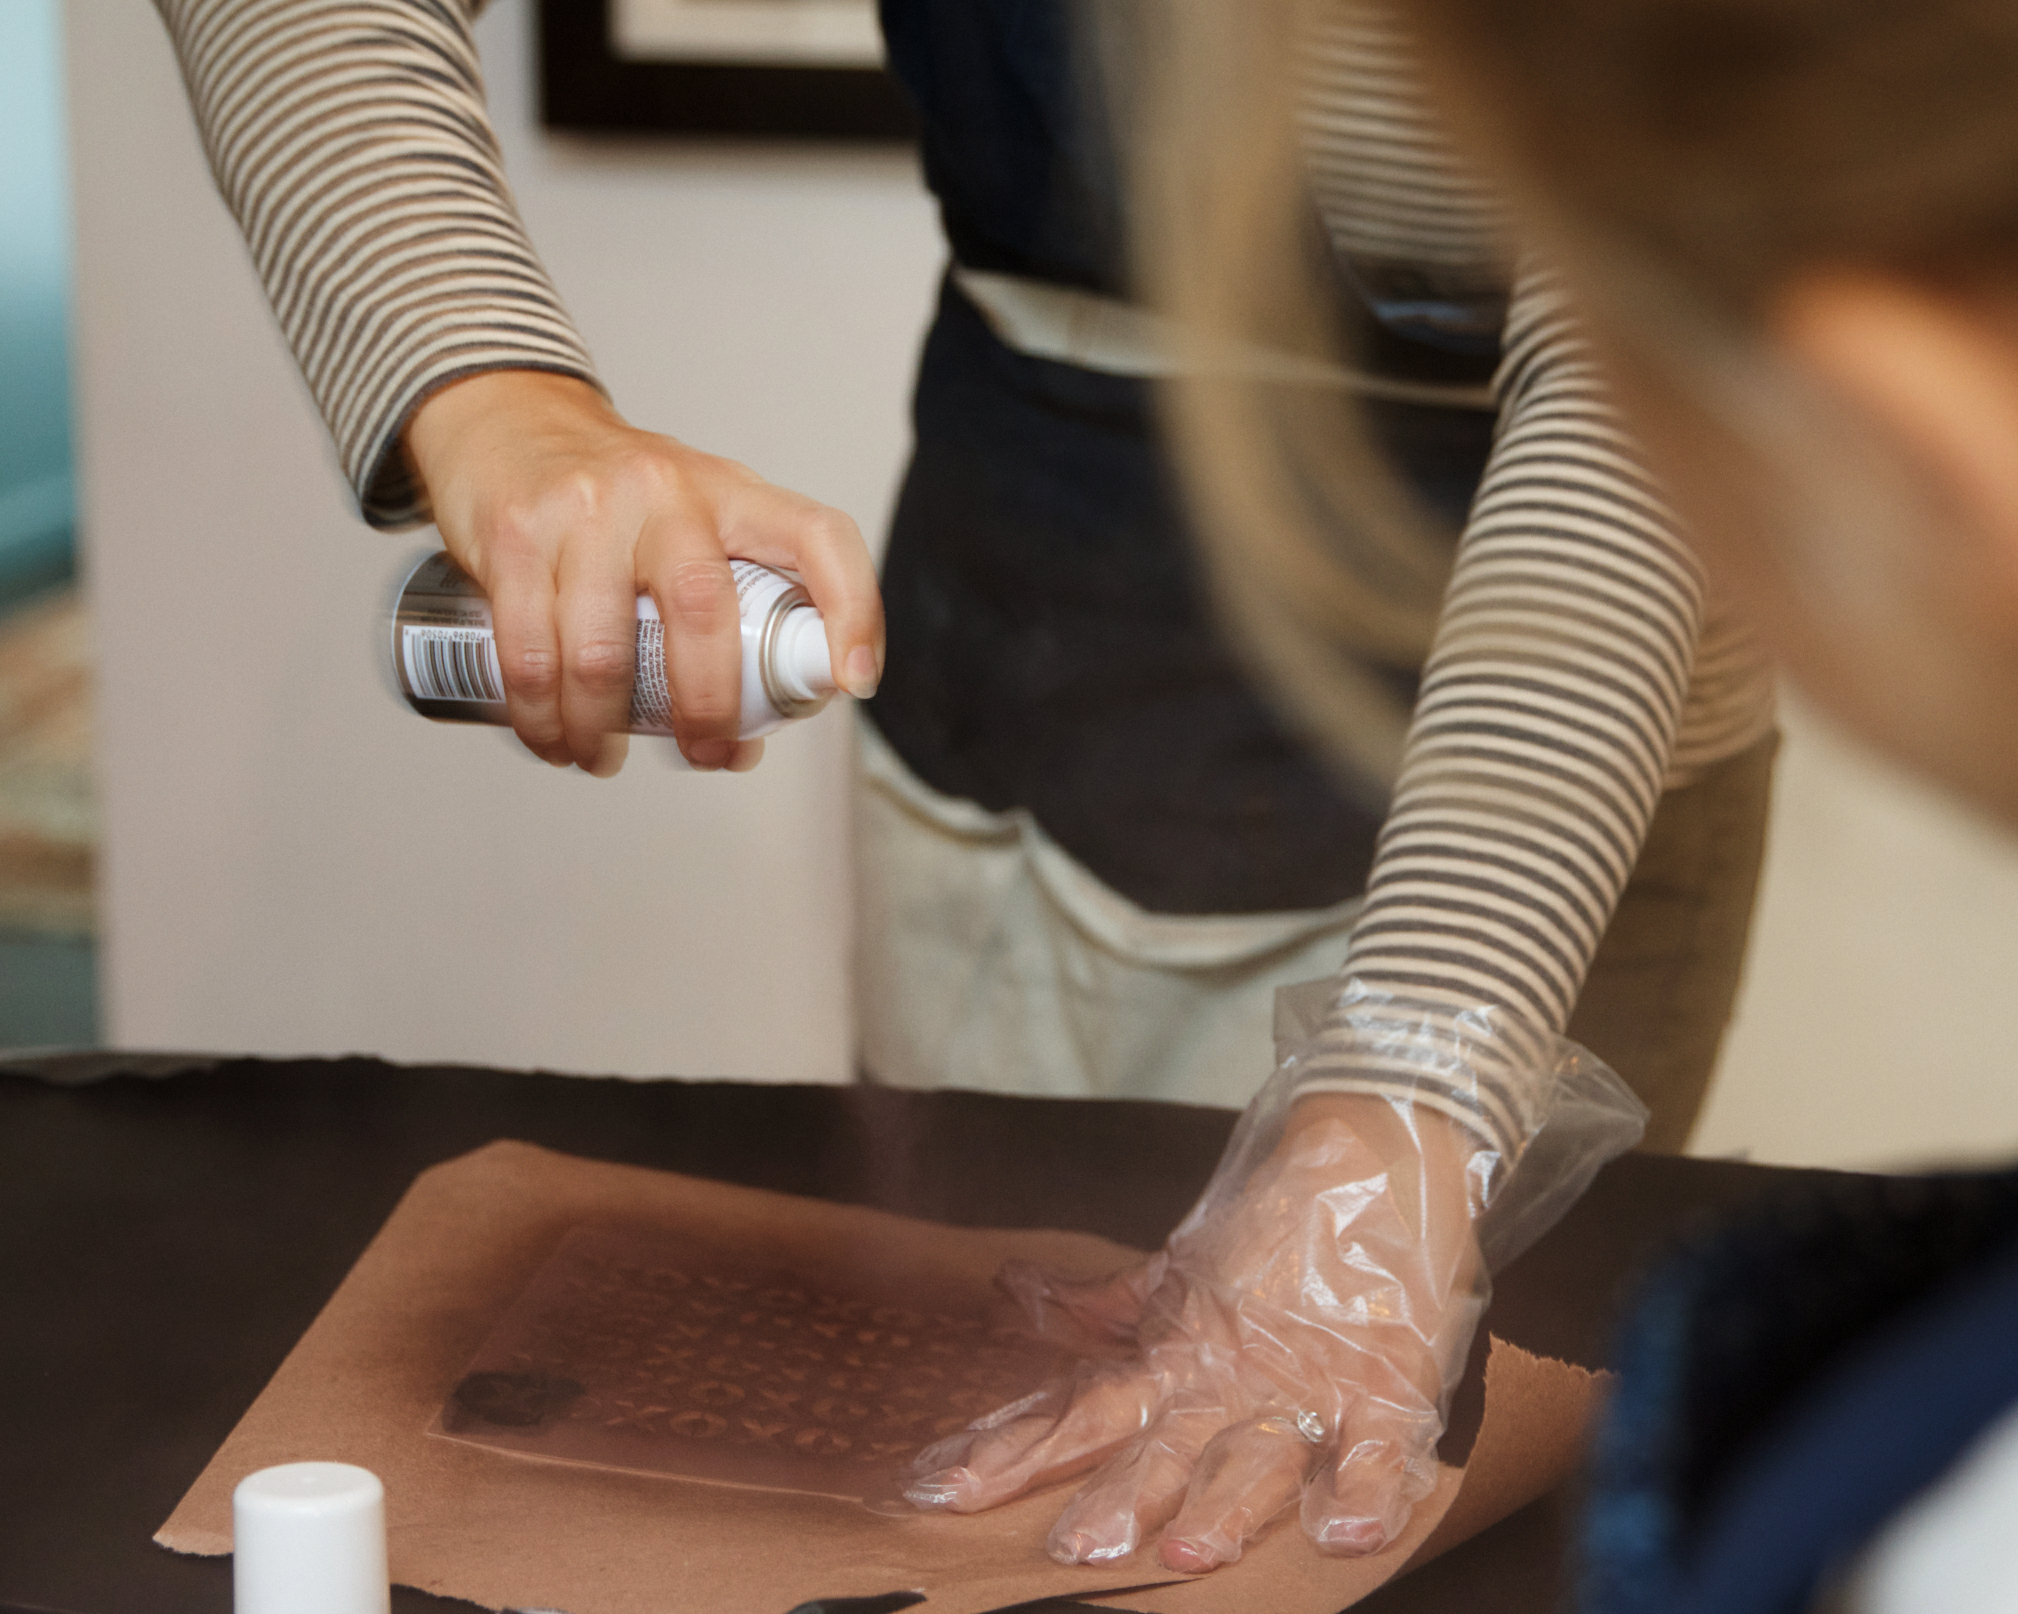

Now the fun begins…
Assign a Sprayer Captain. (Well, there always has to be someone in charge, says the Type-A Baker.) Then, get some helper hands to hold down the stencil in place without moving. Hold the can at a reasonable distance and spray an even steady light mist over the top of the cookie. This will take a moment to get used to, but don’t despair. I recommend practicing on paper a few times to get a better hang of it, like we did.

Sprays: I Chefmaster ($10) and Wiltons Color Mist ($6). I used Wilton’s Pearl to get the best contrast for the black cookie and ordered everything on Amazon.
Stencils: I Heidi Swapp and The Cookie Countess. The Cookie Countess has many great videos on her blog for instruction. Check her out!

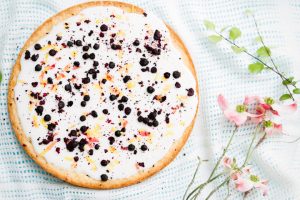
Once your sweet masterpieces have dried, you can wrap them up as gorgeous edible gifts. These ladies had a cookie exchange as most of us couldn’t resist the idea of keeping all those cookies to ourselves. YUM!
Photos by: Maria Hedrick Photography
Cookies 1Dries: Whisk flour and salt in a bowl. Set aside. 2Base: In a mixer, cream together butter and sugar. Next, add eggs, vanilla and optional flavorings of citrus zest or spices (ie: cardamom). 3Gradually, add dries to base just until incorporated. Chill in refrigerator up to one hour. Roll on lightly floured surface. Cut shapes. 4Bake at 350F for 8-10 minutes or until edges are slightly browned. 5Note: When you cut into a shape, chill in freezer to set. Then, transfer directly to hot oven. Tip: Once you cut your cookies into your desired shapes, wrap and place in freezer. Then, bake off the next day. Move from freezer to oven and the shapes will retain their integrity during the baking process. This is how you get those perfectly shaped cut-out cookies!
Directions


LET’S BAKE TOGETHER!
Don’t Miss A Recipe
Pink Ombre Cake Pops for Your Little Valentine


I just love your sense of design. The cookies and the wrapping, particularly the black gem stickers on the pizza box and the xo ribbon. So glamorous. Cheers!
The kids loved the sharp glam contrast. So feminine, yet it has this great edge about it. Cheers!
My daughter would be so all over this. She loves all things crafty and sparkly. Hmm, maybe something to do this rainy weekend!
Oh that is awesome. Yes, glam and sparkles have that allurement for sure. For once we are finally getting real rain here in LA, so we may be doing some diy’ing too!
I agree with April! You have such an eye for the bigger picture spread, love it.