
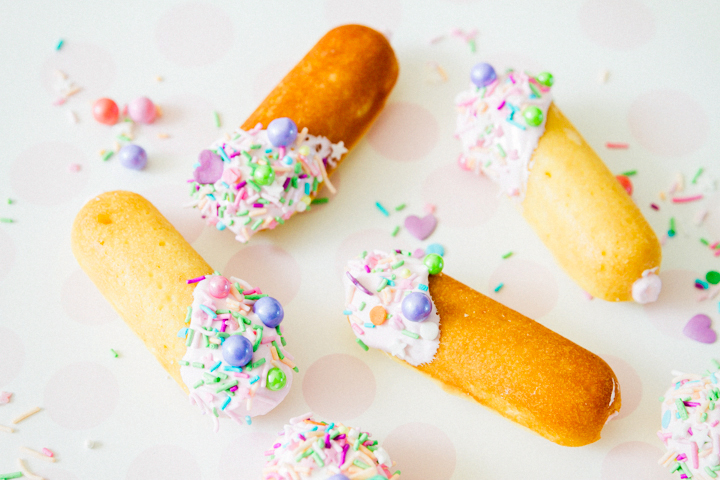
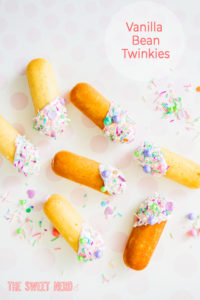
THE HOMEMADE TWINKIE CAKES
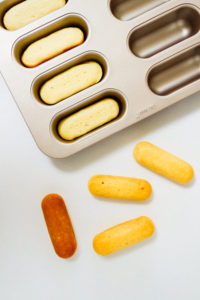
Prepare the cake batter according to the recipe instructions. There are many options for twinkie pans online – I guarantee you’ll use them again. Bake for 60 to 70 minutes, until the cakes are golden, and when you apply a little pressure to the tops, the cake springs back ever so slightly. Place the pan on a wire rack and let cool for about 2 hours.
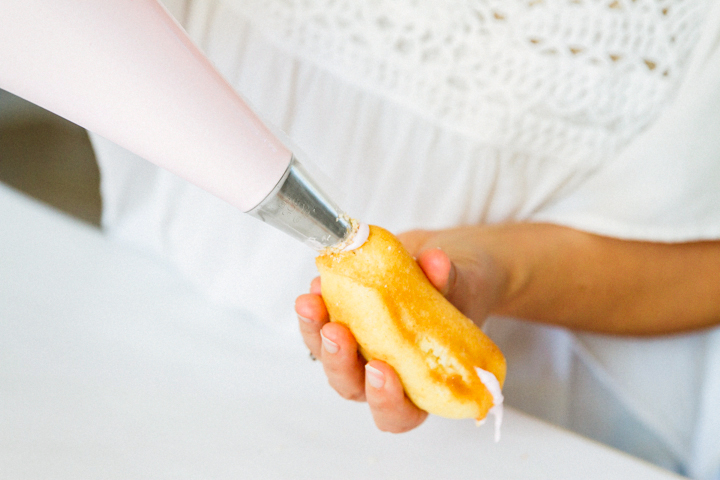
THE HOMEMADE TWINKIE FILLING
The filling is a mixture of buttercream and marshmallow creme. In this recipe, I’ve included directions on how to make marshmallow creme from scratch. I added vanilla seed for flavor, and gave it a summery pink with food coloring.
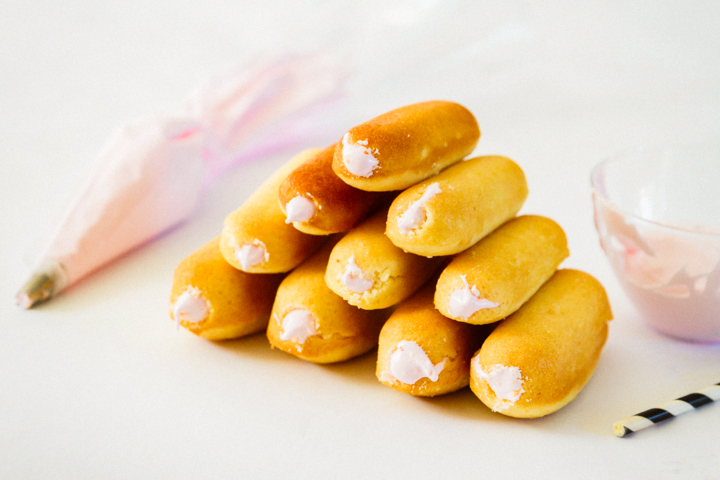
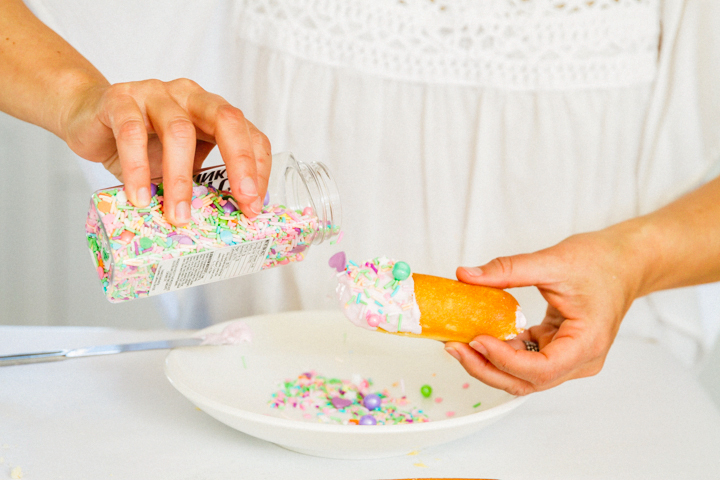
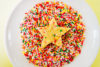
Use any extra filling to spread onto the Twinkie wherever you like. I chose just the ends – each tip was freshly-dipped in marshmallowy goodness. Add fancy sprinkles on top of the marshmallow, if desired.
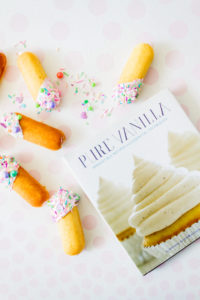
A big shout out to Shauna Sever for her inspirational cookbook, Pure Vanilla.
Isabel, thank you for reminding me how fun it was to be a little girl!
OUR FAVES
- Lufeiya Twinkie Pan
- Pure Vanilla by Shauna Sever
- Fancy Sprinkles Bloom Boom

Photos by: Maria Hedrick Photography
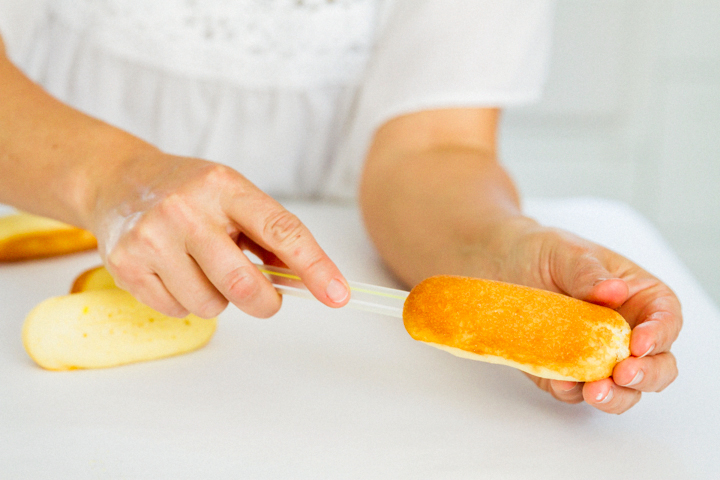
Twinkie (adapted from Pure Vanilla Cookbook) 1 tablespoon (15 g) baking powder 6 tablespoons (90 g) unsalted butter, at room temperature 1 tablespoon (15 ml) pure vanilla extract 2 cups (400 g) granulated sugar 1/2 cup (118 ml) vegetable oil 3 large eggs plus 4 large egg yolks, at room temperature 1 cup (237 ml) buttermilk, at room temperature Marshmallow Creme 2 tablespoons + 1/2 teaspoon + pinch gelatin Twinkie 1Sift together the flour, baking powder, and salt into a large bowl. 2In the bowl of a stand mixer fitted with the paddle attachment, beat butter and vanilla extract on medium speed until smooth and creamy. Add sugar and beat until evenly mixed, about 1 minute. Slowly pour in oil. Beat until light and fluffy, about 2 minutes. Add eggs and egg yolks, 1 at a time, beating thoroughly after each addition. 3Reduce mixer speed to low. Stir in flour mixture and buttermilk in three alternating additions, ending with the buttermilk, and continue to mix on low speed until the batter is smooth and no lumps remain. Turn off mixer and fold batter several times by hand to ensure everything is well incorporated, and then pour into prepared pan. 4Bake for 25-30 minutes, until the cake is golden, the top springs back when lightly pressed, and a cake tester inserted into the center comes out clean. Place pan on a wire rack and let cool completely. Marshmallow Creme (or buy storebought marshmallow creme to save time and pipe into twinkie) 1Kitchen Aid (whisk attachment): Sprinkle gelatin over 3/4 cup water, whisk it for even distribution, and let it sit. 2Stovetop: Combine remaining water, sugar, and corn syrup in a saucepan. Cook over medium heat until sugar dissolves. Then, put on high and cook to 240F. 3Combine in Kitchen Aid: Once stovetop mixture is ready (at 240F), then add hot syrup into the gelatin mixture and continue beating on high for 8-10 minutes until mixture triples in volume and becomes rather thick (but not too thick that it is not pourable). Test the readiness by turning off the kitchen aid and lifting the whisk to see if it falls easily and forms ribbons while dripping from the whisk. Beat in fresh bean seeds, extract, or paste (or other addends) and desired food coloring. 4Transfer to a pastry bag fitted with a large round tip. 5Using a straw, push out a hole into each individual Twinkie. 6Insert the tip of the pastry bag into each hold and squeeze in filling, tilting pastry bag back and forth as you work to encourage filling. 7Use extra filling to spread onto Twinkie and drizzle fancy sprinkles on top. Modified from Pure VanillaIngredients
Directions


LET’S BAKE TOGETHER!
Don’t Miss A Recipe

I have always wanted to make Twinkies at home! These look perfect. Adding to the top of my baking list 🙂
Do it! Make ’em and show me. I would love to see the Twinkie love spread.
Love the Vanilla Twinkies, they are a real sugar rush and I think everyone is happy when this is served, not only my 2-year old self back in the days. 😀
Me too! I think the sweet spot is anywhere between two and ten years old. Pun intended!
These are so darn cute. I absolutely love those fancy sprinkles!
Thanks Kendall! I love them too – their site is amazing!
I used to love Twinkies as a kid, but these definitely look much better – and better for you! Love the sprinkles. So adorable!
Maybe a little better for you – they certainly don’t have the same famed shelf life. 😉
A homemade Twinkie? Sign me up! These look so cute and fun for kids.
Thanks Britt. 🙂
How cute are these Cindy! My grammar school classmate had a pb&j, milk and Twinkie in her lunchbox every day! Brings back such memories!
Wow, that was some cool mom!
These are so beautiful! Where in the world did you get a Twinkies baking pan? I want one!
There’s a link in the post – easy peasy.
Well they are certainly visually more fun and appealing than the store-bought variety, and I’m sure they taste better too. Pinned!
Thanks so much Jill! I think they’re better than the store-bought. But I’m biased. 😉
wow these are bakery worthy! What a fabulous job you did and best I ever seen. bet they are better than any store bought for sure!
Thanks Claudia!