
For me, Halloween isn’t just about a single night of trick or treating. I love celebrating in little ways all month long. In no particular order, I love the following: hauling home way too many oversized pumpkins hand-picked from the pumpkin patch, adding webbing, black scary spiders and mini pumpkins to various corners and windows, finding the boys’ costumes (yes, ahem, this includes occasionally just clicking the “send” button), sipping hot spiced cider from mugs, and putting together an easy, Halloween DIY spread whenever there’s company over.

HALLOWEEN DIY SPREAD ELEMENTS
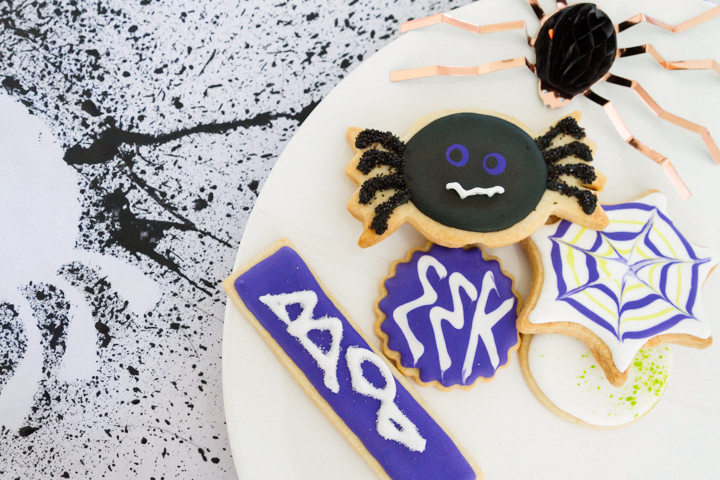
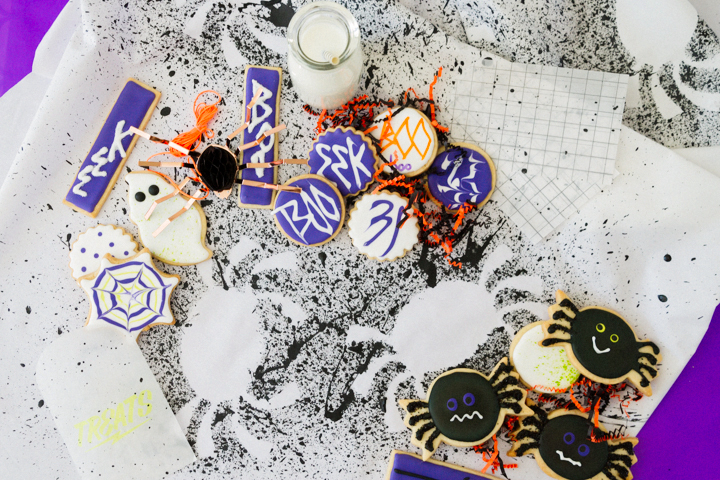
I like to create a fun and festive tabletop whenever Liam or Gav have a friend or two over. For Halloween, I put together the ultimate perfectly messy yet stylized decoration for the table. This spooky theme consists of: a runner decorated with splatter spiders (say that ten times fast!), a DIY treat bag, and Halloween cookies from both my Eek Fontastic post and my Creepy Crawly post.
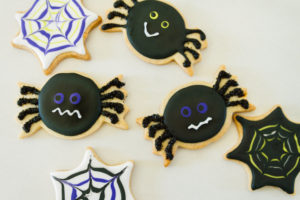
As you know, I love to apply the street art style to my baking recipes which I’m constantly inspired by what I see on the streets and sides of buildings in Los Angeles. With a combo of edgy, sharp angles and unexpected curves, I’ve taken my translation of street art directly to the tops of my cookies.

SPIDER SPLATTER TABLE RUNNER
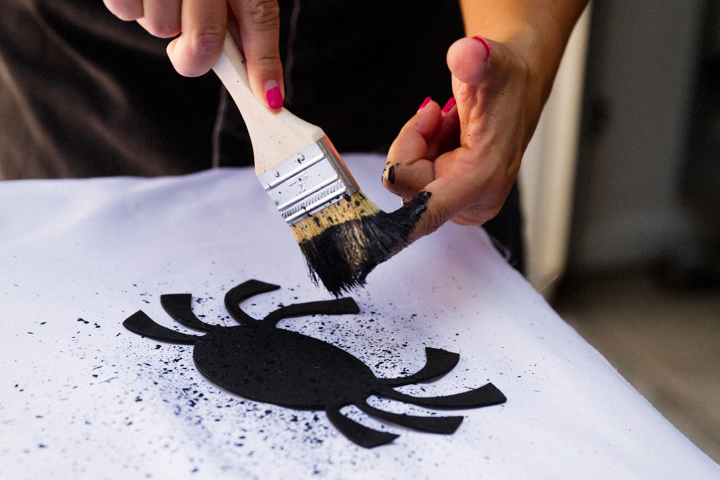
Here’s how easy the spider runner is to make: first, let’s say it together — Michael’s. Technically, it’s not cheating, it’s the foundation. It was a one-stop shop where I found spider decals as well as plain black paint and brushes.
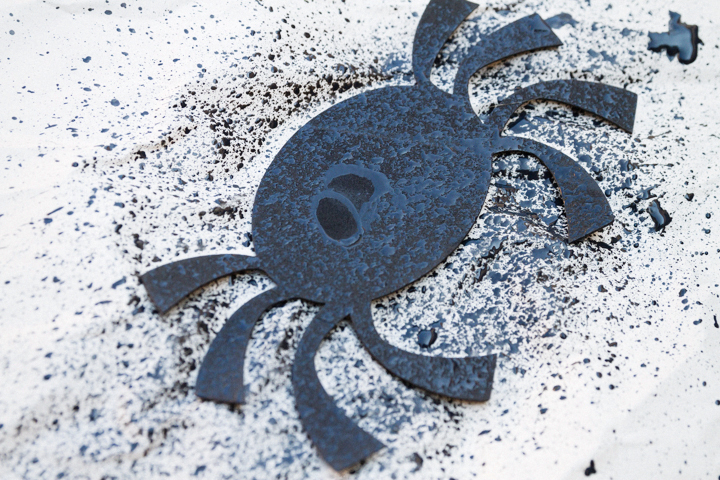
Spread out the runner and place your decal securely. You don’t have to be Jackson Pollock to splatter well, just run your fingertips through the bristles and flick away. You probably never imagined how fun this would be!
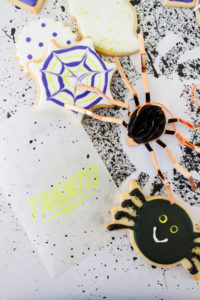
SPLATTER YOUR TREAT BAGS
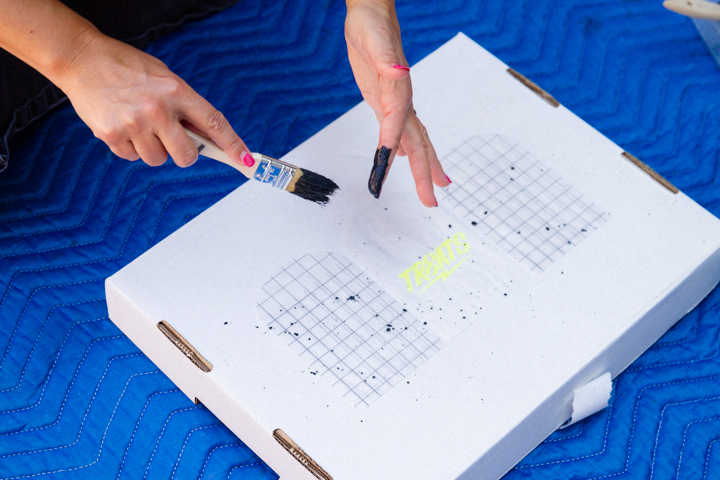
You can easily apply the same splatter technique to the treat bags (where your Halloween cookies will go). I bought the cutest bags from Knot & Bow, one design came with the word “Treats” on it in a cool yellow street font style and the other design was made up of a gridded pattern. Then, I splattered away to continue my Halloween DIY spread.
COMPLETE THE SPREAD
Just how I want it – spooky but cute. I added in a few spider decorations, like the ones I found at Meri Meri. Now your table has a splash of Halloween – and it’s easy to store and reuse all month long for any kind of get together or playdate.
Stuff a few cookies in each treat bag and add a plate of extras on top of the spider runner. You can opt to add hot cider (or some mulled wine for the grown-ups) to the spread, but really nothing goes better with cookies than milk, and of course these throwback glass milk bottles I found at Shop Sweet Lulu are too cute.
So there you have it. BOO! I’m ready for my month of Halloween. Bring it on!
Photos by: Maria Hedrick Photography

LET’S BAKE TOGETHER!
Don’t Miss A Recipe


Cindy – Love the spread idea! I live in LA too and I can’t get enough of the amazing wall murals I see every day. I have a large brick wall in our rec room and I want to get a mural painted on it. Maybe Dia de los Muertos? If you know of any artists I could commission please send me an email! Thanks 🙂
Awww, shucks… thanks Tessa. I will send you an email separate. I love Juan, he does amazing work.
Oh my gosh Cindy! You always kill the game. I love the spider table runner idea. So cute
Thanks Kendall. Just some paint, splatter, and the willingness to get a little drippy!
Woah! It is just lovely i loved it 🙂
Thanks Claire. I love it too. Anything street and sweet!