
We’re going on a bear hunt! Well, for Bear Cupcakes, that is, because honestly, I’m not much of a camper. I love the “idea” of camping, but the actual process always ends up being so much work, especially with small kids.
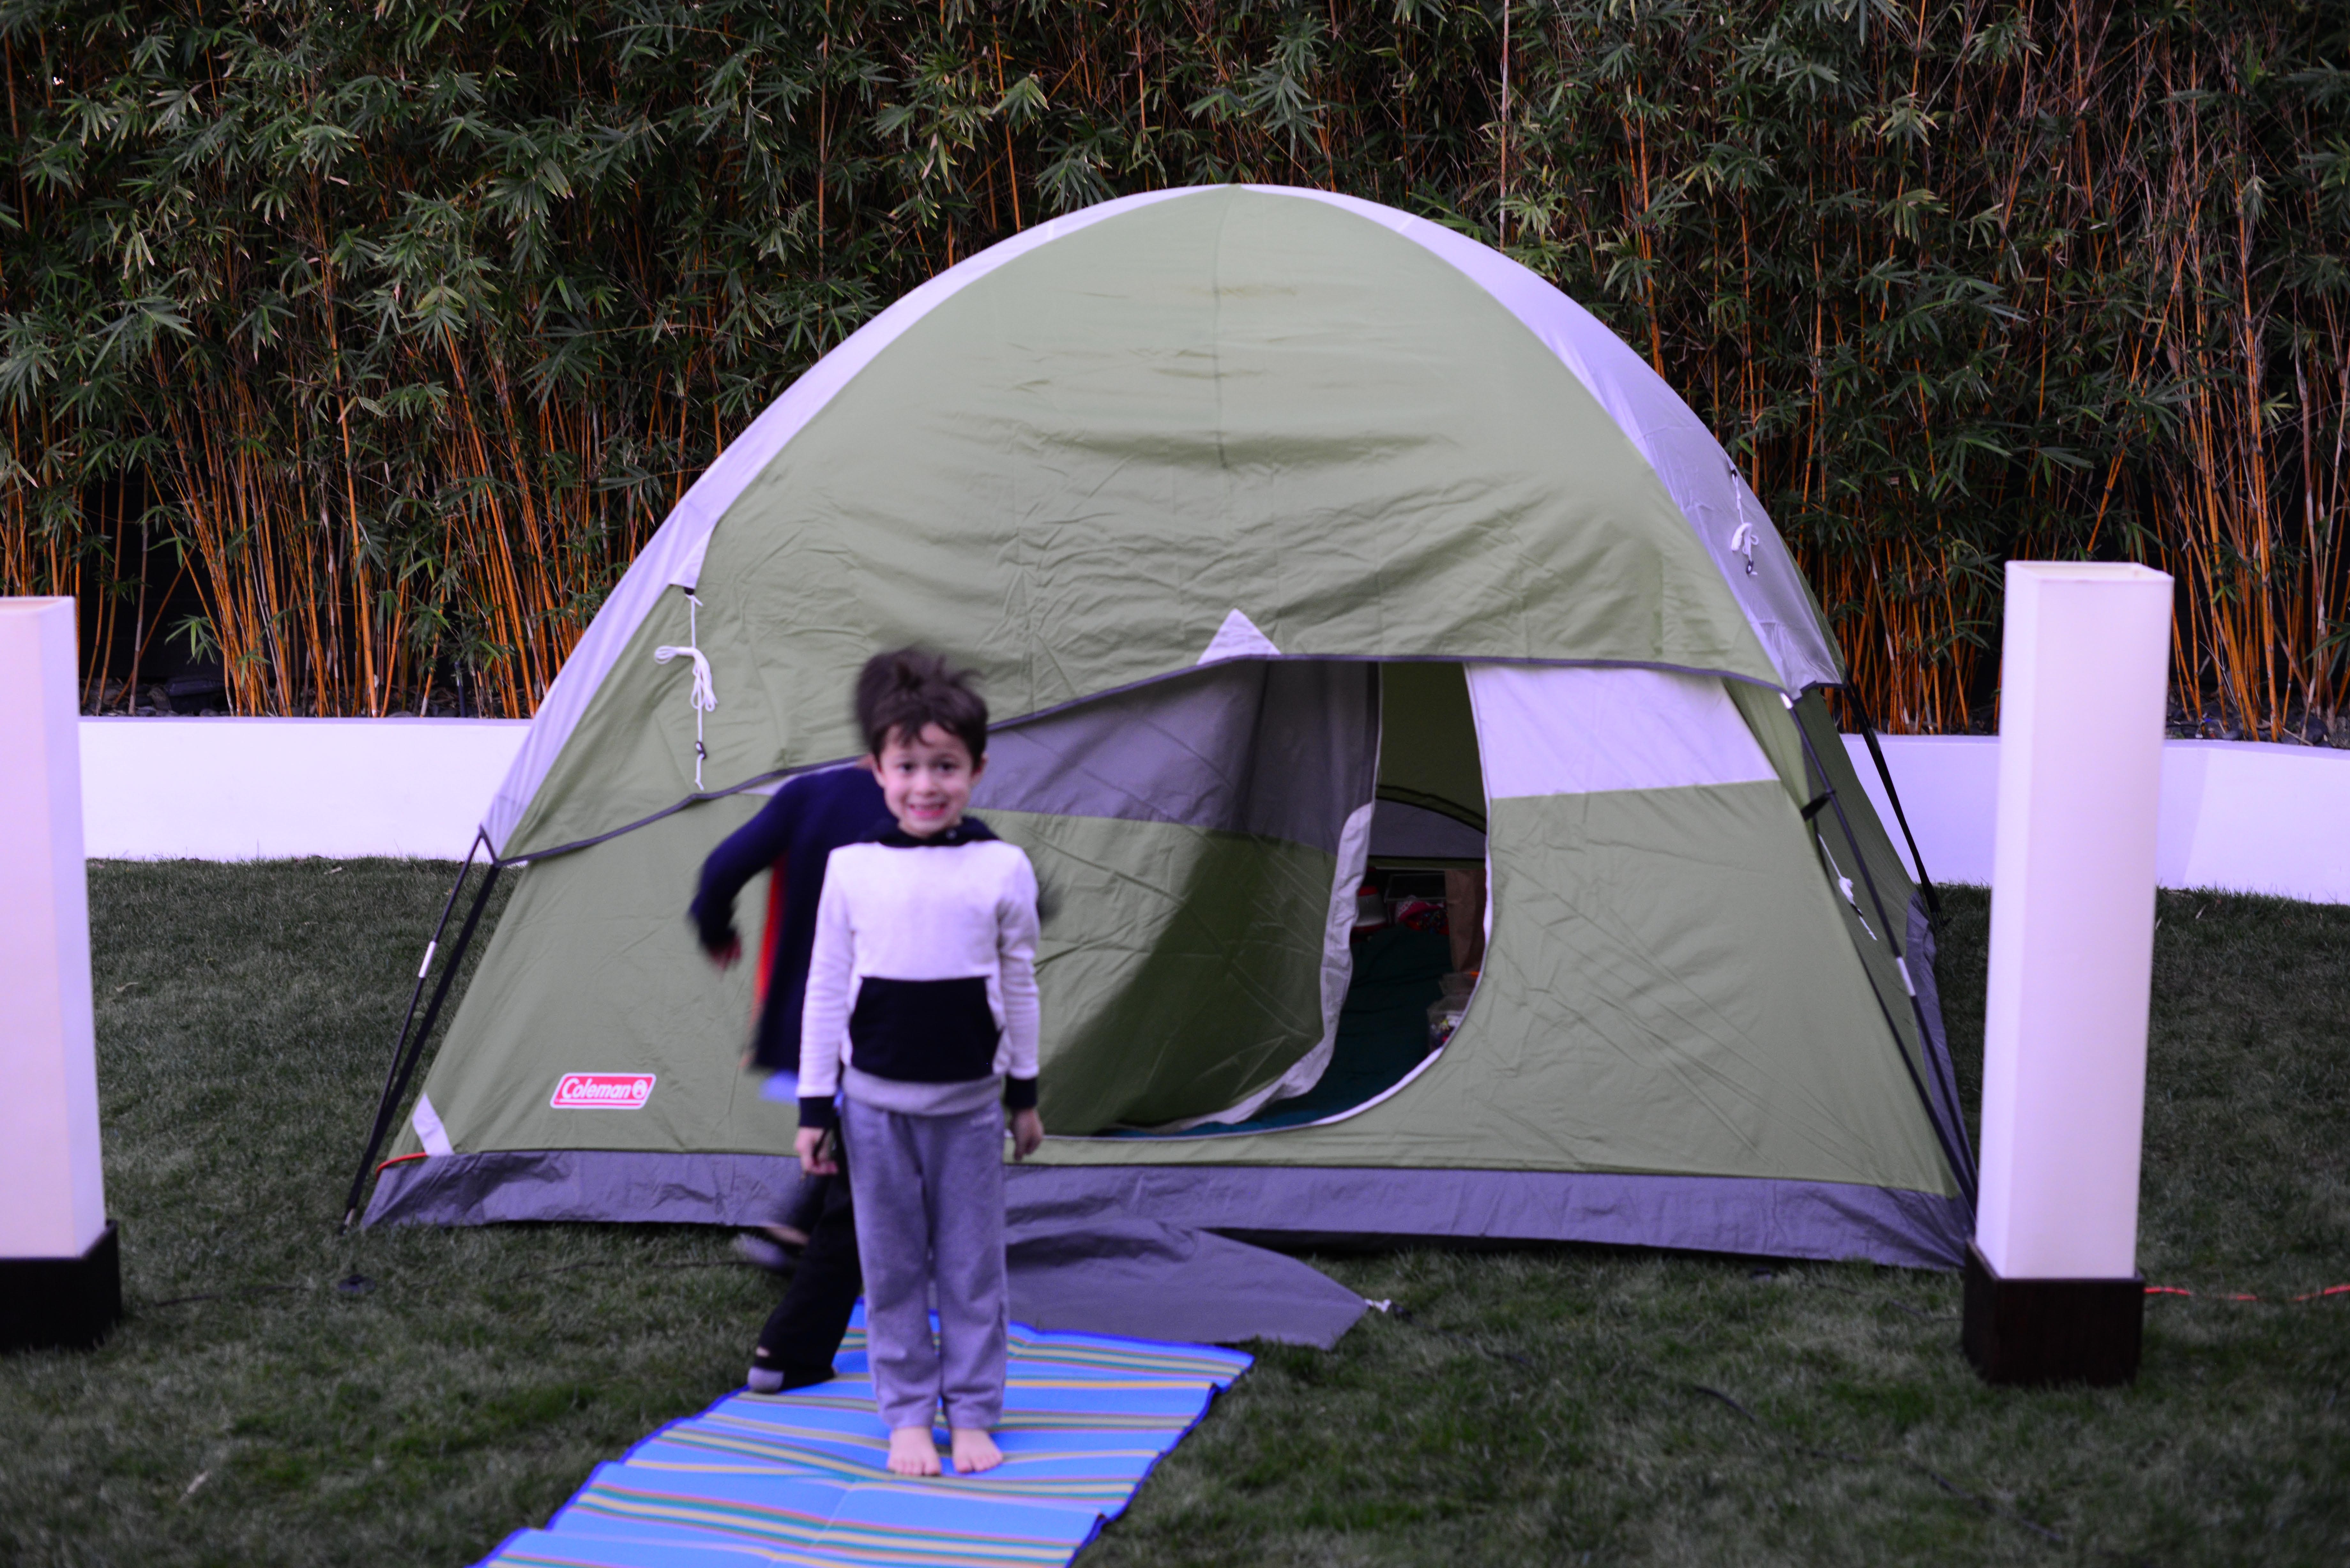
Still, I want my boys to have every childhood experience I can give them, so we went “camping” Sweet Nerd-style. That is to say, we set the tent up in the backyard, roasted marshmallows over a gas flame, and baked up these adorable bear cupcakes. So, that counts, right?
And now…on to the bears! The boys were stoked to recreate a bear cupcake we saw on this sweet blog named, The BearFootBaker. Fitting, right? She is a master at sweets – you must check her out.

Here’s how we turned these very basic chocolate cupcakes into little, edible bears.
Planning ahead is the key (to not losing your patience) and because I wanted to assemble these with the kids, I took the following steps:
1. Pre-bake the chocolate cupcakes (see recipe below).

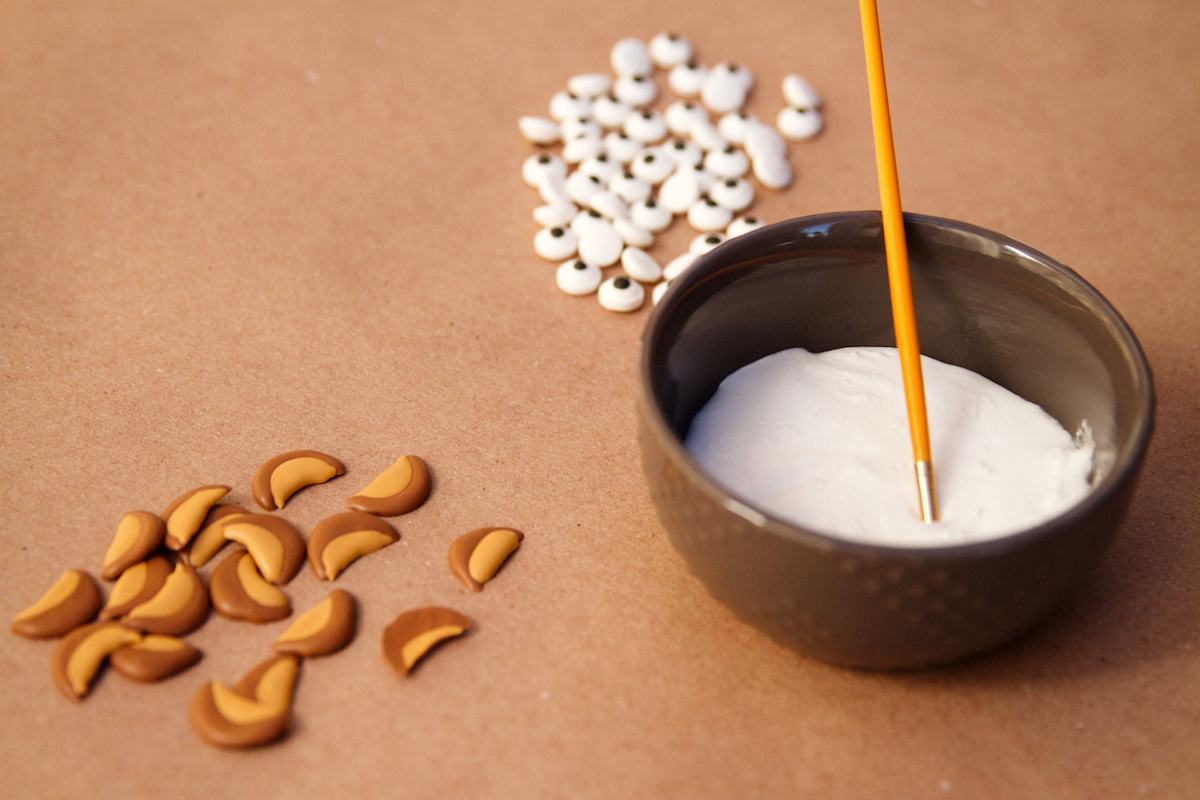
2. Prepare the royal icing and make brown, black, and tan colored icing using Americolor. Load each color into piping bags using a Wilton Tip #2.
3. Next, I made the shapes freehand on a piece of blank parchment paper (tip: tape down the paper so it doesn’t move). Pipe directly on to the paper and let it dry completely before you use it for assembly (the icing needs to be hard).
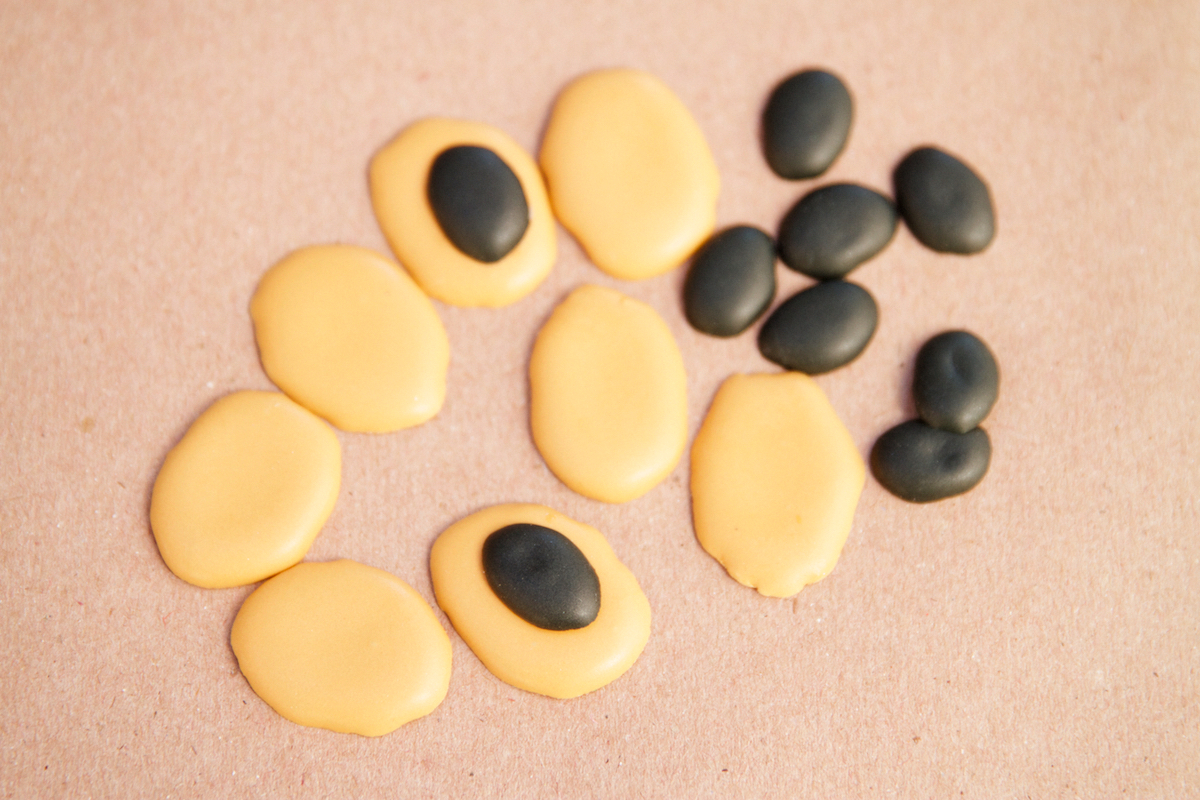
Nose – The nose has 2 parts. Use beige and make it into an oval shape, pipe 2 dozen. Next, use black and pipe it into an oval size about half the size of the beige. Next, adhere the black onto the brown with a bit of royal icing as glue.
Ears – With the same color, make little half moons on the parchment. Then, with the brown icing, put a thin half circle along the top edge of the half moons to give the ears that two-tone look. Let those dry along side the noses.

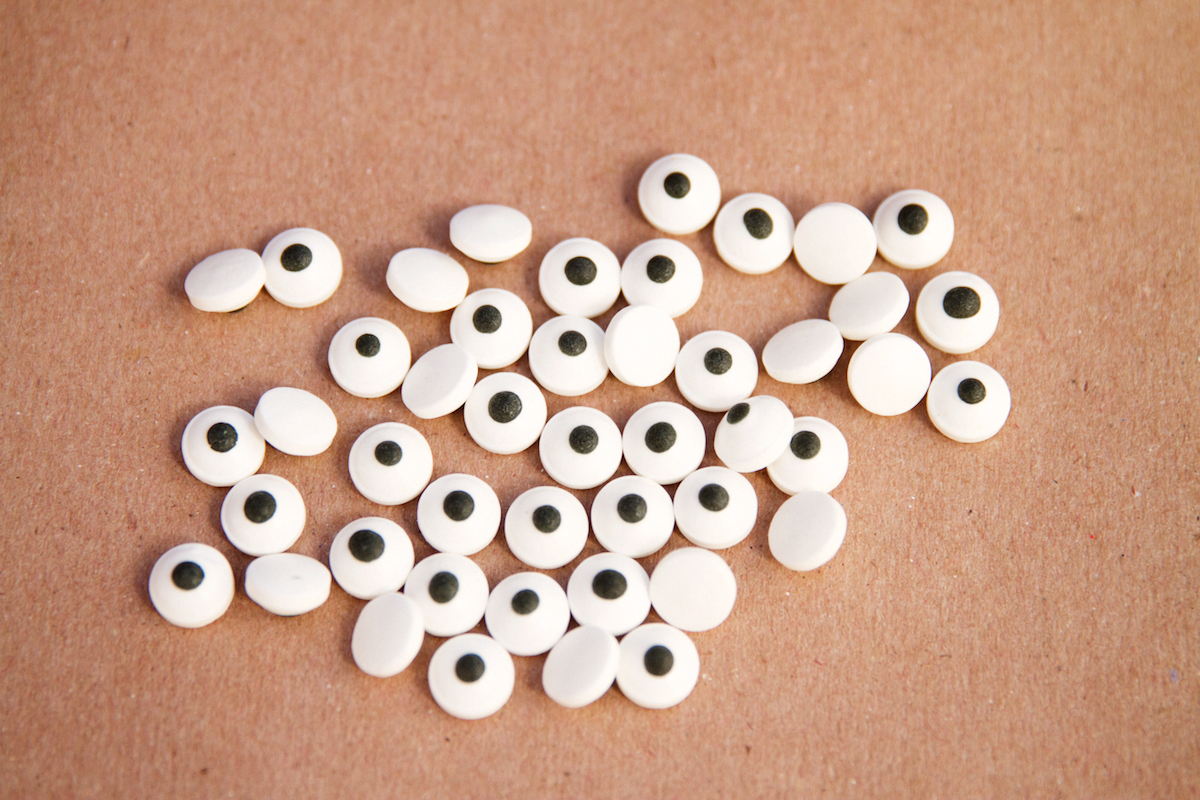
I bought these eyeballs from Layer Cake Shop. They’re so cute and I’m frankly surprised how often I find uses for them. If you have kids, don’t be afraid to stock up on these little babies.

First, we whipped up a batch of buttercream frosting and colored it with brown food coloring from Americolor. I used the Wilton decorating tip #233. Simply push in as you squeeze, then lift to get that fun furry texture.

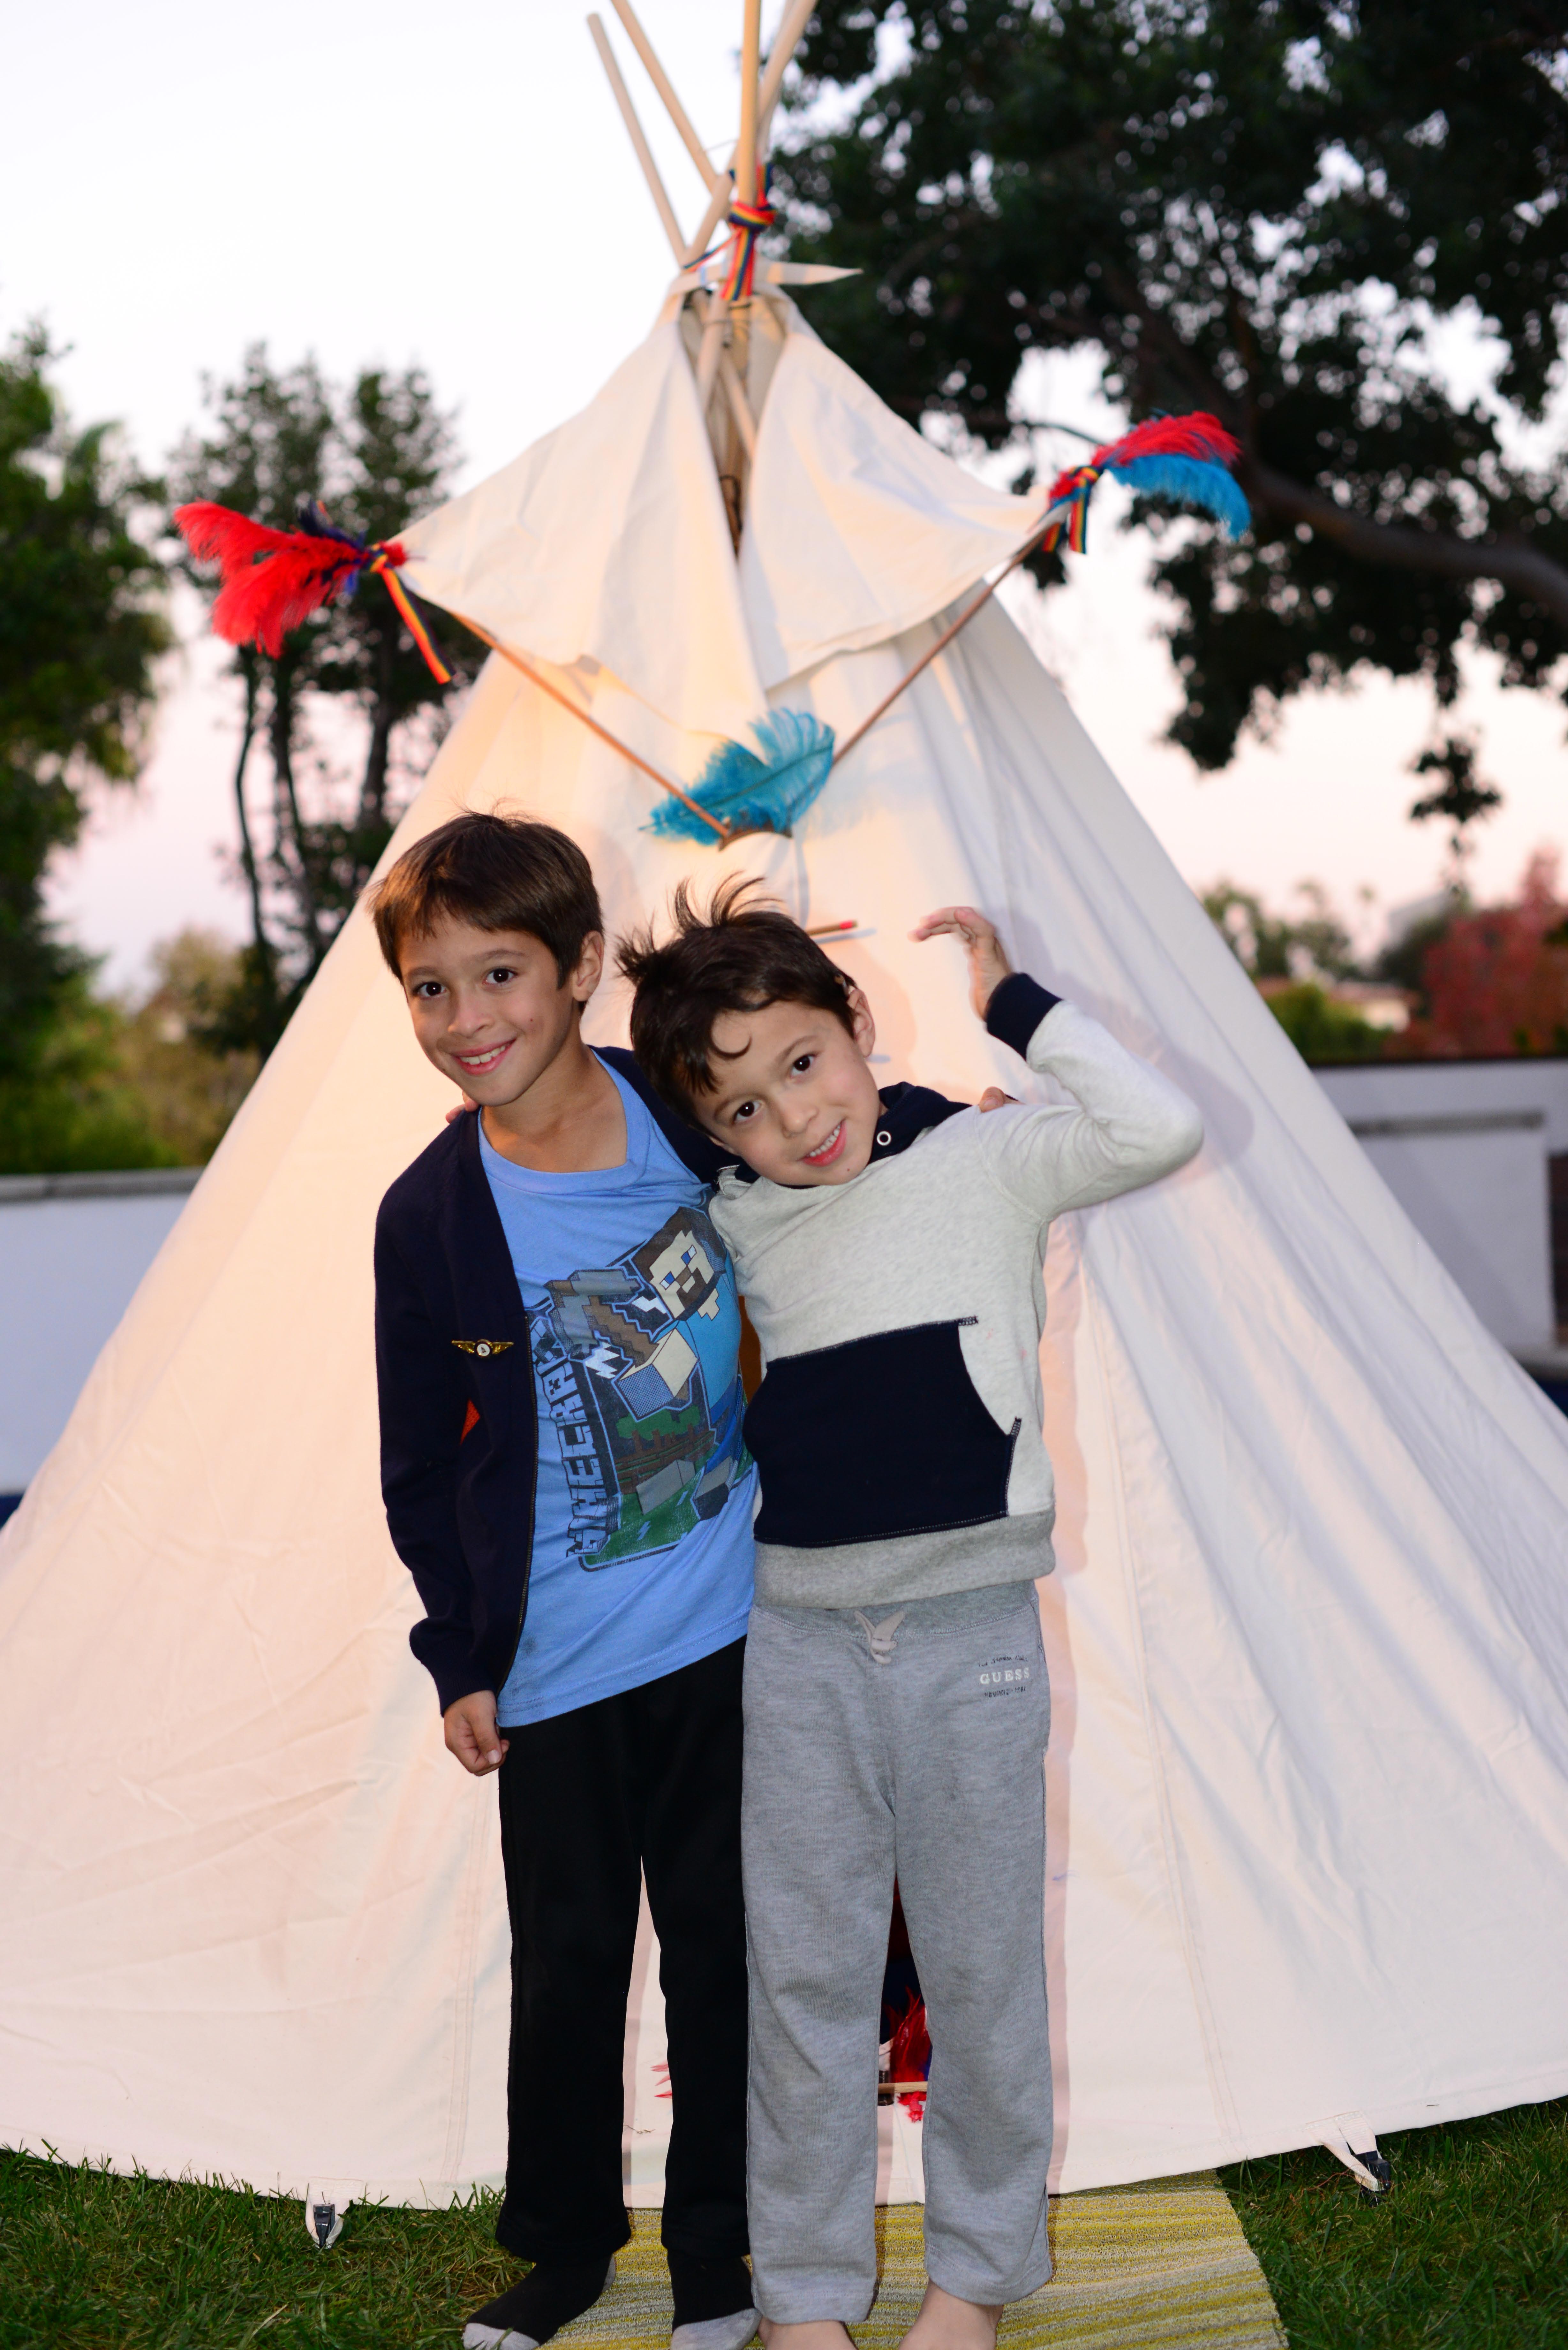
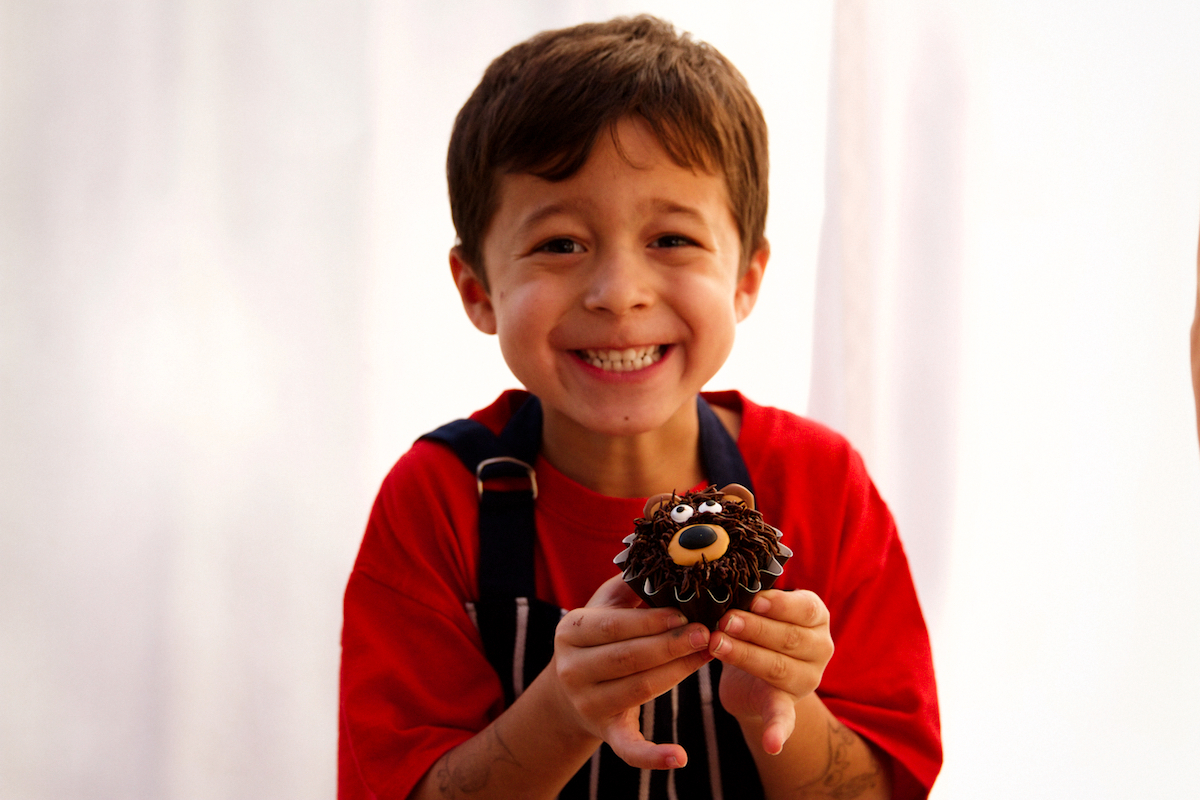
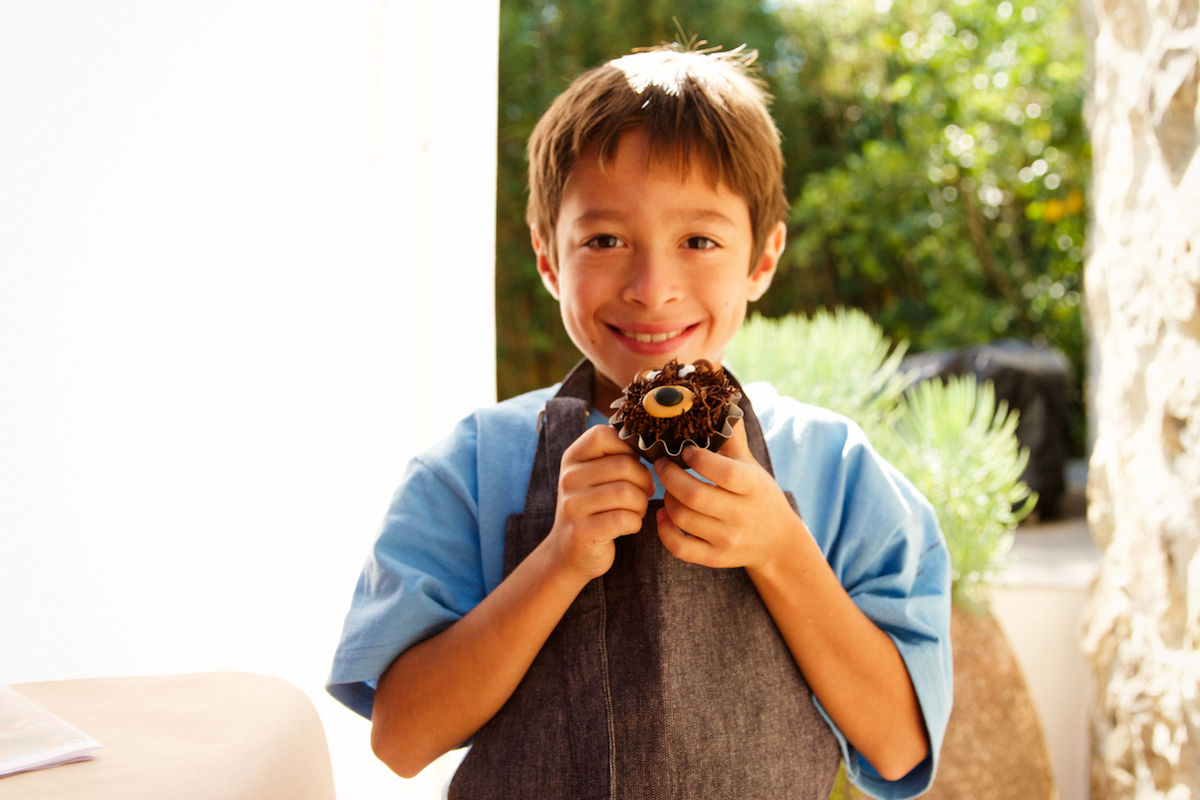
I watching my boys squeal with delight as they learn the tricks of the trade. They’re total rock stars and, believe me, encouragement is huge.

Aren’t they adorable? (Ummm, and the cupcakes are pretty cute, too!)
So, if you’re not feeling up to camping, take the kids out into your own backyard for a stay-cation. In terms of childhood memories, you’ll get the same result with a lot less work and I can absolutely promise that bear cupcakes are more fun than real bears. And they don’t bite back!

Credit: Bearfoot Baker
Photos by: Maria Hedrick Photography
Cake 1Preheat the oven to 350 degrees. Line tins with baking papers. 2Place a large bowl over a sauce pan and gently simmer chocolate and butter. Remove from heat. Whisk in the sour cream and vanilla until well combined. 3Add the flour mixture and whisk until evenly combined. Fill until a skewer inserted in the middle of a cupcake comes out clean. Chocolate Buttercream 1Make a double boiler to gently melt the chocolate by setting a small stainless steel bowl over the top of a small saucepan filled with a couple of inches of water over low heat. Put the chocolate in the bowl, and use a rubber spatula to stir the chocolate occasionally. Scrape the sides of the bowl so the chocolate doesn't burn. When it's almost completely melted, remove the bowl from the pan and continue stirring until all the chocolate has melted. Set the bowl aside and let the chocolate cool until its just slightly warm. 2In the bowl of a stand mixer fitted with the paddle attachment, cream the butter. Start with the mixer at the lowest speed, then gradually increase the speed, using a rubber spatula to scrape the bowl as needed, until the butter is light in color and perfectly smooth, and makes a slapping sound as it hits the sides of the bowl. If the butter is soft, this should only take 30 seconds, but if the butter is cool, it can take a couple of minutes. 3Add the sugar, 1 cup at a time, and mix at the lowest speed until it's fully incorporated before adding the next cup. When all the sugar has been added, scrape the paddle and the bottom and sides of the bowl. 4Add the vanilla and salt, and beat at low speed for 30 seconds. 5Turn the mixer off, scrape the sides of the bowl, and then add the melted chocolate. Start by beating on low speed for about 15 - 30 seconds to incorporate the chocolate. Then, increase the speed to as high as you can without making a mess, and whip the buttercream until it is perfectly smooth, creamy, and light, about 5 minutes. Stop the mixer once or twice to scrape the bowl and paddle, then continue beating. At first the buttercream will appear to soften, then it will stiffen and increase in volume. 6Use right away or refrigerate in an airtight container for up to a week. When you're ready to use it, let the buttercream come to room temperature, then put it in the stand mixer and beat with the paddle attachment until creamy and stiff again. Royal Icing for Ear and Mouth decorations 1Add vanilla flavoring into 1/2 cup water and set aside until step 3. 2In the mixer (using the paddle attachment), gently mix confectioners sugar and meringue powder on low. 3Add 1/2 cup flavored water and mix on low until it is thick and lumpy. 4Now, drizzle the remaining water as needed until it becomes a thick-like honey consistency. 5At this point, turn mixer on medium speed for 3 minutes or so until icing is thick and fluffy. Stop when it forms a soft peak.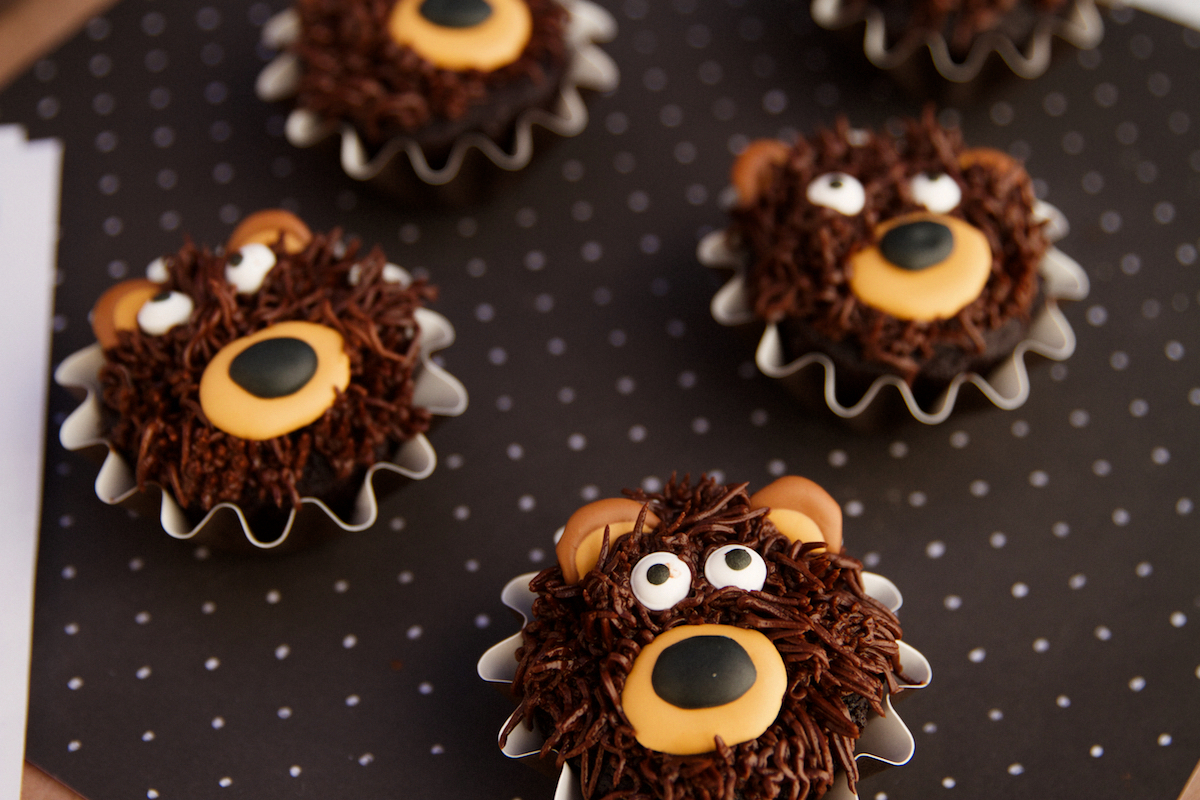
Directions


LET’S BAKE TOGETHER!
Don’t Miss A Recipe


OMG these are the CUTEST little cupcakes! I totally want to make these!
Awww shucks, thanks Maryanne. We chomped these down! HA.
SO cute! I love Layer Cake Shop too – I think I need to stock up.
I agree. Layered cake shop is so fun and adorable.
These are so darn cute and look pretty easy to make! I’ll have to make them for my next camping trip
Right? I love these beary cute inspired cupcakes.
Hahahaha! I’m SO not a camper either!! My idea of camping is grabbing a bunch of pillows and blankets and camping out on the couch. lol. I mean, that counts right?! Anyways, LOVE these cupcakes! They are seriously just SO cute!!!!! Cheers, doll!
Thanks Chey. They were fun to make and the kiddos loved them!
These are so cute! I have to make these as I just made some Barnyard Animal Cupcakes for my friend’s 3 year-old. Totally into the animal themed cupcakes right now. Love!
Thanks Lorna. You would love love love these.
I am with you on the camping thing, more of a glamper myself these days (lol). I love your version of camping in the back yard — so fun without all the hassle. And these cupcakes are ADORBS! <3
Backyard camping all the way darling! 100%!
I see you don’t monetize your blog, don’t waste your traffic, you
can earn additional bucks every month because you’ve got hi quality content.
If you want to know how to make extra $$$, search for: best adsense alternative Dracko’s tricks
I actually read this book with my daughter for the first time yesterday. I love the idea of a staycation too. So much fun!
Camping in the backyard with bear cupcakes instead of the real animals is much more my speed!
Very cute cupcakes! This recipe would be fun for my kids!
Thank you! Kiddos are definitely the perfect sous chefs for this recipe.
Oh my goodness, these are adorable!!! What lovely cupcakes! I too love the idea of camping, but have always found it to be…. less than pleasant when I actually go! I wish I loved it, so many people seem to, but I just like my home comforts too much!!
Thank you, Annie! I wish I loved camping too but I think I’ll stick to “glamping” (glam camping) xD
These are too cute. Almost worth putting the tent up for? They look lovely and rich. I’m with you on the camping notion – it’s just something to tolerate whilst the kids are young, then it’s luxury hotels all the way for me.
I definitely needed these cupcakes to be the sugar support of motivation to put that tent up so maybe you should bake first and then camp… OR have your kids set up the tent, either way works.
Camping in the backyard absolutely counts!! That’s how we camped with the kids too! (After trying the
‘real’ thing one time and concluding that maybe “we’re not camping people”… 🙂 ) I love these bear cupcakes! Wish I had thought of these when the kids were little..bet your boys loved it!