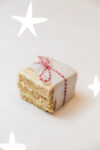
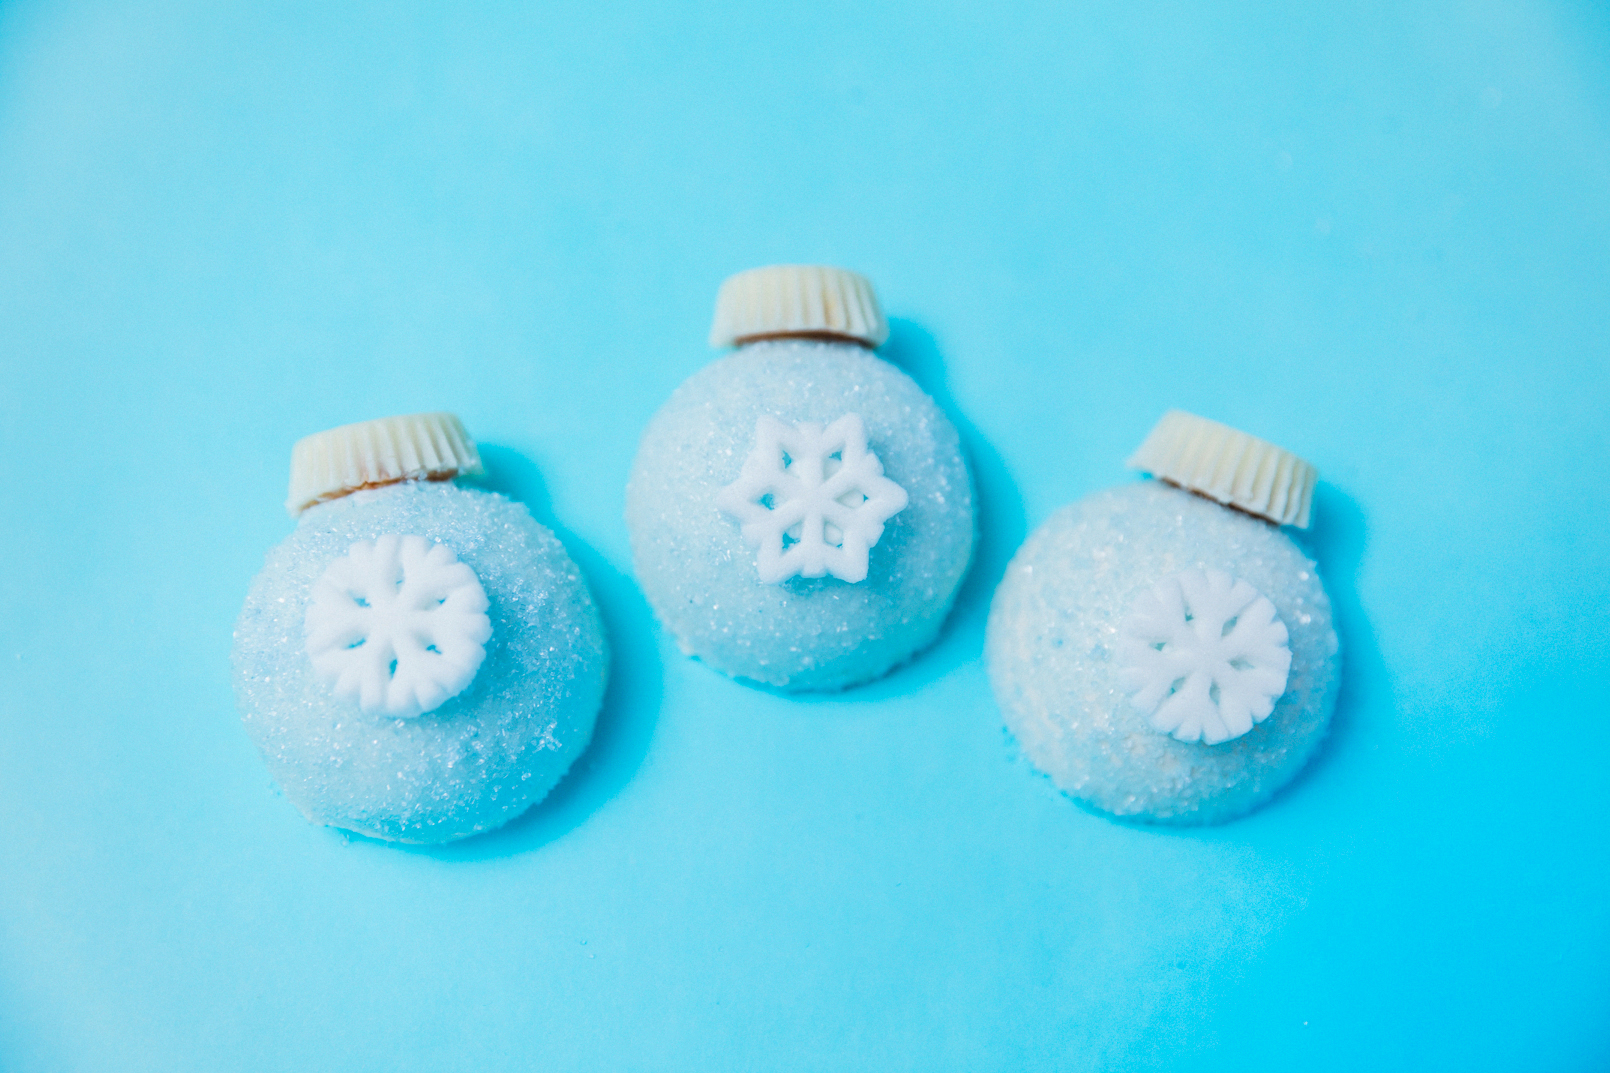
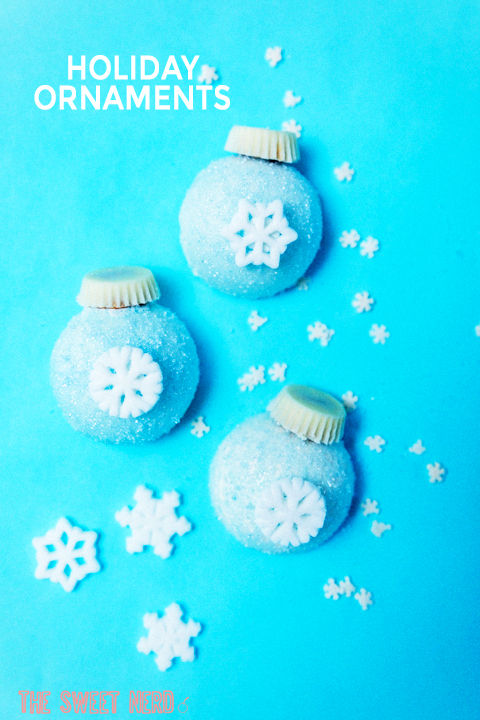
These delicate White Chocolate Cake Ornaments (inspired by the Cakegirls) add a dash of sparkle to the holiday dessert table. White chocolate on the outside, a moist chocolate cake on the inside, and a peanut butter cup topper, they taste as good as they look. I’m fond of a blue and white palette for the holidays, and if you want more you can check out these Snowman Donuts and the HoHo Gingerbread Spice Cupcakes.
ORNAMENT CAKES
I need to give credit where credit is due. There are so many rad bloggers out there in the ether world, and I was inspired by The Cakegirls, who make every and all cakes look insanely beautiful and delicious. These ornaments are their brainchild and I wanted to give it a whirl to see if it is mom-friendly, kid approved. Yep, it is! Check out their incredible sit and drool, like I do! Try their one-stop shop on buying all of their molds from start to finish, Cakegirl molds.
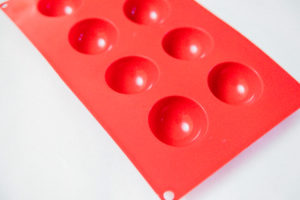
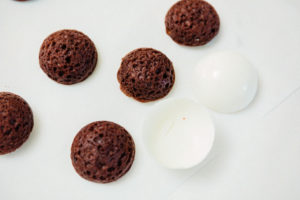
Since these ornament cakes are chocolate cake surrounded by an outer layer of white chocolate, I used the molds in a couple of different ways. First, I filled the empty molds with the chocolate cake batter. Fill only 1/3 the way up and bake. Remove the chocolate disks from the molds and set aside.
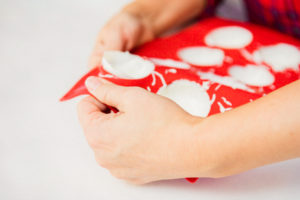
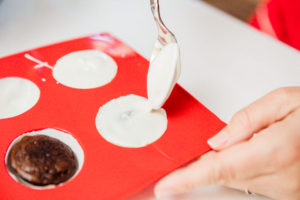
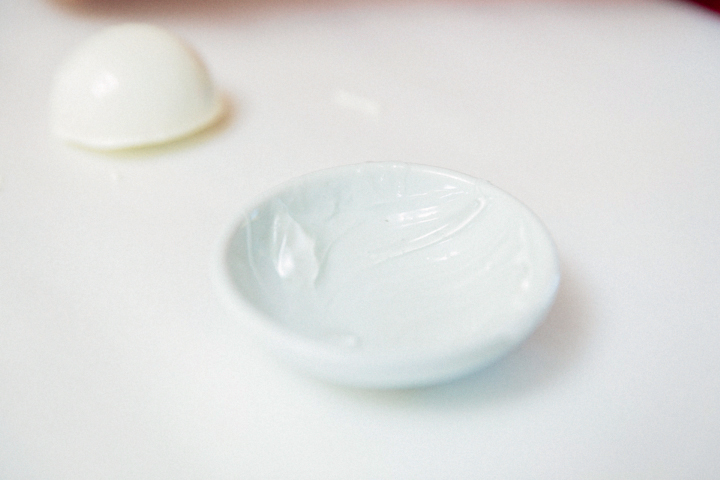
The second use includes making the shell of the ornament with the white chocolate. Melt the chocolate on the stove in a bain-marie, and then fill the molds one third full. The goal is to create “cup-like” white chocolate molds. These cups will hold the chocolate cake balls. Tilt until each mold is entirely covered. Put in the freezer for 10 minutes.
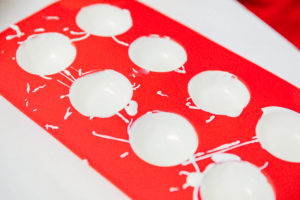
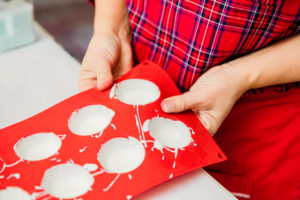
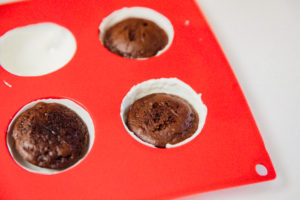

Lastly, add the chocolate cake balls, and cover the top with more melted white chocolate. Put back in the freezer for 10 minutes.
DECORATING THE CHOCOLATE CAKE ORNAMENTS
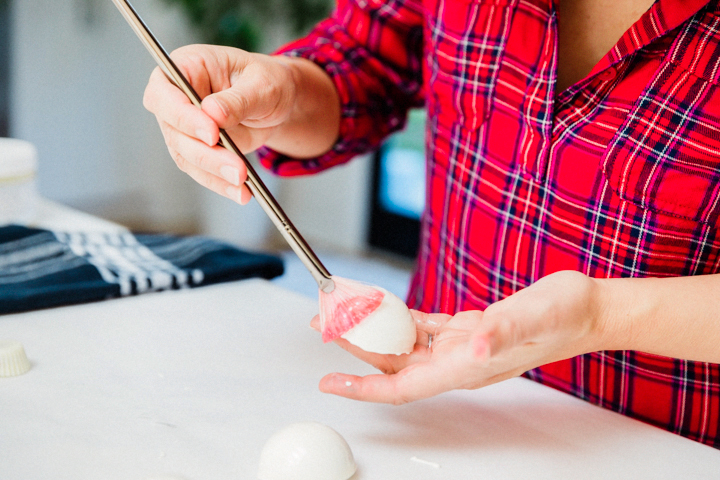
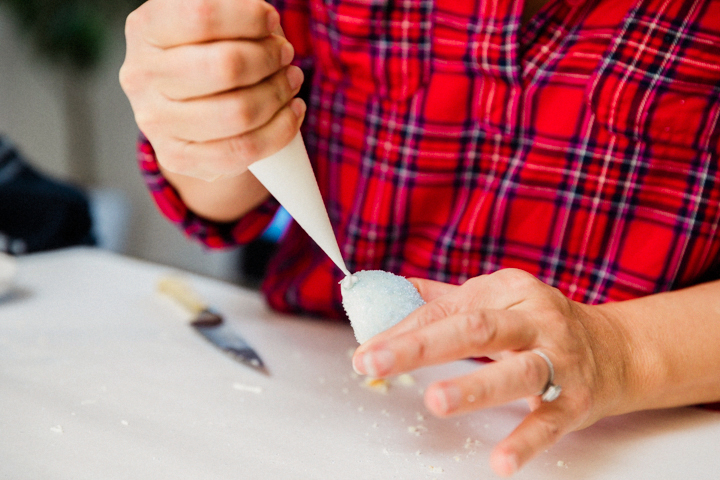
After the white chocolate balls have hardened in the freezer, brush each ball with glaze. Really smother it on so that the sanding sugar will cover the ball completely.
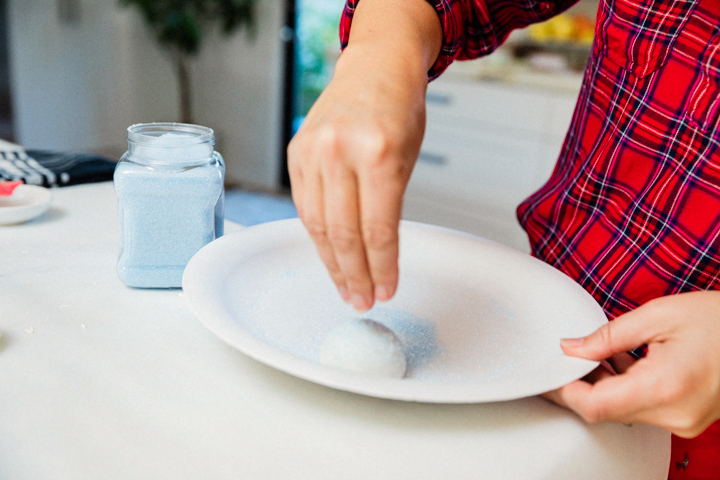
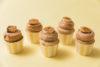
Top with blue sanding sugar. Let that dry a few minutes before adhering the Reese’s Mini Peanut Butter Cup topper (cut beforehand to the desired size).
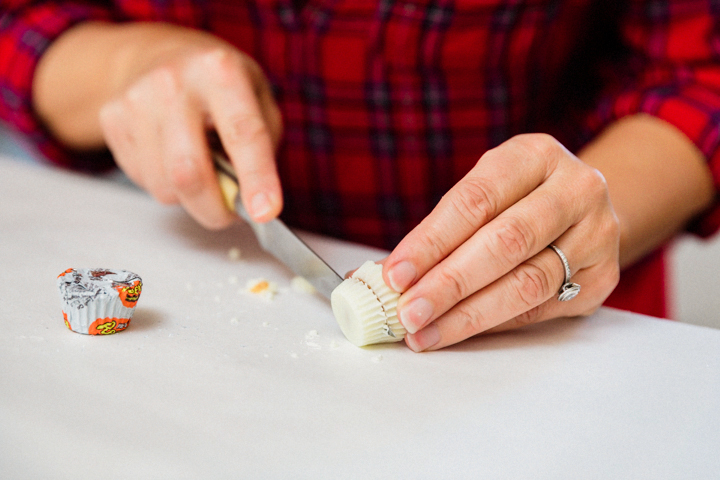
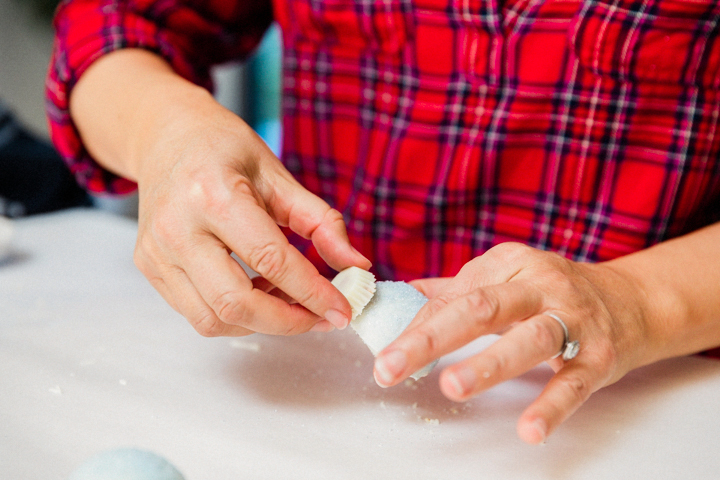
I sliced the Reese’s Cup in half, placed atop the ornament body, and then applied royal icing as the glue. The best tasting glue ever. If you don’t want to mess with royal icing, you can adhere with the same glue. It just takes a much longer time to dry!
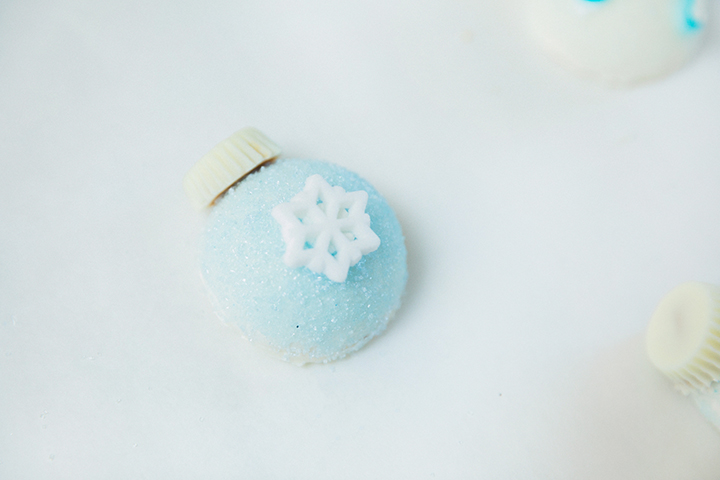
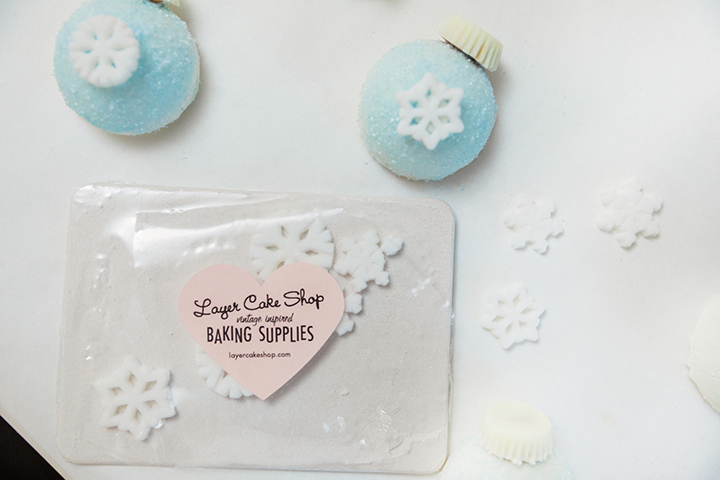
This is the best part….adhere the snowflakes to the chocolate ball with either royal icing or any left over glaze. Again, I like royal icing because it dries super fast and I am impatient that way!
Let it snow, my butter cups!
OUR FAVES
- Merkens, White Melting Chocolate
- Fondx, Mirror Glaze Piping Gel
- Layer Cake Shop, Snowflakes
- Cakegirls, rad cakes made easy

Photos by: Maria Hedrick Photography
Royal Icing 1In the bowl of an electric mixer combine powdered sugar and meringue powder. 2Add the water and extract slowly. Beat at medium-high speed until stiff peaks form (about 5-7 minutes). Ornaments 1Bake chocolate cake mix as directed on box in molds. Pull cake out of molds and fill half way with melted white chocolate. Freeze and place chocolate cake back into mold on top of white chocolate mold. Add more white chocolate and freeze again. 2Pop the ornament out of mold. Using the wilton gel, cover the outside rounded portion and sprinkle blue sanding sugar on top. 3Using royal icing attach snowflake candy and top part of the Reese's cup.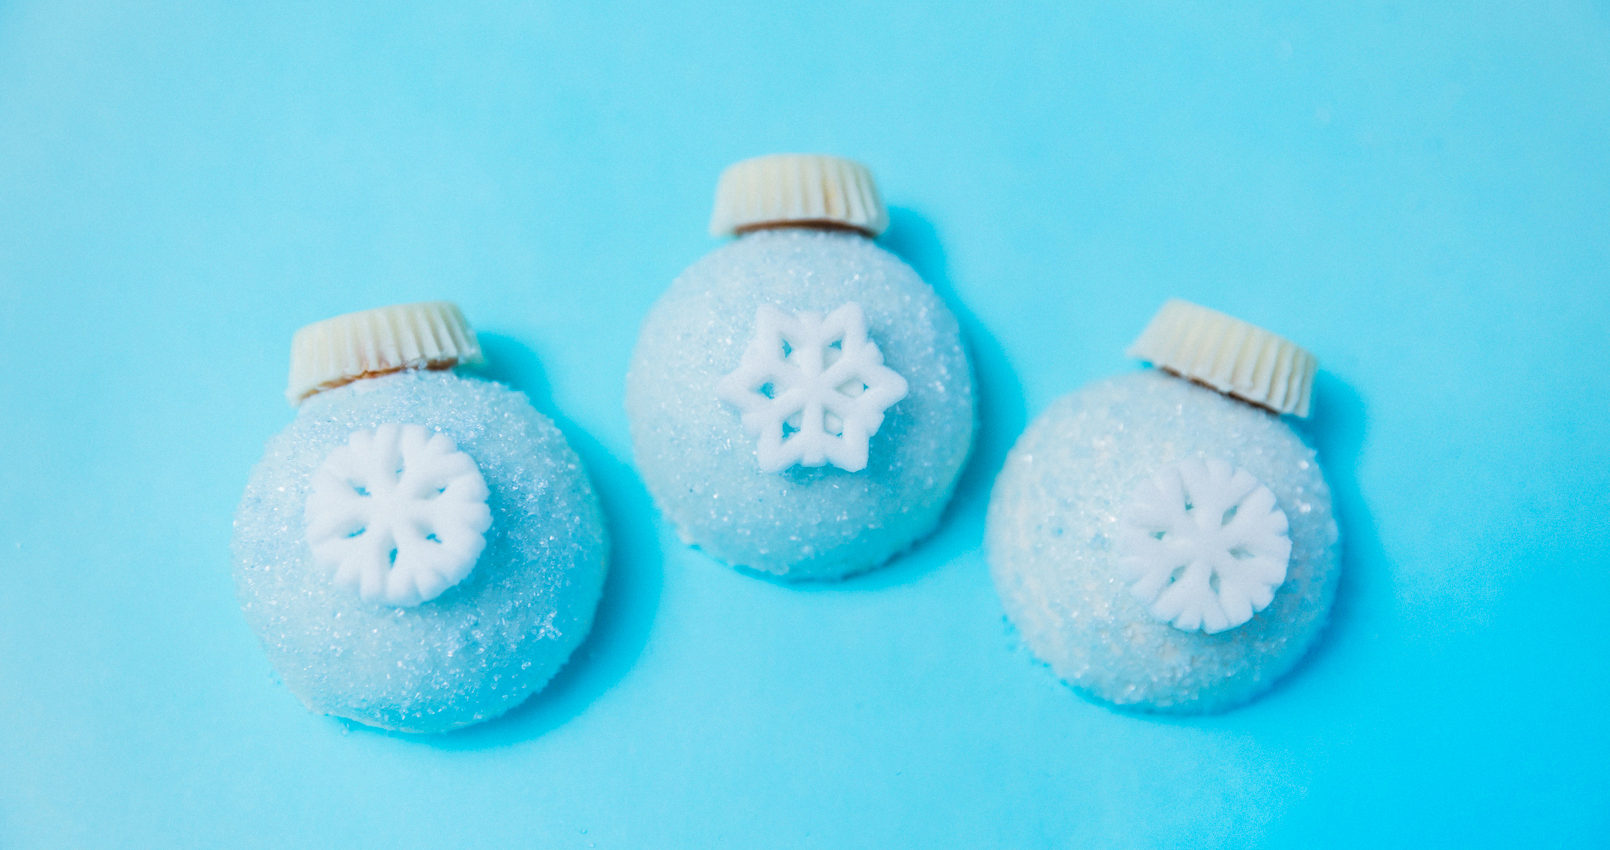
Directions


LET’S BAKE TOGETHER!
Don’t Miss A Recipe