
Here’s the truth: I hate the flavor of candy corn. What’s that all about? Those little kernels are like…sugary, bland, boring-ness made from such hardcore corn syrup my teeth ache just thinking about ’em. I know, I sound like the Halloween Grinch, but here’s what does make me swoon – the hues of the candy corn. There’s something about the soft melding of orange, yellow, and white, going from a shade of bright tangerine to spun gold.
Oy! Enough waxing poetic, here’s how I applied those beautiful ombre of colors to baking. I turned the Halloween color scheme into an ombre cake smothered in a rich buttercream frosting. I envisioned serving this ombre cake at a slightly sophisticated fall get together, or as a centerpiece at a Halloween party with a little more elegance than the standard orange and black decor.
START WITH A CANDY-CORN COLORED CAKE
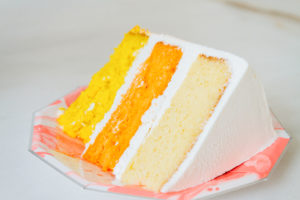
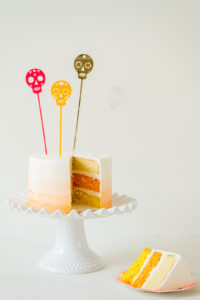
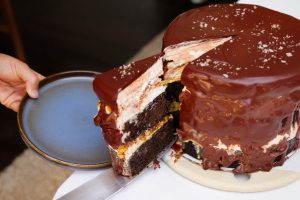
The frosting isn’t the only part of this cake that has the fun multi-color ombre look. The cake itself, when sliced, is going to have this beautiful, three-layered surprise of candy corn shades. Making this cake is super simple and technically not considered cheating as I’m using two boxes of white cake mix which you’ll divide into three 8-inch cake rounds. For food coloring (I used Americolor), pick a solid yellow and an orange. Leave the third round white, with no food coloring. After baking the three cakes, leave in the fridge overnight for easy cutting the next day.
MAKE YOUR EASY VANILLA FROSTING
Buttercream…yum! Try my Jennifer Shea Buttercream frosting recipe for a super light, airy filling. Let’s keep the filling white to compliment those luscious candy colored cakes. 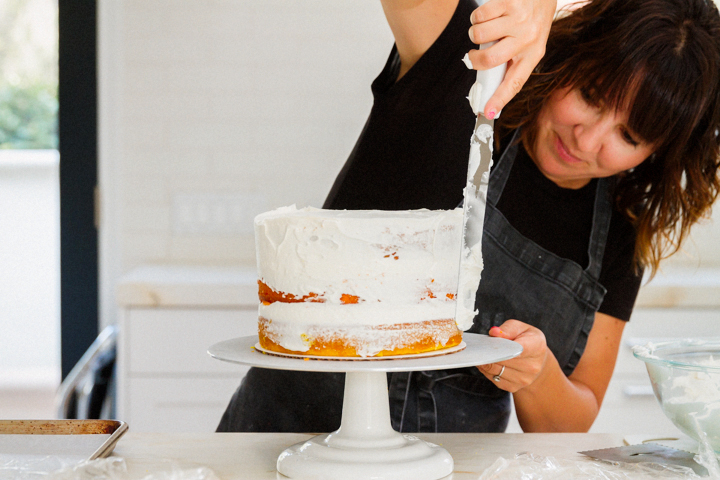
Next, apply a thin layer on the sides to trap in the crumbs. This is known as the crumbcoat layer. Refrigerate for 20 minutes or so!
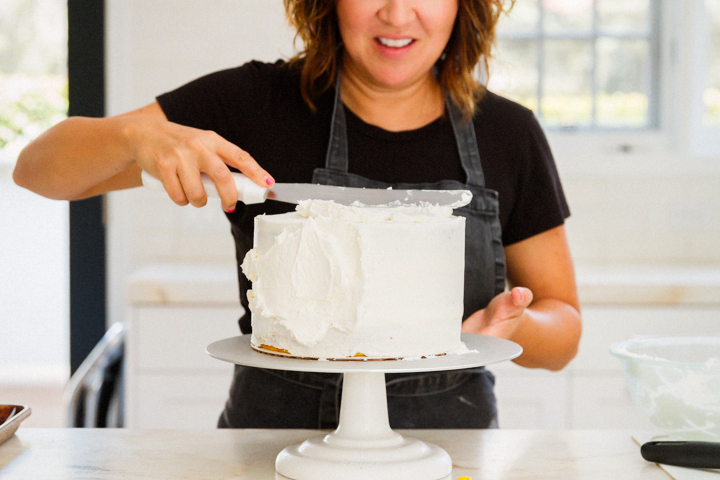
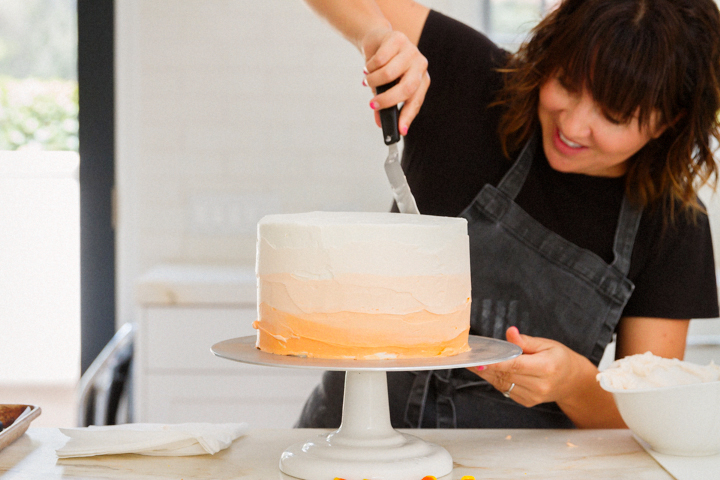
Last is the final layer of white frosting with my handy-dandy cake scraper. Don’t let the name scare ya, this guy is a cake-saver! Smooth out your sides and finish with the top. Voila. You are now ready to ombre your frostings!
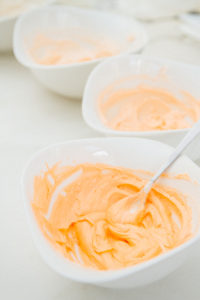
Next, divide the frosting into five bowls, and choose four hues of orange and yellow that will shade well together (leave the fifth bowl white). Light to dark, or dark to light – unleash your inner artist.
LETS REVIEW CAKE BASICS UP TO THIS POINT
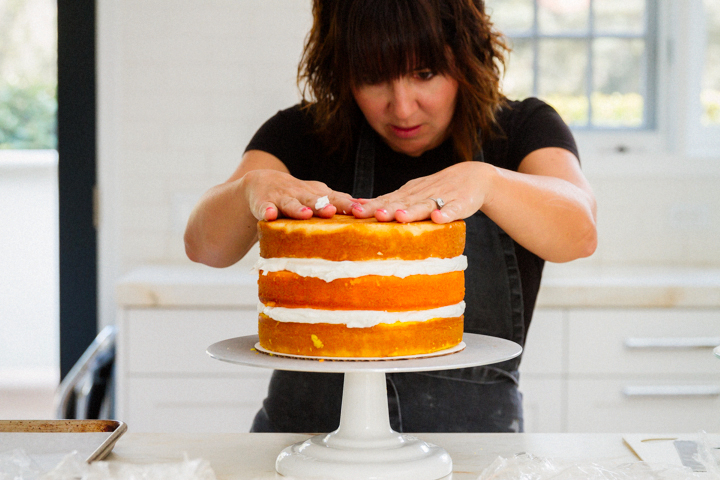
- Cut, Layer, and Fill: First, cut each cake, and begin with your base cake as the first layer. Frost and fill with the white buttercream, then add the second layer, same thing – frost and fill, then top with the third cake.
- The Crumb Coat: I love this technique – it makes the cake look so professional. The “crumb coat” is when you frost the cake completely using all white, no ombre yet. Put the cake into the fridge for 20 minutes, and what this does is seals in the crumbs so you’re not raking in bits and pieces of your cake into the beautiful shades of ombre.
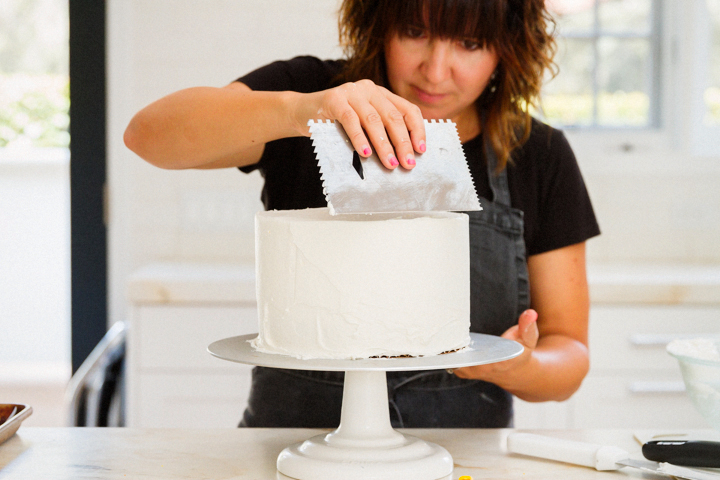
- The Final Frost: Frost the entire cake with white frosting one final time for smoothness. Using your cake scraper, make a few sweeps all the way around and finally smooth out the top. Now your ombre cake is ready for decoration.
THE MAGICAL OMBRE
Take those four bowls of colored frosting and start with the darkest for your bottom shade. You’ll want to apply the colors about the same measurement so that the shades are equal in size; 1-1.5 inches should be fine. Apply a total of four shades, smoothing out the extra frosting with a cake scraper at the very end.
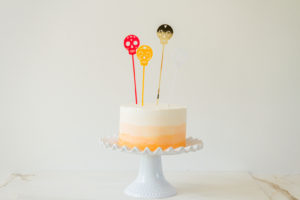
There you have it, an ombre cake that uses the colors of Halloween, but in a whole new light. I added skull cake toppers from Meri Meri, that I bought at Bonjour Fete, a simple decoration that I realized kind of inspired me in the beginning when picking out my hues. Where will you find inspiration this Halloween?
Photos by: Maria Hedrick Photography
October 5, 2019 Jennifer Shea Buttercream 1In a stand mixer fitted with the paddle attachment, cream the butter. Start with the mixer at the lowest speed, then gradually increase the speed, using a rubber spatula to scrape the bowl as needed, until the butter is light in color, is perfectly smooth, and makes a slapping sound as it hits the sides of the bowl. This should only take 30 seconds, but if the butter is cool, it can take a couple of minutes. 2Add the sugar, 1 cup at a time, and mix at the lowest speed until it’s fully incorporated before adding the next cup. When all the sugar has been added, scrape the paddle and the bottom and sides of the bowl. Add the vanilla and salt, and beat at low speed for 15 seconds. Increase the speed to as high as you can without making a mess, and whip the buttercream until it is perfectly smooth, creamy, and light, about 5 minutes. Stop the mixer once or twice to scrape the bowl and paddle, then continue beating. At first the buttercream will appear to soften, then it will stiffen and increase in volume. 3Use right away, or store in an airtight container for up to a week in the refrigerator. When you’re ready to use it, let the buttercream come to room temperature, then put it back in the stand mixer and use the paddle attachment to beat it until it’s creamy and stiff again. Cake 1Make cake mixes as directed on box. 2Separate batter into 3 eight inch pans with equal weight. 3Add drops of yellow food dye to the first one. 4Add drops of orange food dye to the second one. 5Leave the third one white. 6Bake as directed on box. 7Let cool then stack layers and filling of icing. Apply crumb coat of icing. Place in the fridge. 8Add another layer of frosting. Put back into fridge. 9Separate left over frosting into 5 bowls gradually adding more drops to make them darker. 10Start at the bottom of the cake with the darkest color and spread icing. 11Continue to move up the cake as the colors get lighter putting each line of icing above the other. 12Insert cake toppers. Enjoy.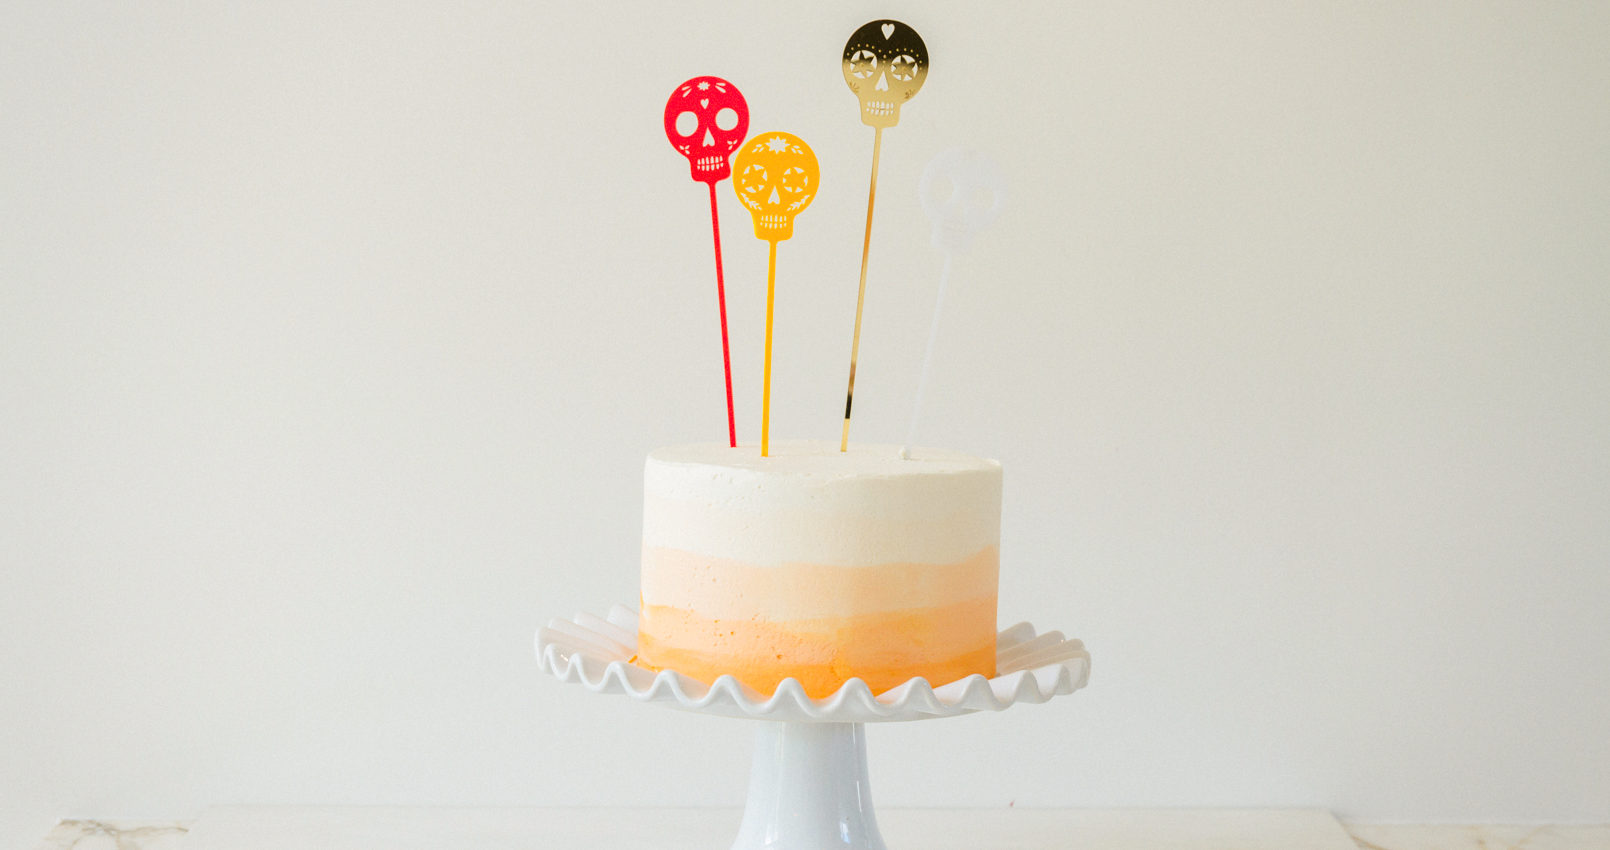
Ombre Candy Corn Cake
Directions


LET’S BAKE TOGETHER!
Don’t Miss A Recipe


This is SUCH a cute cake! I absolutely love the ombre look that gives it a elegant Halloween vibe. Killin’ it!
Thanks Kendall. I love it too. The ombre vibe so adds a layer of ‘fancy’ to Halloween.
So well done Cindy! This cake is just gorgeous, and the perfect show piece for a Halloween celebration! Love those skeleton toppers too!!
Appreciate it Mary Ann. I am a sucker for those toppers too! It sort of drove the color scheme. Toppers first, cake later.
Wow, what a gorge cake! I love the fun colors. Could you possibly use this as a year-round cake just by adjusting the color scheme to fit a certain season, mood, etc.?
For sure. I love that idea. This would be really cute with silvers and blues for some snowflake glam.
So perfect for October…festive!
Thanks Barb. I love Halloween and we are TOTALLY getting into the screamin mood over here.
Stunning! Loving the ombre effect (and of course, on top of a delicious cake 😉