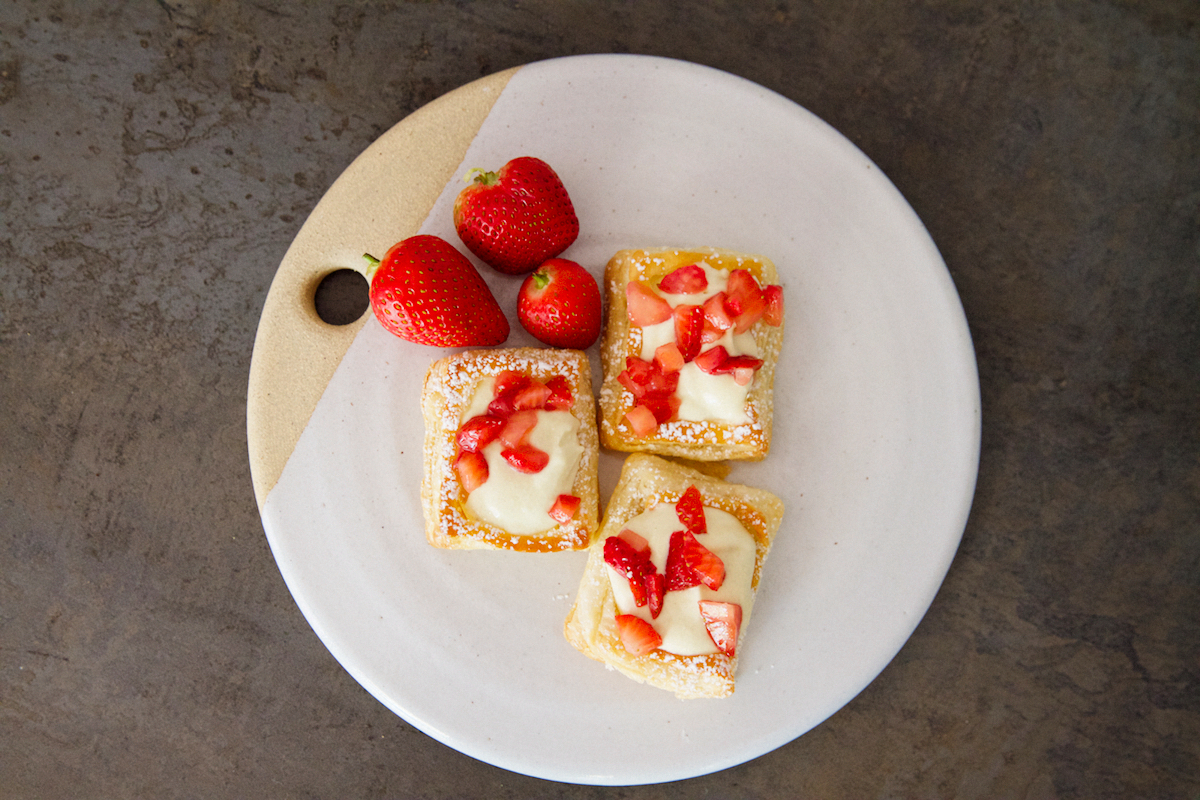
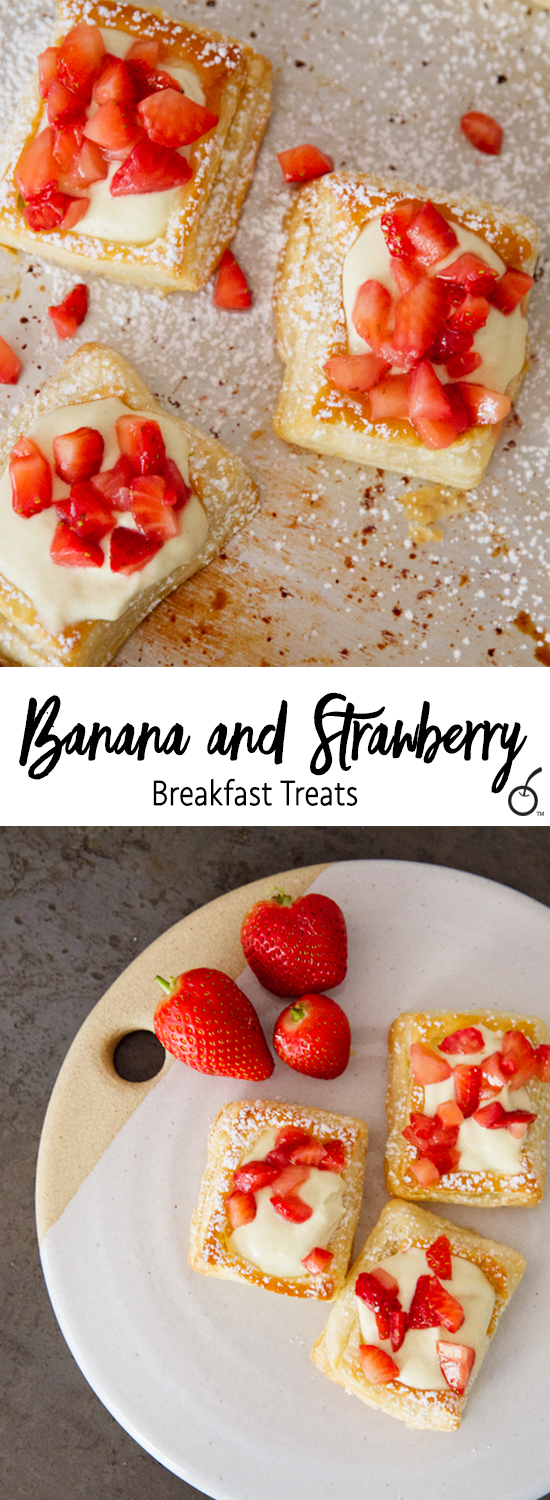
Smack! Muah! Make out! This isn’t obscene I promise you, but listen to me – this pastry will have you screaming for more. Just imagine a sweet combination between NYC’s Momofuku Milkbar banana cream pie and a store bought pastry dough topped off with ruby red strawberries. The showstopper of this recipe is, by far, the cream. This simple pastry is rich in flavor with its chantilly cream base and Cristina Tosi’s banana creamy goodness. Top it with your favorite berry and you’re set with a decadent morning breakfast. This recipe has three basic components: puff pastry, cream, and fruit.
Making The Cream
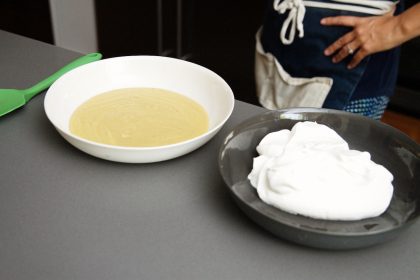
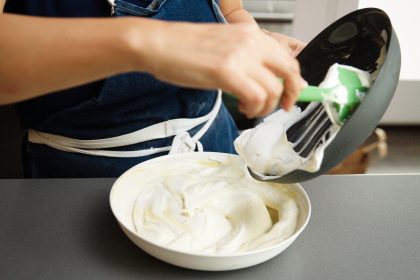
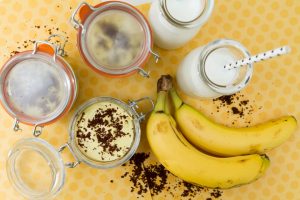
If you are tight on time, make the cream a day or two ahead, and then just assemble right before you are ready to serve. Leaving the cream overnight helps the filling firm up, as well as deepen in flavor. It is essentially a pastry cream (which is made on the stovetop) that is mixed with whipping cream creating a smooth and light texture. I have to admit, I’m a super sucker for banana cream pie so this recipe is one of my faves!
I used Cristina Tosi’s Banana Cream Pie recipe and modified it slightly a la The Sweet Nerd. She describes the look of the banana cream as “sludge” if you use super dark, ripe bananas. Ha! Well, I have no complaints as it’s the best sludge I have ever tasted. However, for this recipe, my creative OCD kicked in. I wanted a more aesthetically pleasing looking cream, so I popped in a drop of yellow food coloring to even out the color. But listen, the darker the banana, the deeper the love!
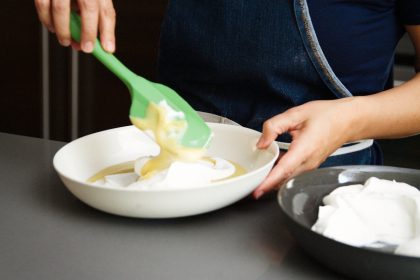
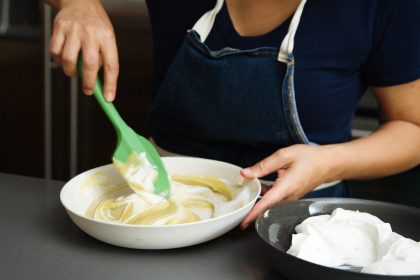
Take that lovely banana pastry cream that is starting to make you salivate and whip it with French crème chantilly (which is sweetened whipped cream flavored with sugar and/or vanilla.) Pop this in the fridge for a bit (Tip: overnight is better, but not necessary). Now, let’s talk about that “daunting” puff pastry dough that you’re dragging your heels about. Honestly, it’s not super difficult to make, it just takes a bit of time and patience. And you can always just go out and buy some store-bought frozen puff pastry dough. We won’t tell.
Tricks For Puff Pastry Dough
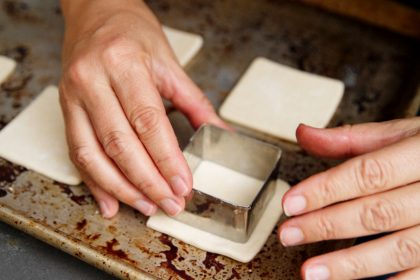
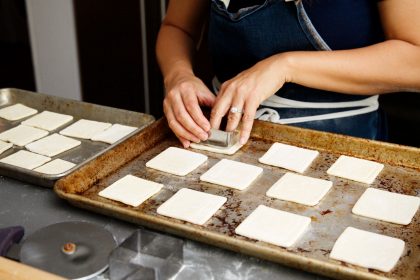
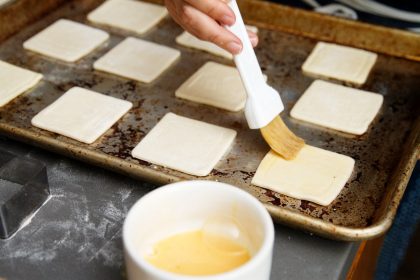
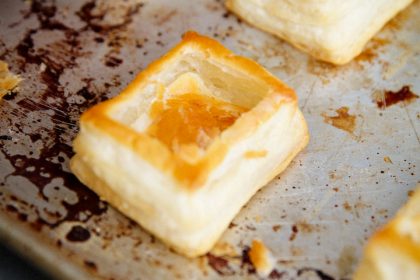
Once your puff pastry is rolled out, you will need to cut it into breakfast square sizes (I used a 3″ cookie cutter). You’ll also need another square cookie cutter to use for making indentations into the dough. When you press the inner square cookie cutter into the dough, you’ll want to indent it just enough, but not all the way through. Make sure you leave at least a 1/4″ to 1/2″ border as this will create a “well” inside the square when it bakes providing the perfect spot to fill with cream. And, you may fail on a few as you’re trying to get the hang of it but it’s all good. Once you’ve finished, apply a light egg white wash over the entire dough square and pop it in the oven.
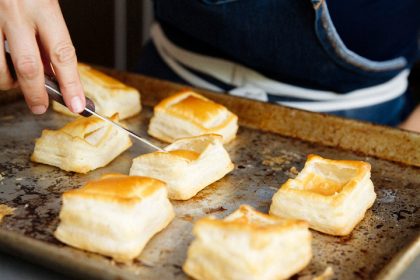
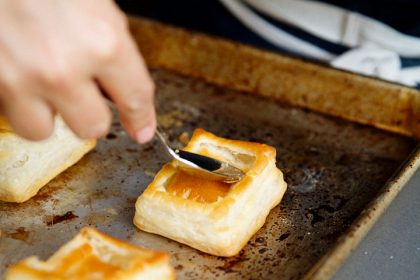
Now, don’t freak when you watch these squares rise in the oven. To be honest, I started to get a little depressed when I saw that some of them looked like the Michelin man on steroids. But that’s exactly how they’ll look in the last five minutes of baking. The key is to push them down with the back of a spoon as soon as it comes out of the oven. It’s hot, but just work fast!
It will look a bit sad and crushed for a moment, but don’t worry. We will inject life back into these delicious squares when we add in the cream filling. Tip: I ended up testing a few different store-bought doughs including a standard brand like Pepperidge Farm and a more artisanal brand called Dufour’s Pastry Kitchen. They all worked great.
Ready to assemble?
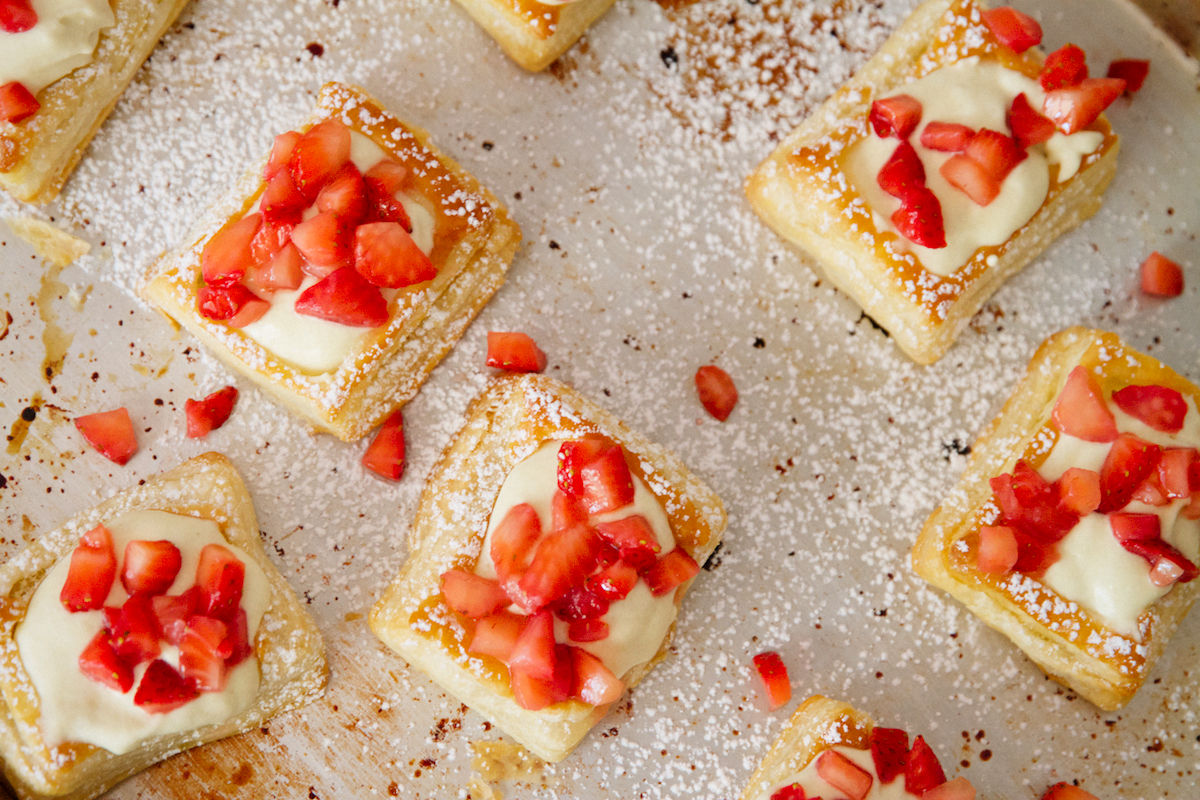
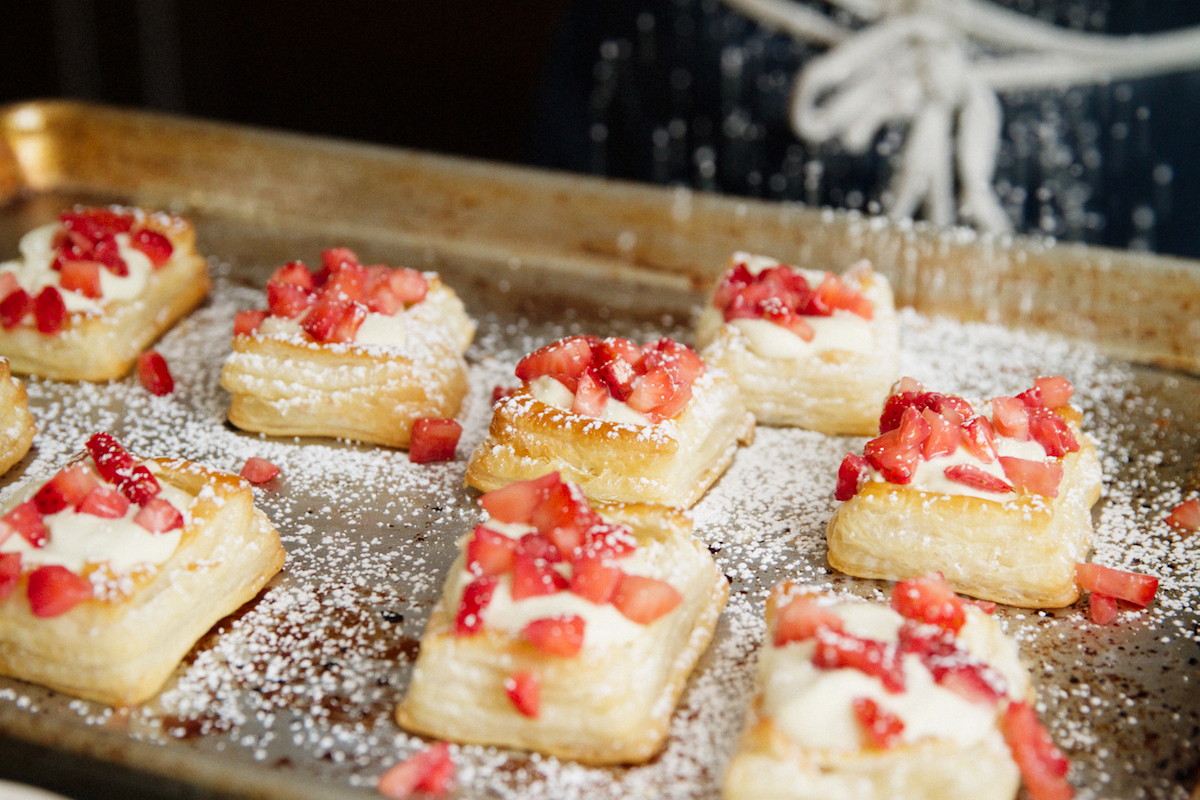
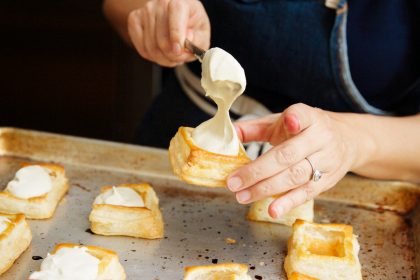
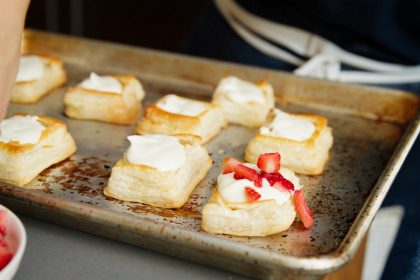
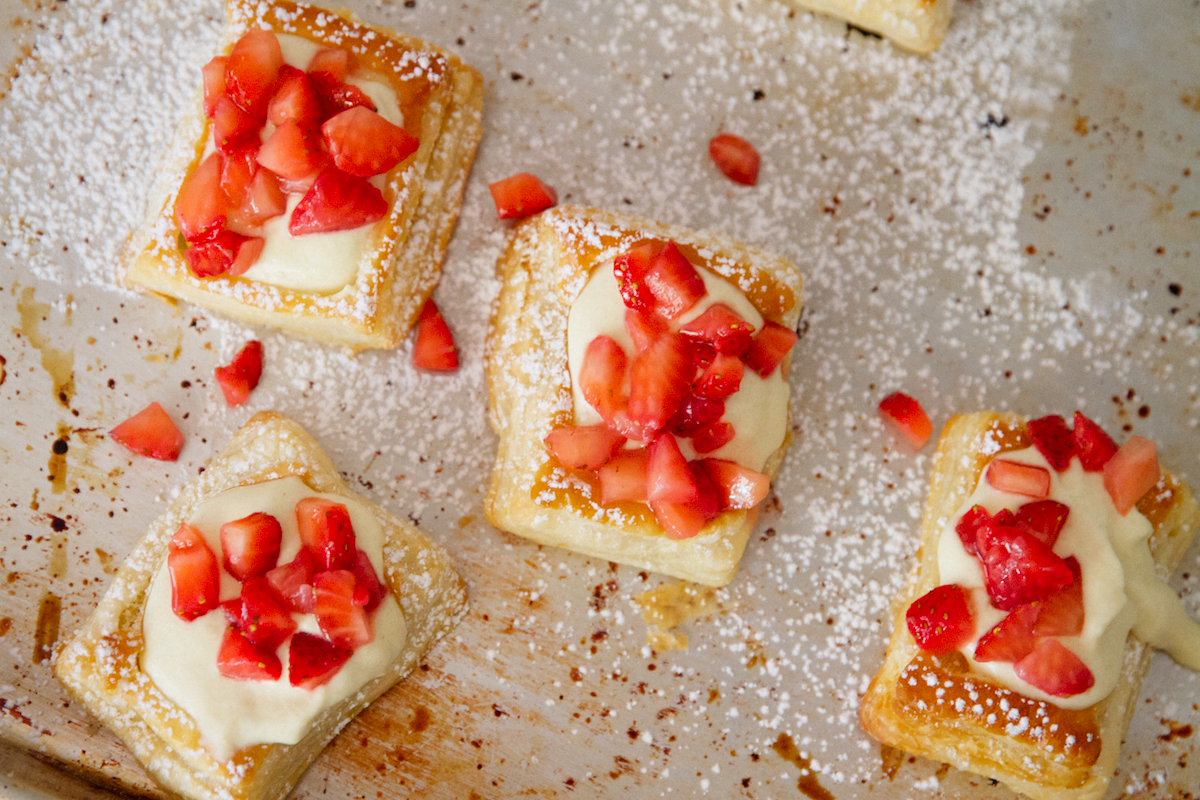
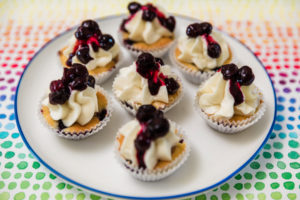
This is always my favorite part – putting it all together. Add a whopping dollop of banana cream into the well of each square, top with sliced strawberries, and sprinkle with confectioners sugar.
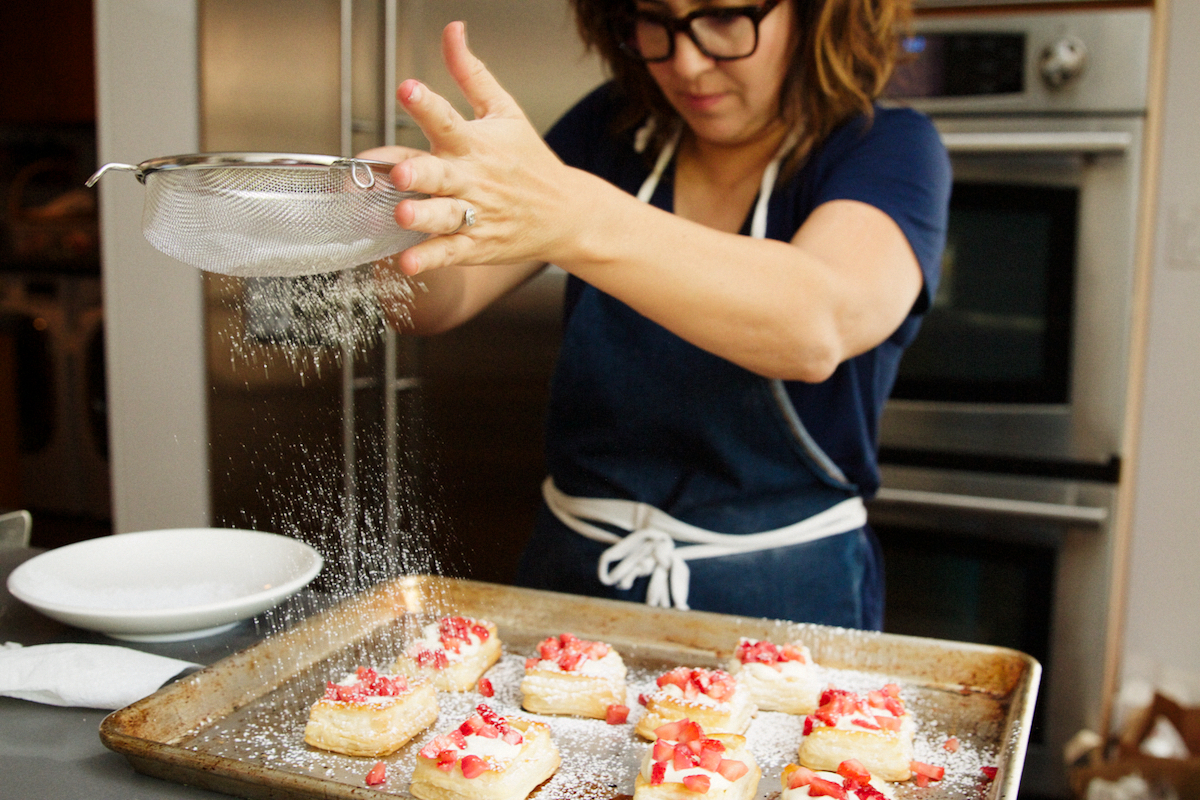
I love how it’s so quick to assemble once all the ingredients are ready to go. Now, plate these beauties, grab a mimosa and give a big old kiss to this sweet compilation of banana cream delightfulness.
Photos by: Maria Hedrick Photography





How do you get your puff pastry so perfect? I love that they rose into perfect little squares to be filled!