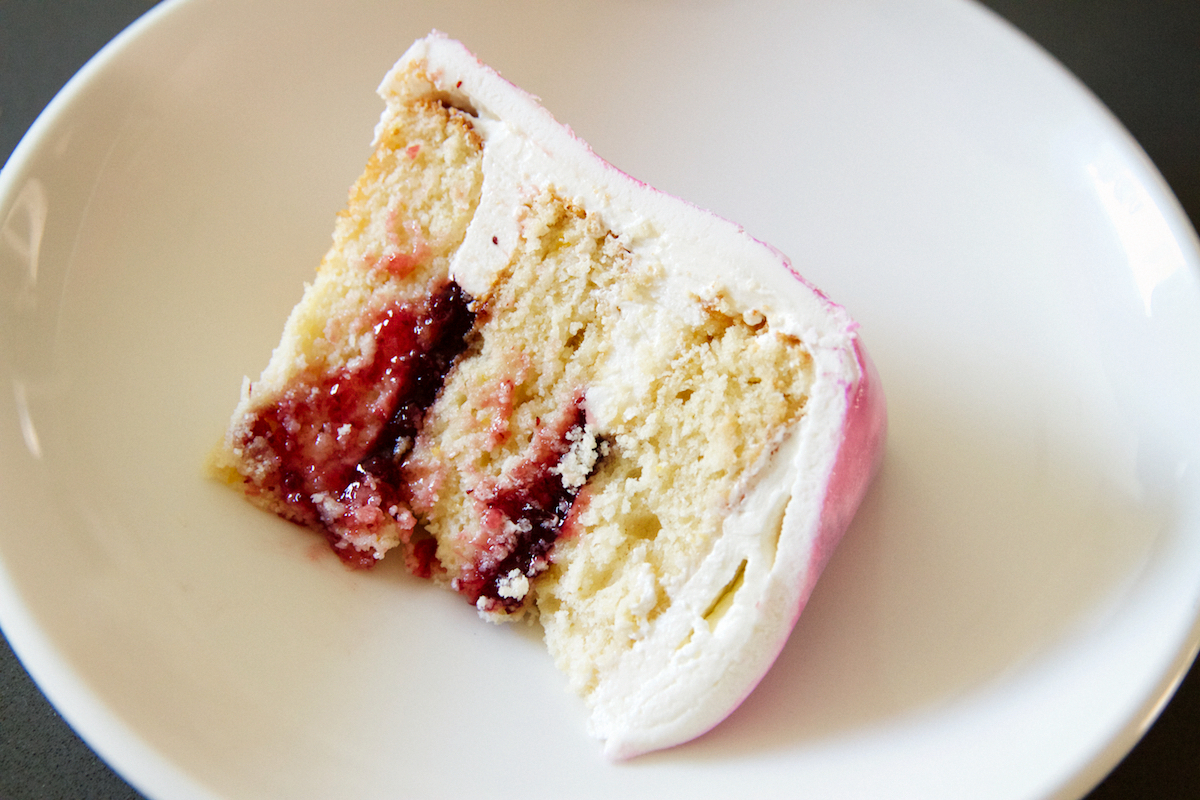
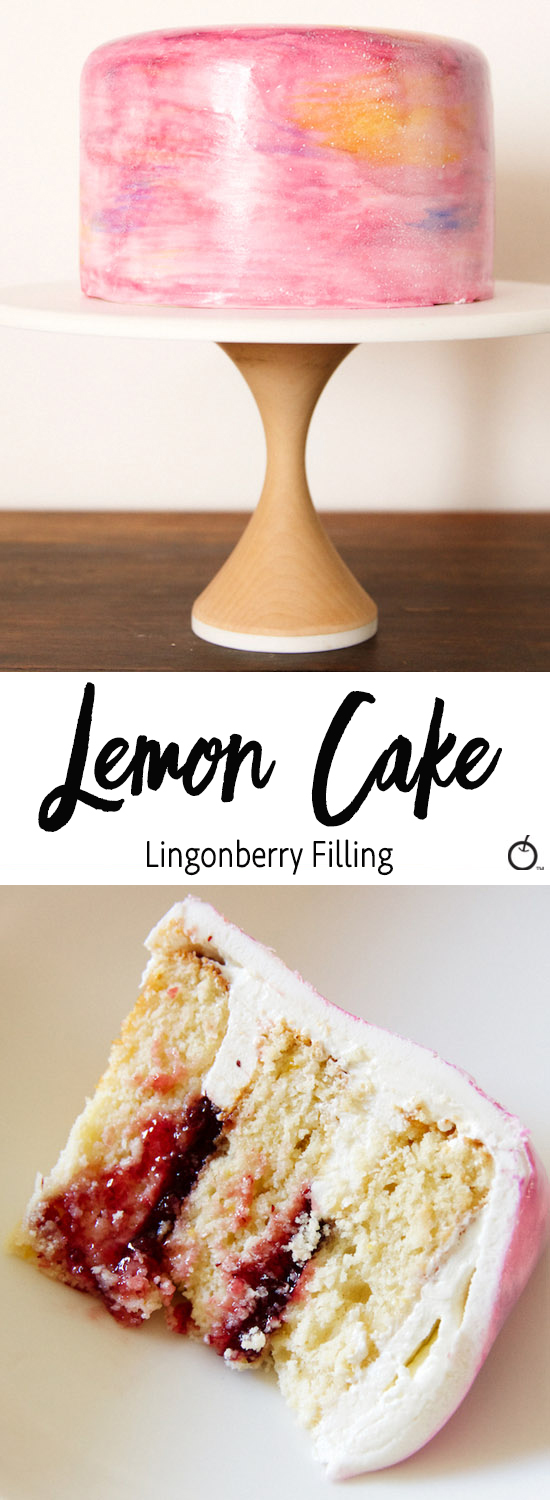
Lemon Lingonberry Cake, done Sweet Nerd style. It’s a bit of ‘Splatter meets Swedes.’ The puckery sweet filling was inspired by Sweden’s popular Lingonberries and the urban splatter painted finish was inspired by street art in Los Angeles. The lemon and lingonberry combination is just perfect and with each bite you get the sweetness of the frosting and jam combined with mouth-watering, moist lemon cake.
For this cake, I called a good chef friend of mine, Laura Gillway for back-up. She’s an amazing pastry chef and she’s Swedish! How perfect is that? She helped us through the basics of fondant and created that incredibly cool water color effect as an homage to her Swedish heritage.
Laura has worked with the fabulous Ashley Holt of Sugar Monster Sweets in New York and can now be found at Gjusta in Venice, CA. She is pretty much an unstoppable artistic force in the kitchen!
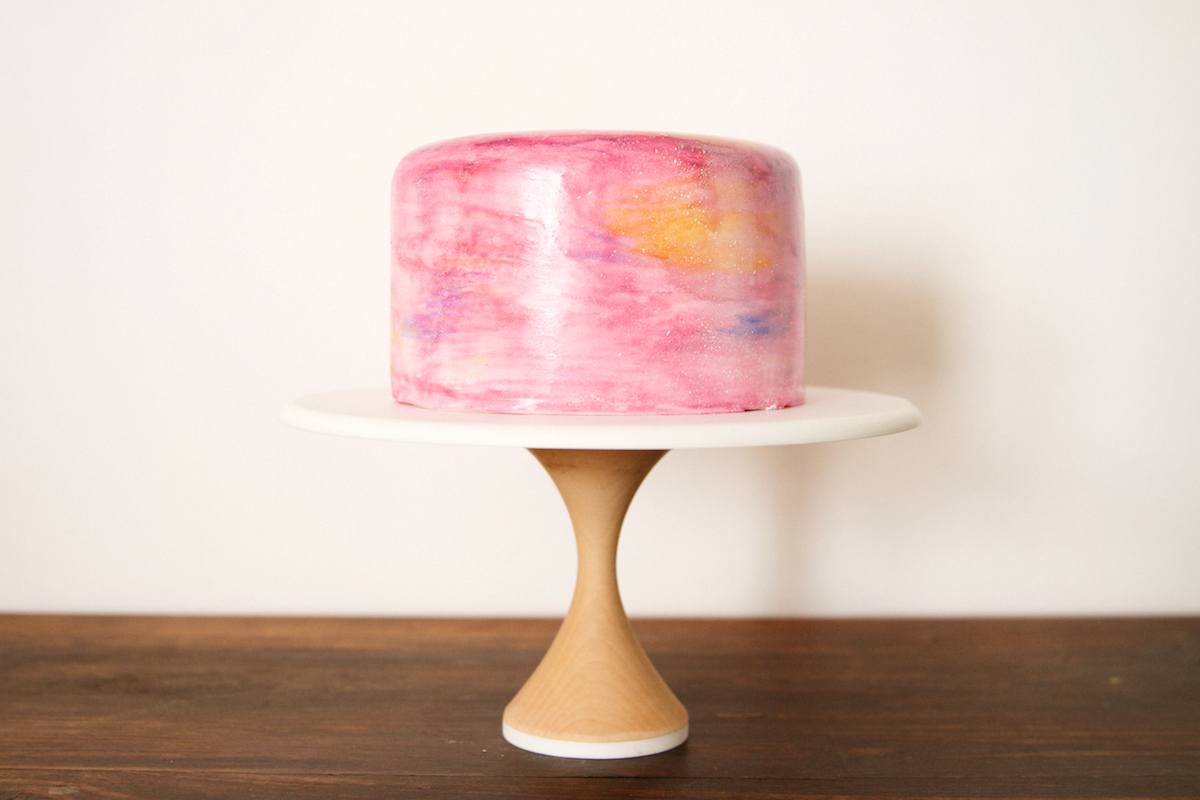
For this post, I am focusing on the decorating aspect, but let me just tell you – this lemon lingonberry cake is DELICIOUS. Lemon is one of my favorite flavors for a cake, and this particular sweet sensation has a great balance of tart and sweet. I wish I could tell you that it’s as easy as plopping jam onto each layer of cake, but it’s just NOT that simple.
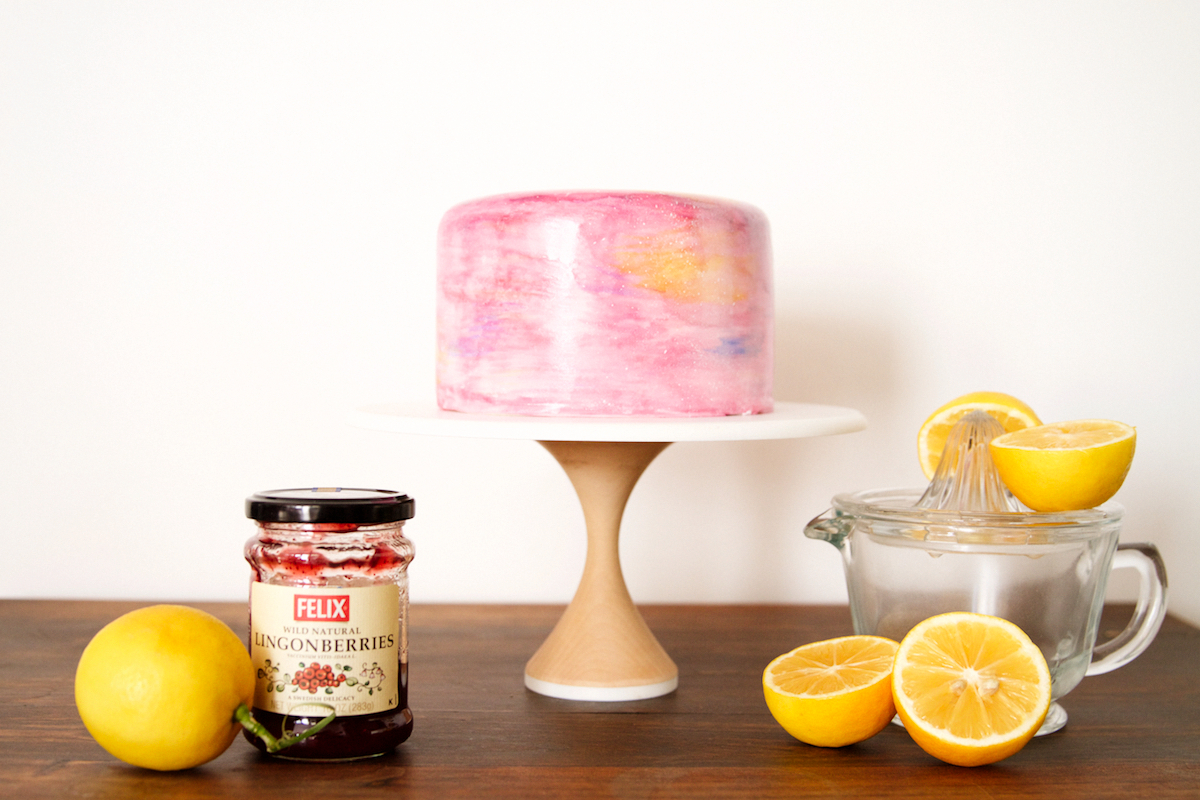
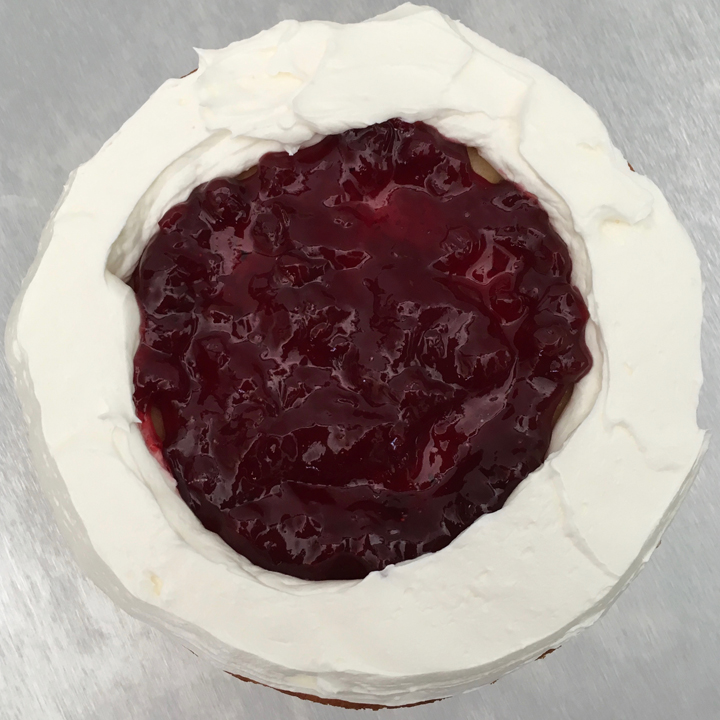
In order to prevent this beautiful red jam from bleeding out to the exterior of the cake, you need to create a barrier on the inside. Start by creating a ring of buttercream as a boundary, then fill it with jam. Use a pastry bag (or a gallon-sized plastic bag will do, too!) and pipe out the buttercream in a circular fashion nearly touching the edges. For the filling, I used Felix Wild Natural Lingonberries Jam and it worked beautifully (plus, you can find this in most supermarkets).
Now let’s get started with some basics, beginning with laying down the fondant.
Here is where Laura, the fondant master, comes in. Check out the video below to see how she ‘lays down’ her mad satin fondant skills. You do need a few items to make this process easier. A rolling pin, pizza or fondant cutter, and a fondant smoother (about $5 at Michael’s or Amazon – I used the Wilton brand). Also, go easy on sprinkling cornstarch. I tend to have a heavy hand when it comes to non-stick strategies, but in this case, you’ll need to be mindful of it as it will dry out and cause cracking later. Tip: Just sprinkle a tiny bit of cornstarch onto a flat surface before you roll out your fondant to prevent it from sticking.
Next, comes the brushing and splattering. To make it easy, get a palette of colors and mix them with a few drops of vodka before you begin applying it to the cake. Don’t worry, you don’t taste the vodka, (although feel free to do a sample taste test, LOL) it’s just for liquifying the colors a bit more so they can be applied or splattered easily. Laura started with a variety of colors, brushes, and just went for it.
It’s time to get creative. I loved mixing the yellow and blue tones atop the hues of pinks and purples. It rocked! It was so beautiful that I didn’t want to cut into it, but I knew the lovely lemon lingonberry cake inside was just waiting to be devoured so I quickly overcame my admiration.
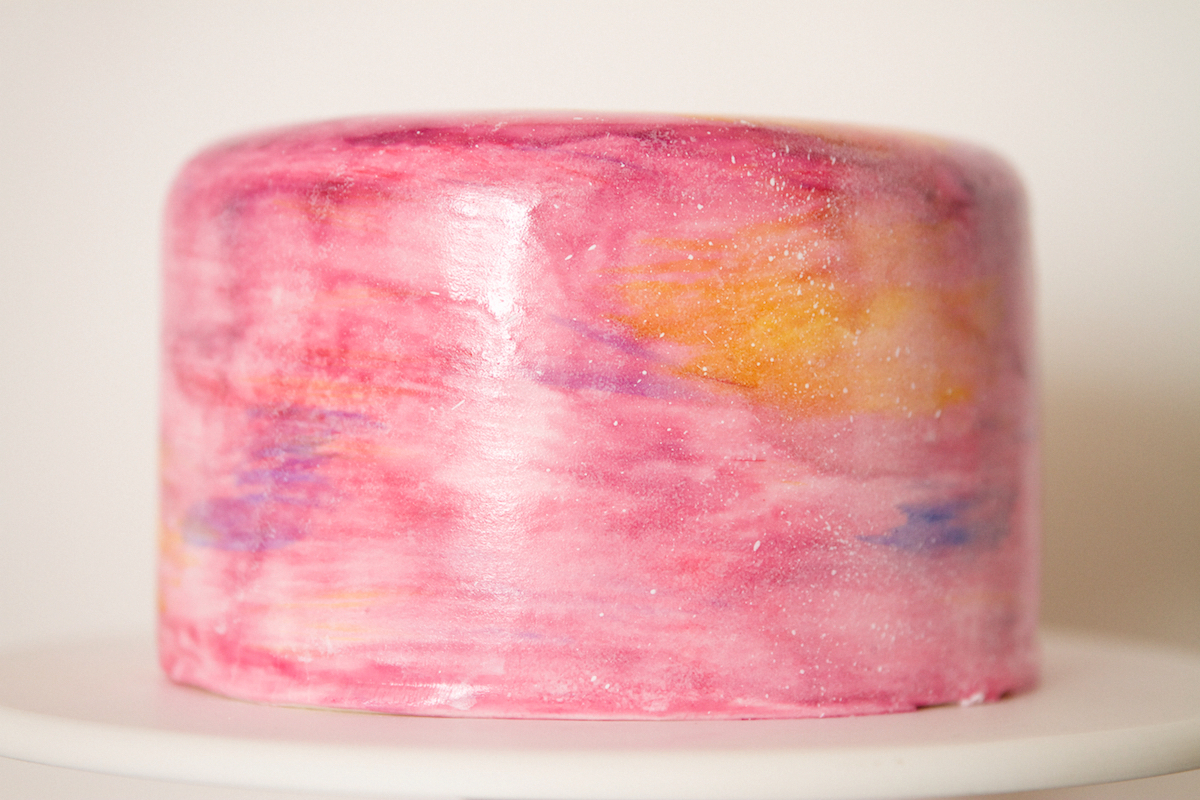
I have made this cake several times without the fondant covering and it is truly spectacular. I give it a Sweet Nerd Rating of A+. But, if you feel up for some fondant fun, go for it! Even if the cake is not perfectly smooth, just paint and splatter away and enjoy!
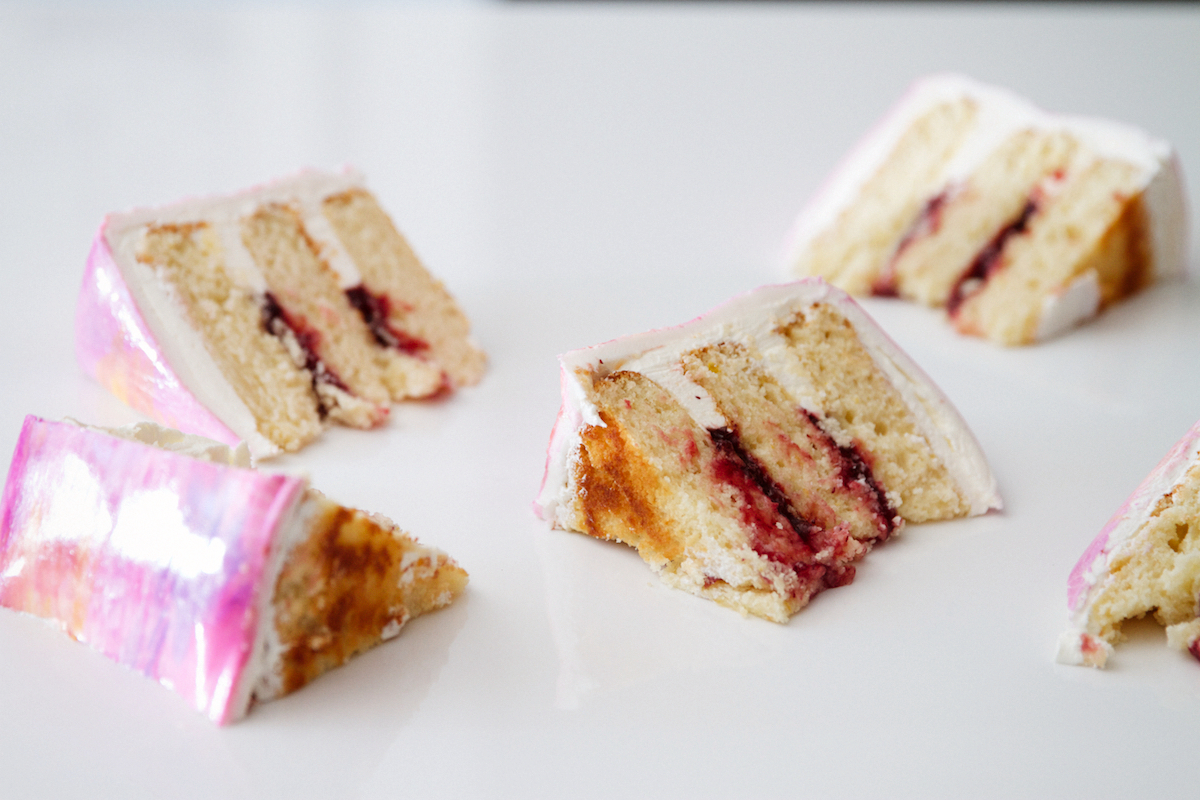
Recipe Credit: Lyndel Miller, Naked Cakes
Photos by: Maria Hedrick Photography



simply stunning with such a gorgeous watercolor effect. and that cake sounds like heaven with all that lemon and jam. mmmm mmmm.