Royal icing & me. I’m a kid artist at heart, and this recipe is basically like learning how to paint. Yes, this will test your patience a bit. Be sure to attempt this when you actually have some time on your hands. The outcome is outrageously delicious, addictive, and an essential to learn for your decorating foundation. 
What can you create?
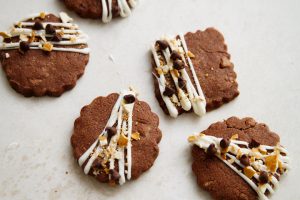
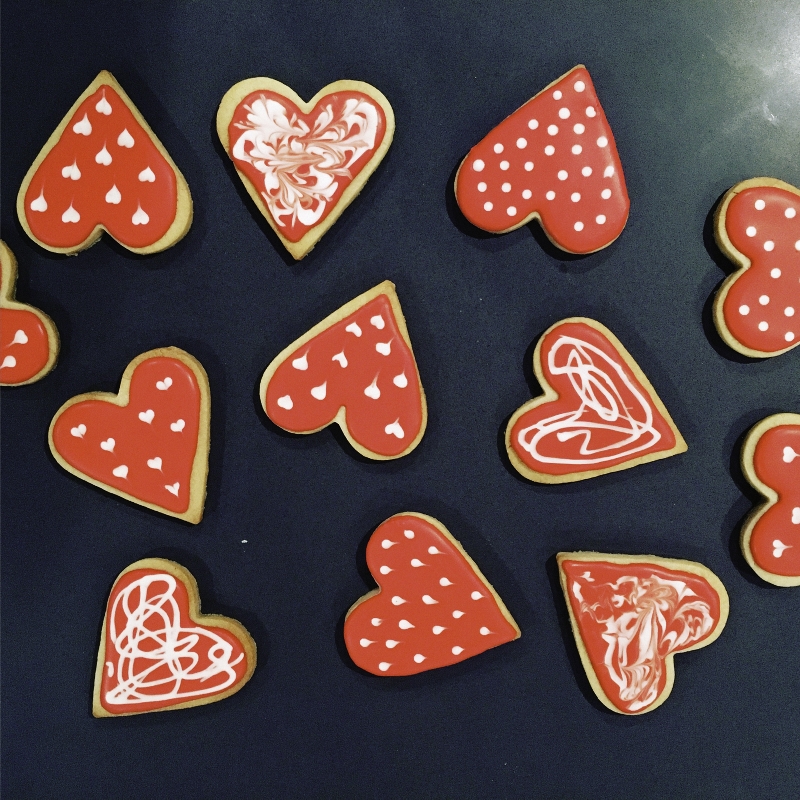
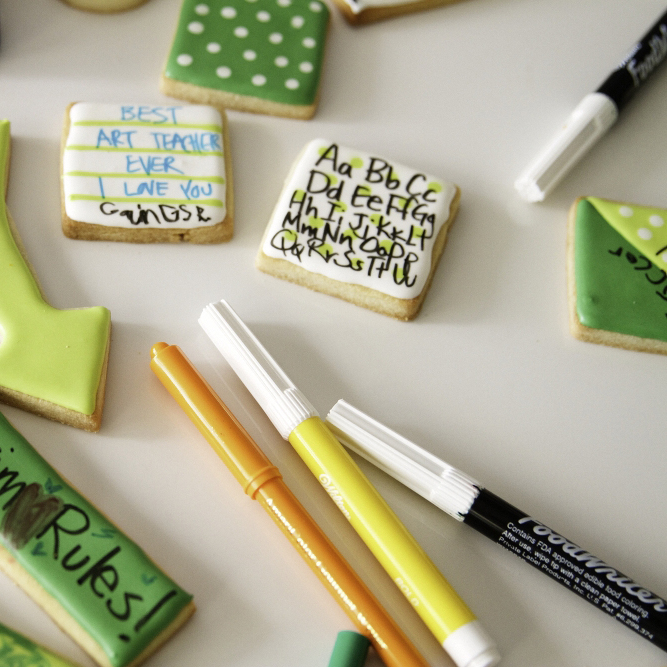
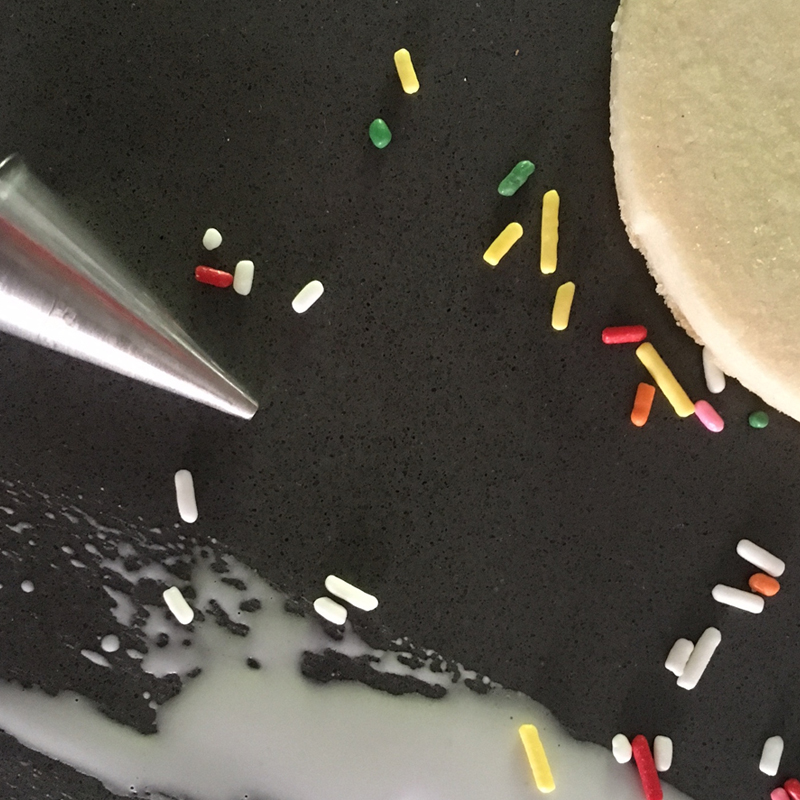
Royal icing is the perfect canvas for edible markers (your kids will love this). It’s also prime real estate for a technique called wet-on-wet for a polka dots and swirls. How about an airbrush? Or just plain old “sprinkle” with hundreds of thousands of little nonpareils? Fun fact: In Australia they call sprinkles, “Hundreds-and-Thousands“. Don’t ask me why, but it’s a little cute, no?
I always use a recipe from an industry expert, Sweet Ambs. In a mixer, gently mix confectioners sugar and meringue powder on low.
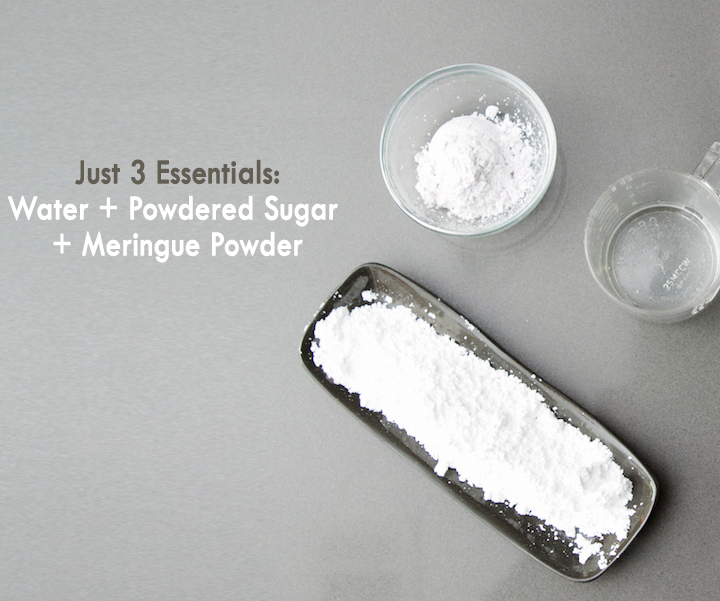 Now goes the half to 3/4 cup water… If you want to add extra flavoring to the water, add in 1 tsp vanilla at this step. Start with a 1/2 cup water, and if the mixture is sort of lumpy & funky, you’re A-cing this so far. Now, little by little, drizzle in the rest of the water as needed until the icing reaches a thick, honey-like consistency. Then, whip for 3 minutes until it forms soft peaks. Decide on how many colors you want, and divide evenly and color with Americolor or Color Kitchen – an all natural plant based color. (I used Americolor.)
Now…we’re in the trenches of decorating bootcamp and you gotta learn the 10-second rule.
10 Second Rule
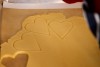
The secret here is balancing droplets of water and the thickness of your icing. Check by dragging the tip of a spoon or knife through the icing (1″ deep) and count to 10. If the surface smoothes out when you get to 10, you are golden. If it takes too long, add a tad bit more water and retest. If it goest too quick, add a bit more sifted icing sugar to thicken it. If you passed the test, CONGRATS! Next, prep the bag with Ateco#2 or 3 tip, and then put icing in piping bag. While I am frosting, I keep my icing bags covered with a wet paper towel so the tip won’t dry out. The next part is flooding, the process of outlining and filling a cookie with the royal icing. FUN!
Next, we have the flooding technique. First, you create an outline. Next up you fill in your outline (flooding), and use a toothpick or metal pick to help fill in any holes (see video) Lastly you can decorate with sprinkles, or more advanced decorating techniques. Is your patience tested yet? Probably! Just remember…BREATHE…you got this.
If you love this style of decorating, another go-to baker chick is SweetSugarBelle. She is quite amazing and has definitely mastered this art. It requires time, practice, and frequent breathing, so don’t get discouraged if the first time out the gate, your flooding goes into #cookiefail mode. As annoying as it sounds, practice here really does make perfect.
Credit: Thanks Pats Treats & Kelley Moore for the amazing instruction over the years.
Photos by: Maria Hedrick Photography
1Add vanilla flavoring into 1/2 cup water and set aside until step 3. 2In the mixer (paddle attachment), gently mix confectioners sugar and meringue powder on low. 3Add 1/2 cup flavored water and mix on low until it is thick and lumpy. 4Now drizzle the remaining water as needed until it becomes a thick like honey consistency. 5At this point, turn mixer on medium speed for 3 minutes or so until icing is thick and fluffy. Stop when it forms a soft peak.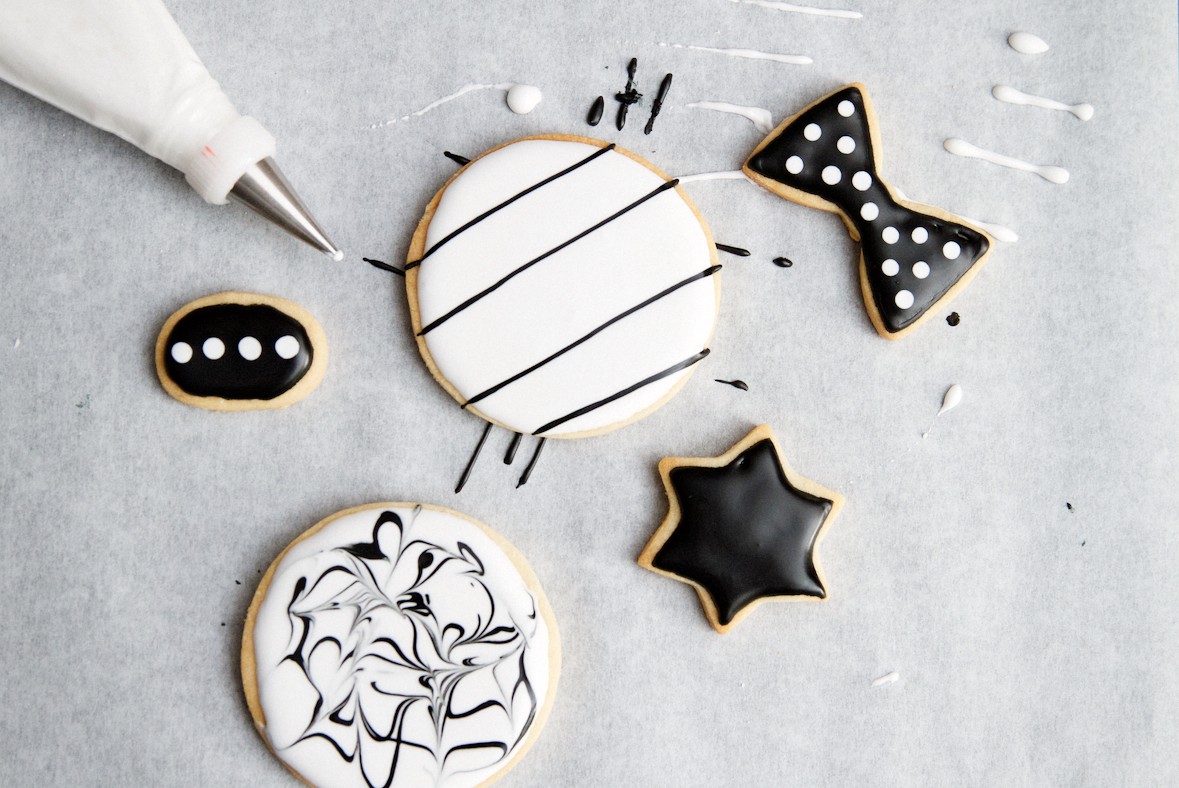
Directions


LET’S BAKE TOGETHER!
Don’t Miss A Recipe