Bunny bliss, anyone? Years back, I spotted this adorable Easter Bunny Cake from the wedding site, Style Me Pretty. I fell head over heels in love with the simplicity of the bunny ears and the adorably cute face. I mean, the ears alone make this cake a showstopper.
With a rich lemon cake and some strawberry filling, this cake equals total bunny nirvana. I am so not joking! But take caution, this baby takes some time to prepare. Just follow my lead and this Sweet Nerd will get you to the bunny moon and back.
Let’s break down this cake into steps and prep time so you can master this bunny in no time.
4-Layer Cake Baking & Prepping Steps:
- Bake – 2 lemonade cake rounds the day ahead and place in the refrigerator for firming. Once firm, cut each layer in half so that you have 4 rounds.
- Prepare –
- Jam – Place your favorite jam in a ziploc or piping bag for the filling. I used strawberry.
- Frosting – Double the batches of frosting, one for the filling (in a ziploc or piping bag) and the other for the outside of the cake (pink). Also, set aside 1/8 cup for the face decorating part.
- Optional Simple Syrup – bring to a boil 1/2 cup sugar and 1/2 cup water and then let it cool. Then add 1/4 cup of lemon juice and refrigerate until you are ready to assemble cake.
- Sugar cookie + royal icing recipe. See below.
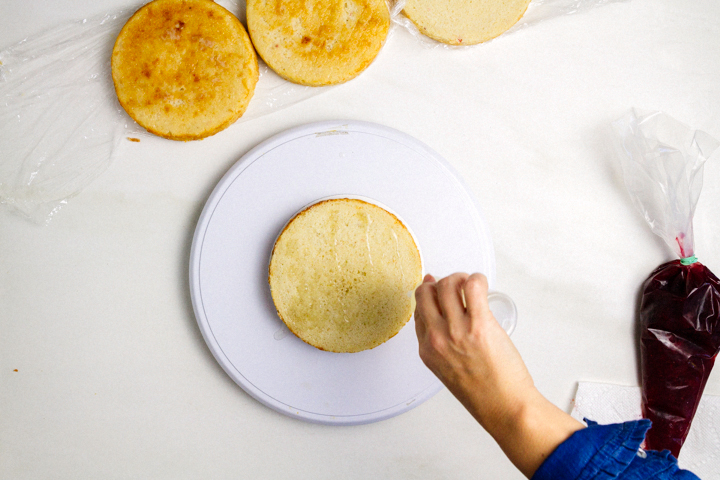
Cake Assembly:
- First (and this step is optional), drizzle simple syrup on to the first cake layer with that sweet and sour concoction.
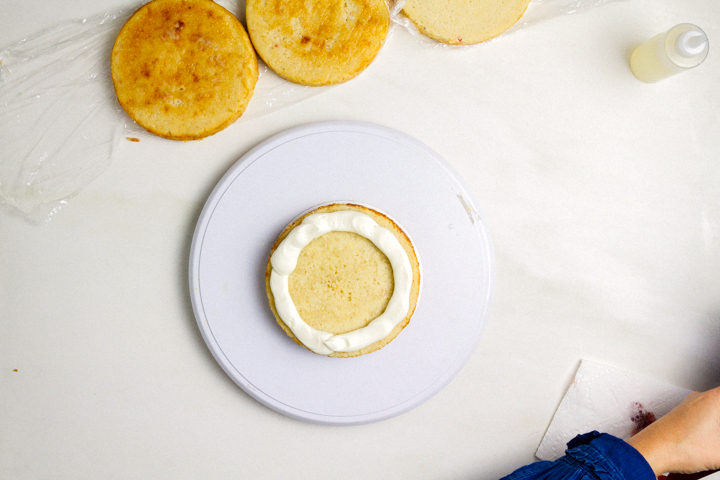
2. Next, layer in a ring of buttercream. You can load it into a ziploc and cut the edge or use a piping bag. Try to give yourself about 1/4 inch from the edges because the weight of the other cake layers will push the icing to the edge. Don’t worry if it spills out. It’s all workable!
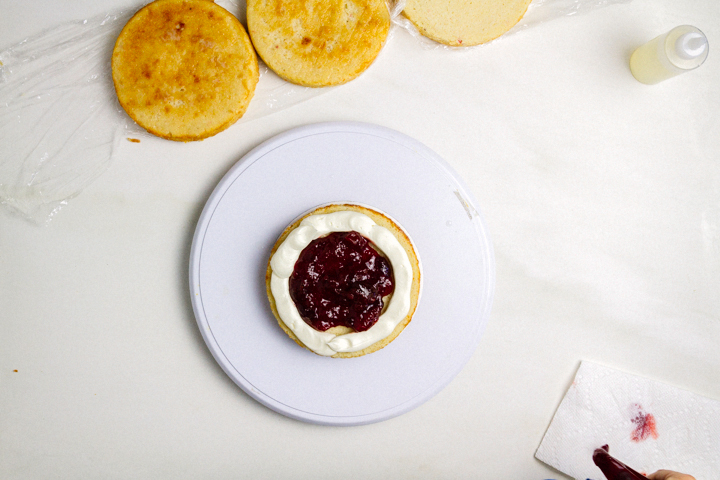
3. Now, load in that delicious jam. I chose strawberry and kept it simple because my children don’t love the plum ginger or the rhubarb cardamom artisan jams that I do! Good old Smuckers came through! Repeat this process until you get to the top layer.
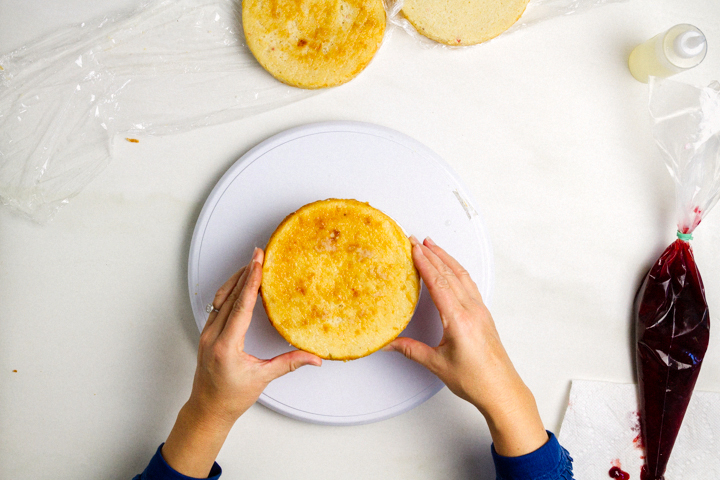
4. When you get to the top layer, you are ready to do a crumb coat with the rest of the filling. A crumb coat frosting layer is a ‘messy’ layer of frosting you will apply first. Place in the refrigerator 20 minutes or so and let the first layer set.
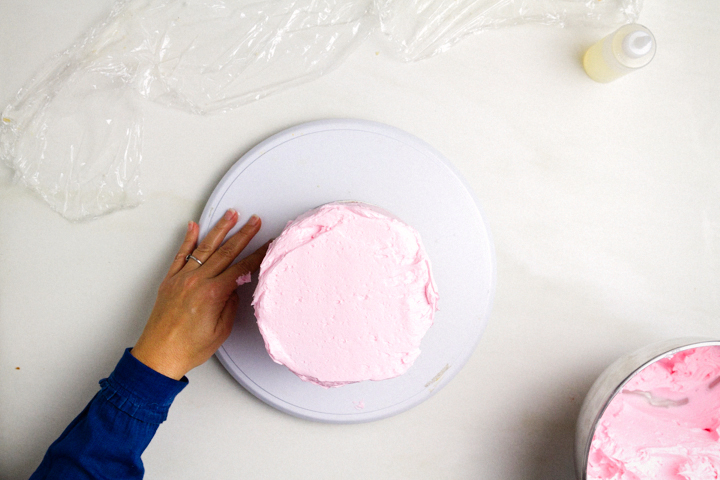
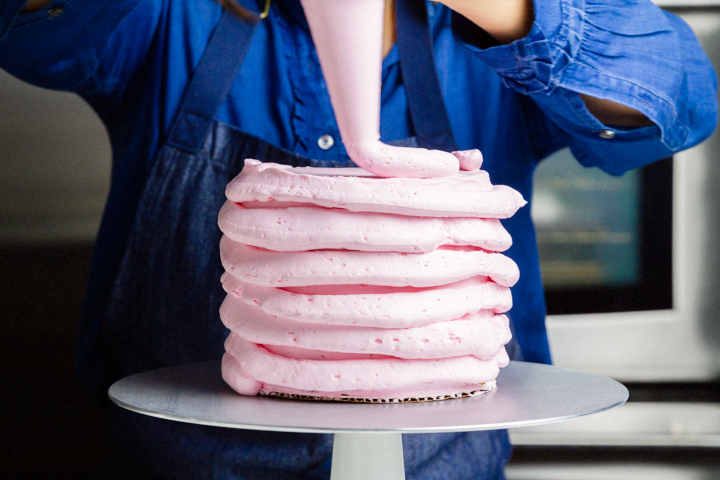
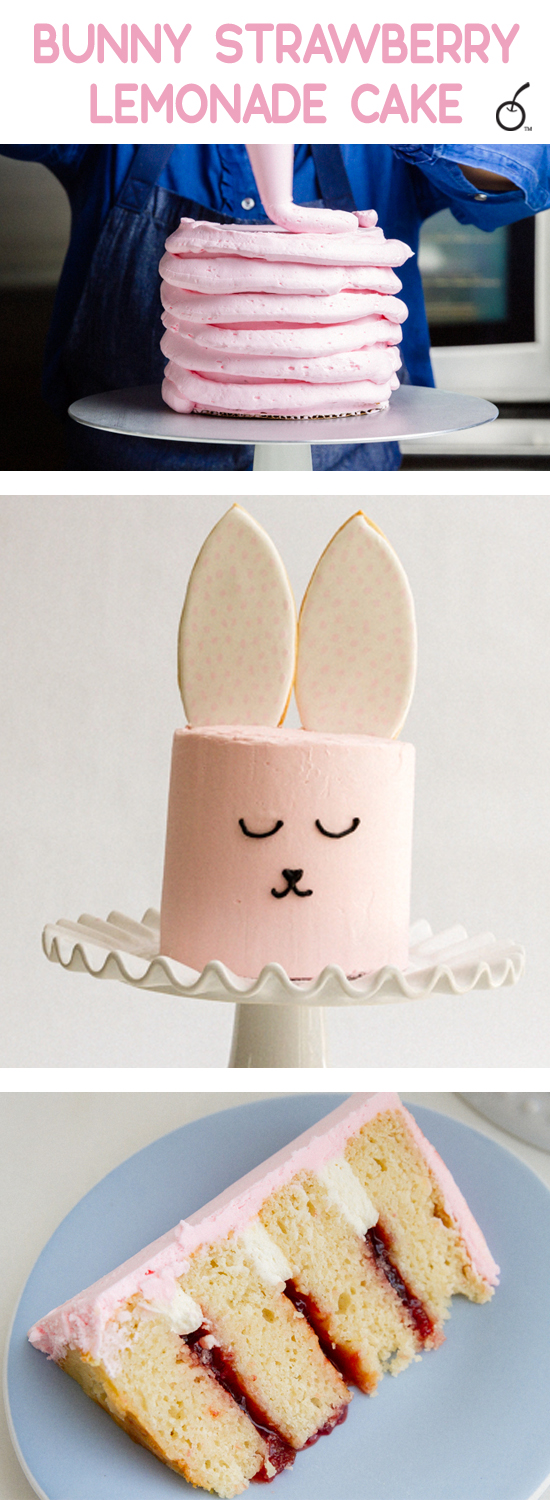
5. Frosting – Next, switch to the pink frosting application. You can apply the frosting many ways, but I started by piping the pink layer in rings outside of the cake. If this is new to you, essentially you’re giving this cake a frosting bath and the next steps of ‘cleaning’ the cake is to remove the frosting into a smooth clean layer with even coverage.
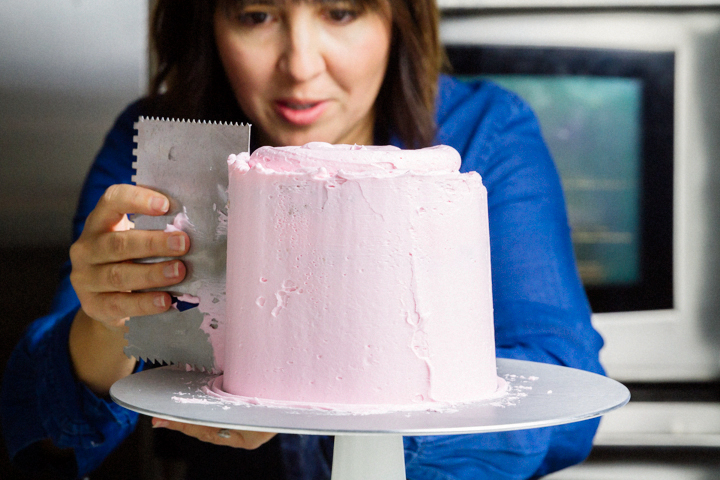
I used a cake smoothing comb while spinning it on a cake turning table to get the frosting layer smooth and flush. Don’t worry about getting it perfect as I think this bunny looks awesome with a little fluff here and there. I like to do the sides first, then smooth the top. You will see that the flow of decorating is a bit of back-and-forth movements with ‘combing’ the sides and the top.
6. Simple Sugar Cookies – Prep your favorite sugar cookie recipe or use one of my favorite easy perfect sugar cookie recipes. Now comes a bit of DIY – I created a simple ear shaped pattern (with good old pencil and paper freehand). Next, I rolled out the dough to about 1/4 inch thick. I laid down the pattern on the dough and used a butter knife to cut out the dough shape, then I baked the cookies.
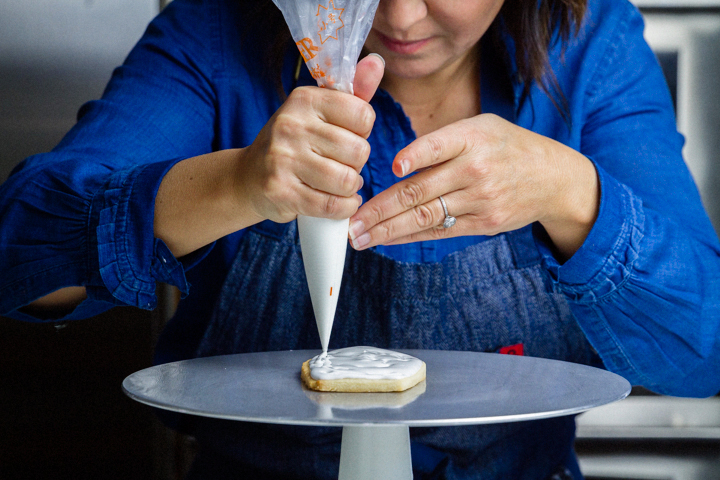
7. Use this royal icing recipe and pipe with white (and add pink dots if you want to add a little polka dot love). If you are new to using royal icing, check out my post on the royal icing technique.
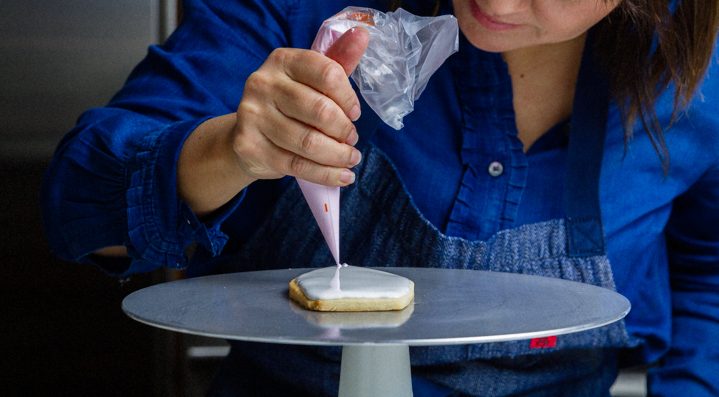
I adding uneven polka dots with a little bit of an ‘edge’ – after all, his name is bunny nirvana. Give it a few hours to set.
Now for the final touches! Bringing this bunny cake to life is so fun yet so nerve-wracking at the same time. If you’re feeling a little bit nervous about applying those perfect eye balls and that sweet button nose, then I would say – you are SOOOO normal. Tip: I like to use a paper clip and trace it out first on the pink buttercream. And then…go for it.
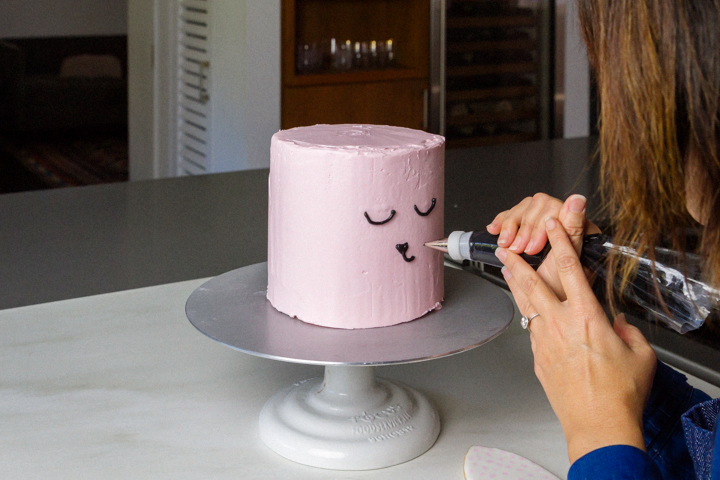
Lean in close, breathe, relax and pipe! If you mess up, put it in the refrigerator so it sets, scrape it off and try again. Everything is fixable! Now for those those spunky ears….
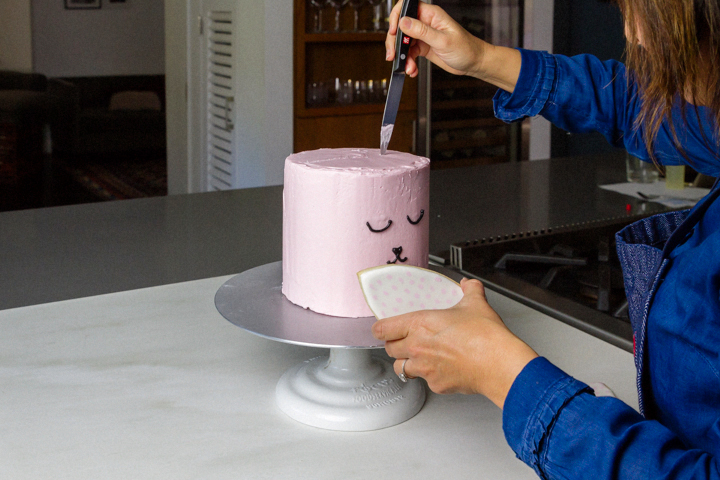
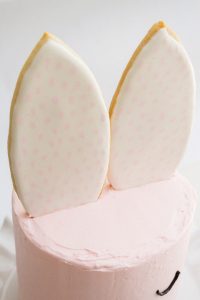
Take a knife, and slice the top of the cake where you’ll insert the ears. Wiggle the knife around when you slice so it will match the thickness of the cookie and insert easily.
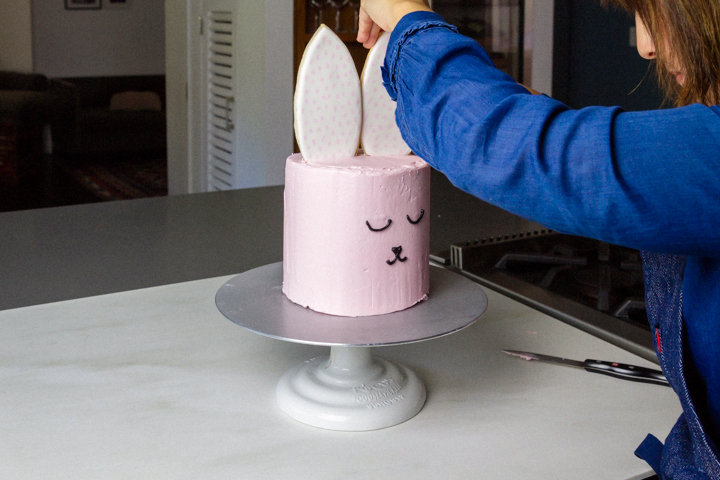
Now, sit back and admire this ridiculously cute bunny cake. Thanks, Style Me Pretty! This sweet bunny nirvana lives on and on and on.
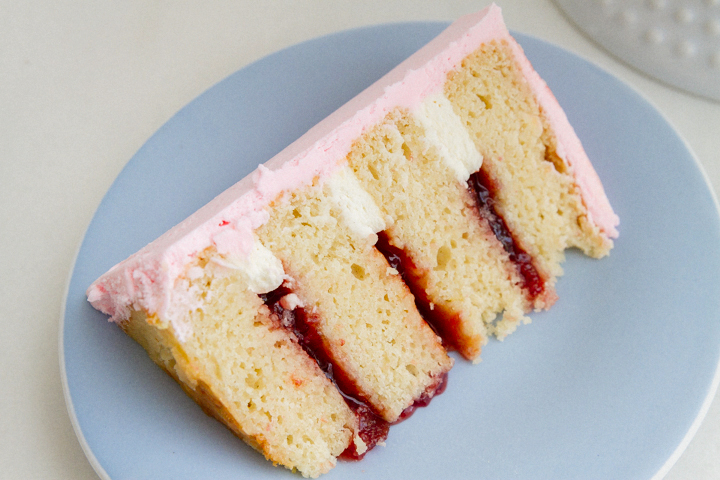
And finally, take a bow as you have now entered the ultimate state of bliss. Slice that cake and enjoy the lemony strawberry sweet goodness. This cake is dense, moist, and wonderfully rich. Happy Easter, y’all.
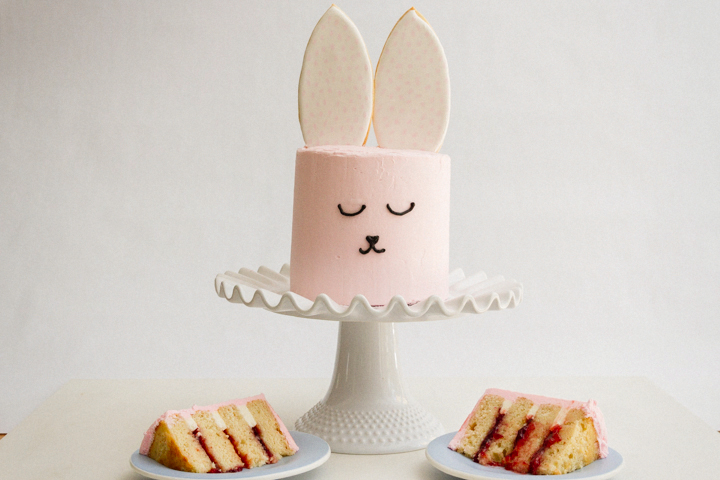
Photos by: Maria Hedrick Photography



OMGee Cindy!! Cutest Easter cake ever!! So fun for the kids. And I love the video. You make it look easy! Happy weekend!
Thanks MaryAnn. I love Easter cakes and all of its festivities. Happy weekend to you as well!
This is soooo cute and looks so simple. I love it! I want to make it and not share it with anyone. LOL
Ha, make one for your family and one for you. Love it! Thanks for sharing those funny thoughts.
I love the face on this cake. It’s so simple but adorable. I totally feel like I could make this with my cousins and it would be a HUGE Easter hit. Thanks so much!
Oh I hope you can make it. If you love lemon and bunnies, I promise you it will be!
I am so in love with this sweet baby! Such a gorgeous easter cake. My little cousins will be thrilled to eat it when easter rolls around 🙂
Oh thanks darling! I think all ages get tickled with those sweet bunny ears and puckery lemon berry cake.
So adorable. Really. And actually, I even love that photo of the pink frosting snakes around the cake. It just looks like a fun project all around. Not to mention delicious. Cheers!
Oh my garsh Cindy!!!! Can we talk about how cute this hippety hoppety bunny cake is??!! I sure am glad you came across it on Style Me Pretty. Oh. . .and those pillowy frosting spirals snaking around your cake. So, so mesmerizing. I just want to rub my face in them. . .but that wouldn’t be good. . .because we want a cute, little pink bunny cake!!
This is the cutest Easter cake ever! It would just be the perfect centerpiece for an Easter table 🙂
This is really adorable. I love the ears so much! I also love how you provide so many different shooting angles in your tutorials…it’s probably the thing I struggle with the most! I’ll definitely be giving this lemonade cake recipe a try. Thank you for sharing! 🙂