
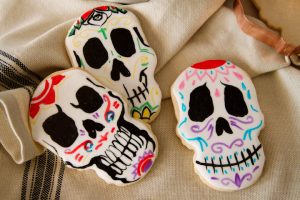
If you’re looking for some edgy, artistic cookies for Valentine’s Day, then you’re going to love these Black and White Gold Glam Cookies. While these babies take some time to decorate, they’re still my all time favorite cookies to make. My inspiration came from my artist buddy, Karlos Marquez, who is an amazing street-style, graffiti artist and Juan Barajas for helping me make the stencils. They’re perfect for V-day, but can also work for wedding and bridal showers. Foxy Fun Fondant!
Don’t you love this spread? My Sweet Nerdness loves the messiness of the splattered gold and the sparkle power of the embossed heart. The cookies can be served alongside a cake or can be used as name card plates.
 I love the idea of eating my name “card” (or Amy’s for that matter)…go figure! All these details make for such a grand spread.


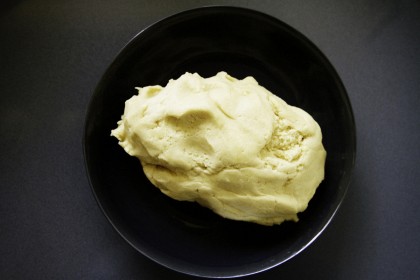
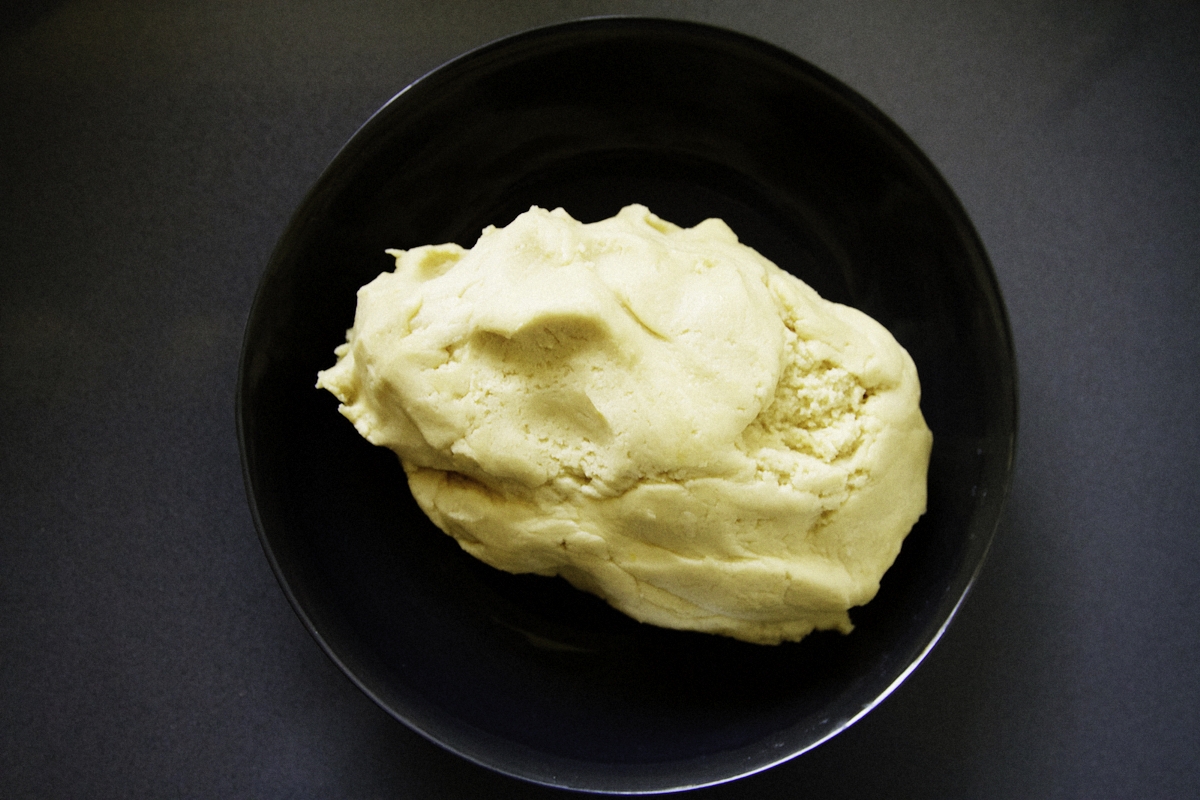
- Make the Cookie: First, follow this easy sugar cookie recipe and match the cut-out shape with the size of the stencil you will use.
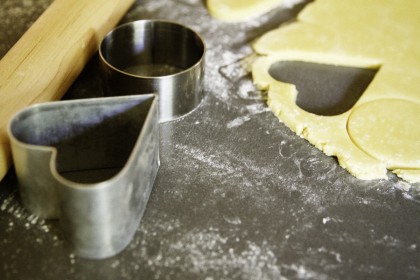

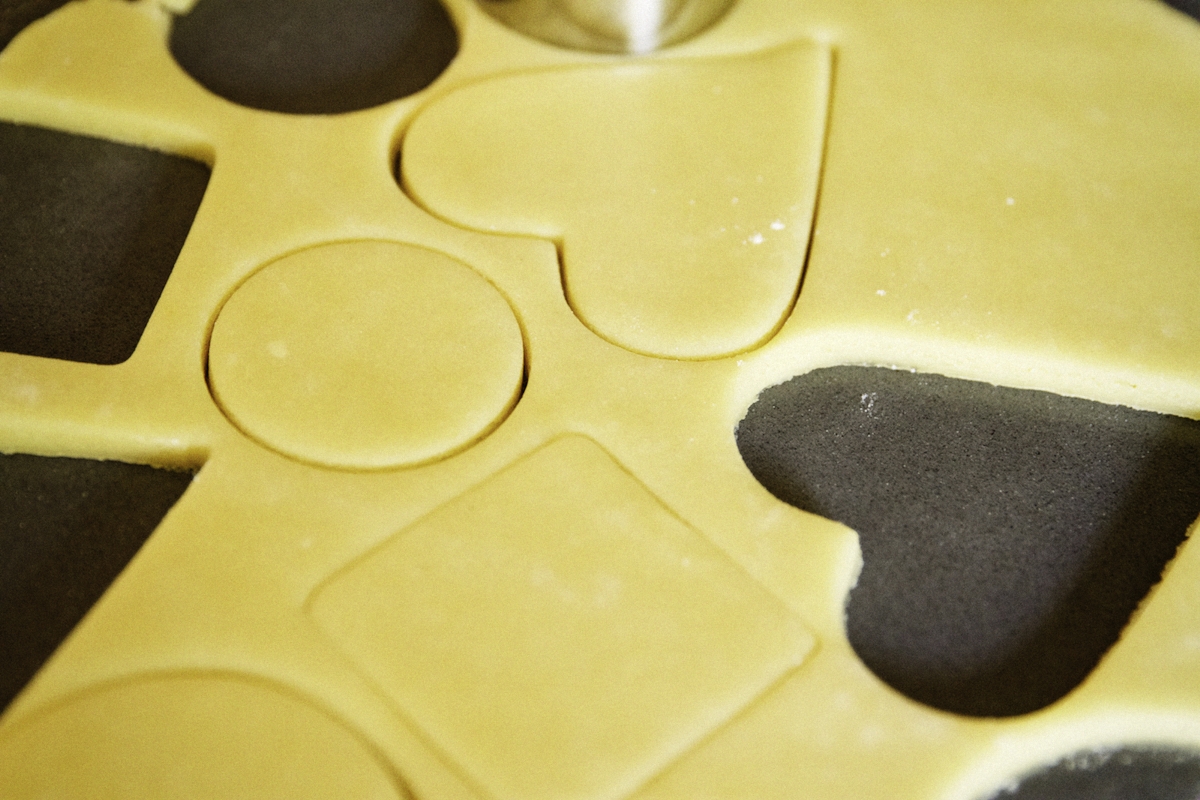
- Fondant Roll & Cut: I am fairly a rookie with fondant, but so far Satin Ice Fondant has worked easily for me. I sprinkle a bit of cornstarch on the counter before rolling out the fondant top (to prevent sticking) and then use a knife or a pizza cutter to match the size of the cookie.
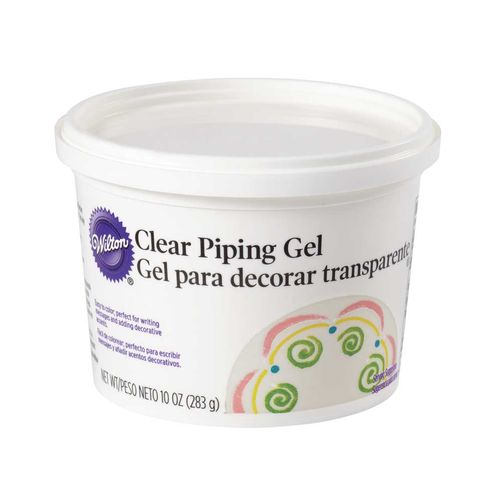
- Glue: To adhere the fondant cutout to your cookie, I opted for Wilton’s piping gel, but there are so many ways to do this. If you don’t have this on hand, try brushing a little bit of corn syrup as your glue. Here’s a great blog post from one of my favorite bloggers on how-to make edible glue at Sweetopia.net.
- Prep: Lay the cookie down on a parchment-lined cookie sheet before you begin to spray, splatter, or emboss.
- Stencils & Spray & Splatter: See notes below for my favorite brands.

Sprays: I Chefmaster ($10) and Wiltons Color Mist ($6). I used Wilton’s Pearl to get the best contrast for the black cookie and ordered everything on Amazon.
Stencils: I Heidi Swapp and The Cookie Countess. The Cookie Countess has many great videos on her blog for instruction. Check her out!


Now the fun begins…

Hold the can at a reasonable distance and spray an even steady light mist over the top of the cookie. This will take a moment to get used to, but don’t despair. I recommend practicing on paper a few times to get a better hang of it, like I did. For my Gold Glam Cookies, I combined edible spray with a paintbrush splattering of edible gold color. So beautiful!


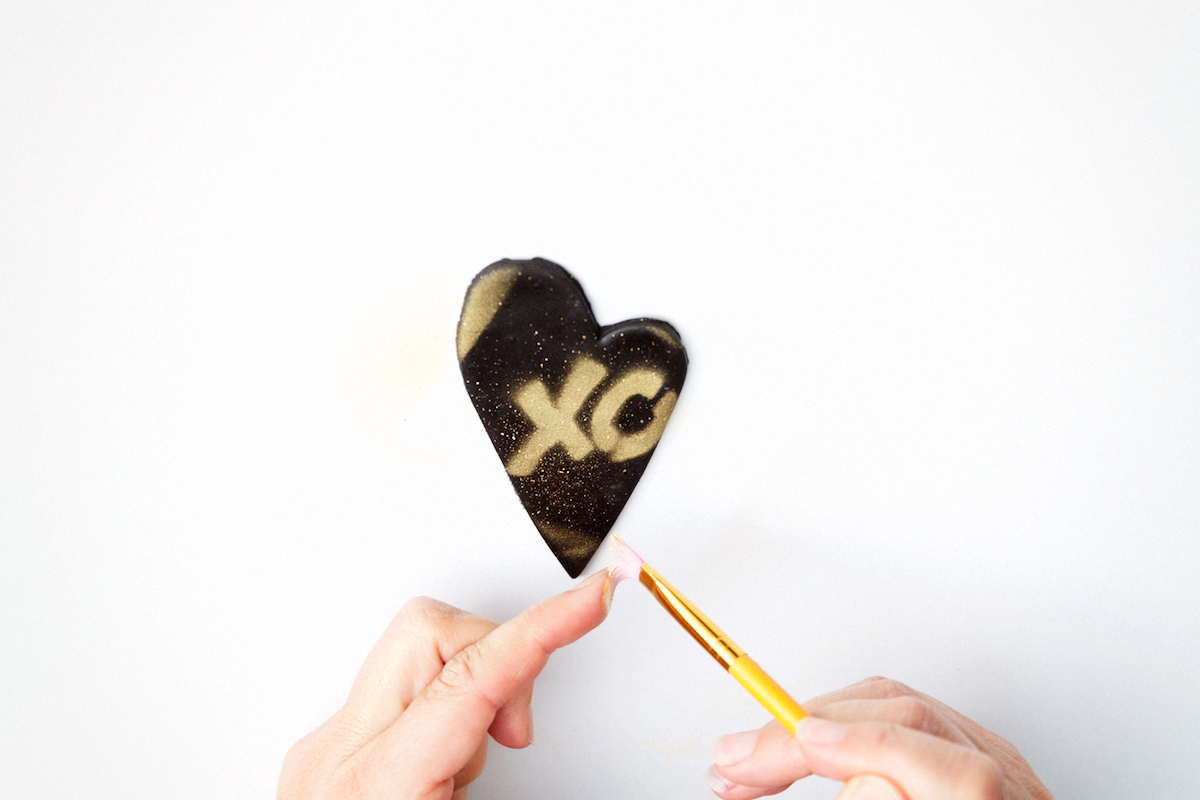

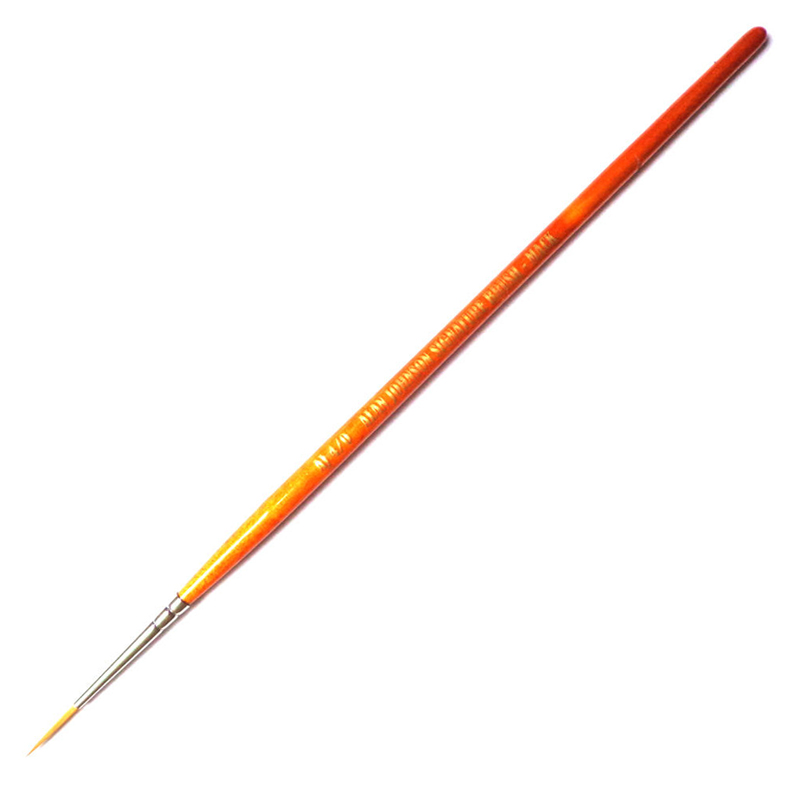
Don’t be afraid to explore and create your own stylized mash-up of sweet and edgy. I recommend a few handy tools if you want to emboss such as piping gel, glitter, and a thin brush handy for painting the gel inside the imprint.
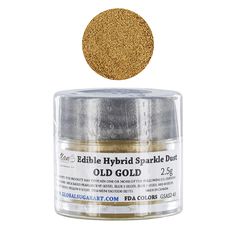
Next, I splatter the edible gold (Old Gold) glitter by Global Sugar Art, with a paint brush. One of my favorite cookie decorators is Sweet Sugar Belle and she does an awesome job explaining how to mix gold luster dust with a liquid to get that perfect consistency for the splatter paint. Then flick the brush bristles to create a splatter paint look. Awesome splatter-time!
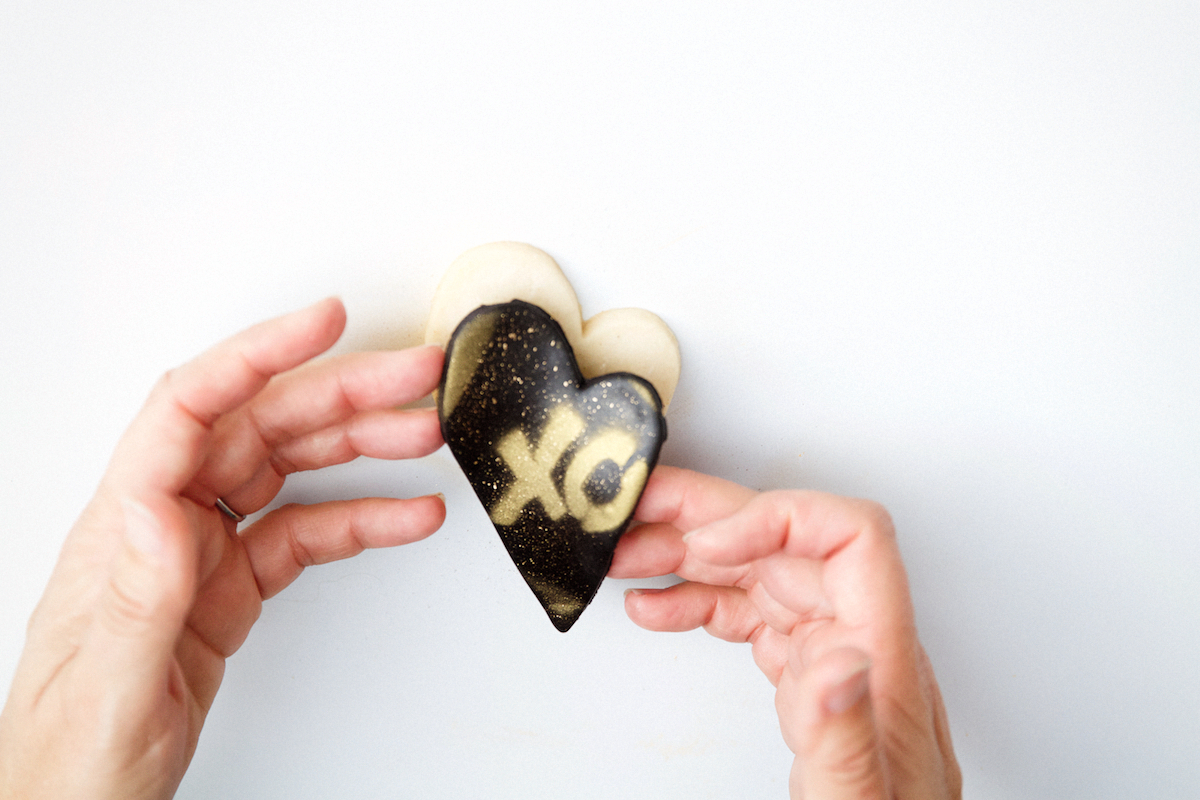
Embossing fondant is like creative magic. You can stamp in a shape or letters. Next, I dip a thin brush into the clear piping gel and outline the letter or the shape inside. Once it is slightly wet, this will act like the glue to trap the glitter dust. Next, I tap the gold glitter dust into the embossed area. Lastly, lift off the fondant with a metal spatula or a dough scraper and apply it onto the cookie with a bit of piping gel to adhere the fondant to it. Voila!
Be bold and send strong love vibes with these foxy gold glam cookies. It takes time, but personalizing and sharing a sweet edible message shows your true .
- Plate Props: Anthropology
- Baking Tools: Global Sugar Art (Gold Splatter Paint) & Wilton Piping Gel, Wilton Color Mist
- Stencils / Spray Paint: Heidi Swapp & Cookie Countess
- Fondant: Satin Ice Fondant
- Alphabet Embosser: Sweet Elite Tools Snap Together Mini Letter Embossers Stamps For Cookies By Autumn Carpenter

Credits: Amy Murphy & Karlos Marquez
Photos by: Maria Hedrick Photography
Cookies 1Dries: Whisk flour and salt in a bowl. Set aside. 2Base: In a mixer, cream together butter and sugar. Next, add eggs, vanilla and optional flavorings of citrus zest or spices (ie: cardamom). 3Gradually, add dries to base just until incorporated. Chill in refrigerator up to one hour. Roll on lightly floured surface. Cut shapes. 4Bake at 350F for 8-10 minutes or until edges are slightly browned. 5Note: When you cut into a shape, chill in freezer to set. Then, transfer directly to hot oven. Tip: Once you cut your cookies into your desired shapes, wrap and place in freezer. Then, bake off the next day. Move from freezer to oven and the shapes will retain their integrity during the baking process. This is how you get those perfectly shaped cut-out cookies!
Directions


LET’S BAKE TOGETHER!
Don’t Miss A Recipe

Lemon Tea Cold Remedy for Your Sick Sweetie


I literally got butterflies while strolling through this post! The fun you have just leaps off the page, my friend! I love to stamp cards so these cookies are right up my alley!
Thanks Annie! I love this comment. I am oddly inspired by street art and this is one way of transferring that into my obsession with sweets.