
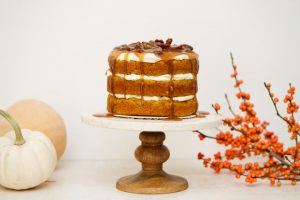
Blueberry Frosting + Blueberry Cake = one zippy kid’s birthday cake (or adult). This blueberry cake is delicious, beautiful, and oh-so-fun to crack open and marvel at those bright blueberry creamy layers. Mamas, get your decorating groove on as we take you step-by-step through layering, frosting, and finishing fondant application. You can do it!!
Inspiration
Mine came in the form of this little hero! As you’re slaving away the next few days, remember that golden boy or girl with whom you are making this cake for. It doesn’t really get any better than the moment they see a cake you made just for them.

Plan
- Day 1 -Make blueberry cake layers (refrigerate overnight).
- Day 2 – Make blueberry filling, assemble and place in refrigerator. Meanwhile, make blue frosting, remove cake from refrigerator and give it a quick crumbcoat. (refrigerate overnight)
- Day 3 – Frost outer layer of cake with blue frosting (refrigerate), make, and apply fondant mask. Serve!
Make Blueberry Cake Layers & Filling

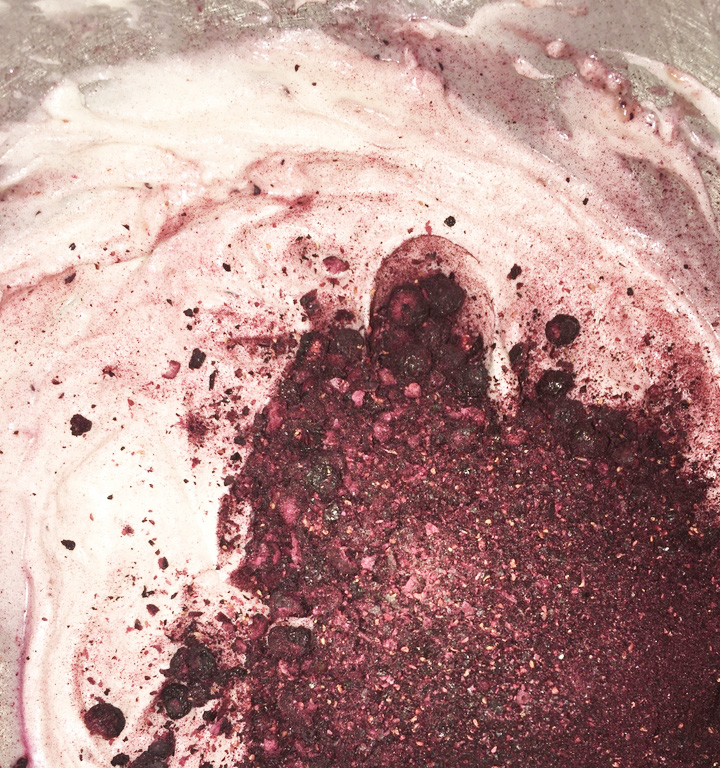
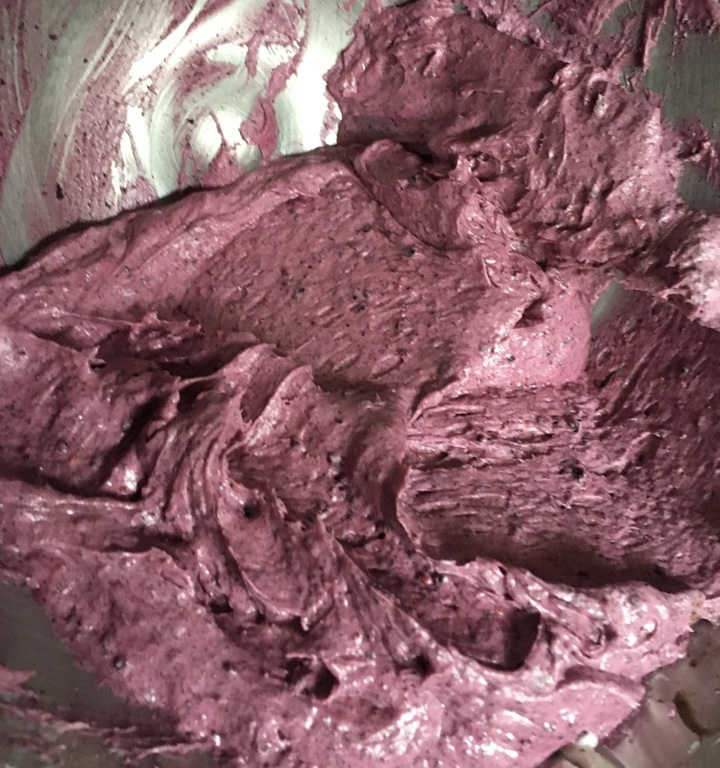
Yummy! Fresh blueberries in the cake itself and pulverized dried blueberries in the filling. Such a perfect combination.
Assembly

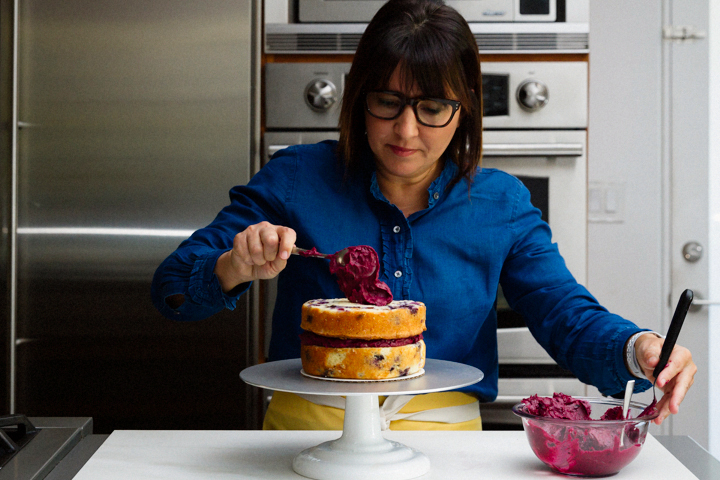

Ok, keep calm! Everyone always asks, how do you get those perfect layers. I measure with a good old ruler! Yep, a wooden ruler and then shave off the top. There are so many tricks for cutting cakes and here’s my fave demo if you’re a newbie to the cake-cutting world.
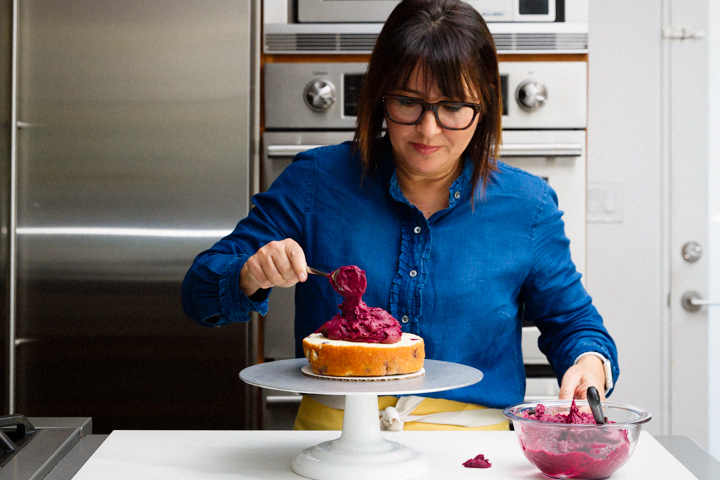
Crumbcoat (1st layer of frosting)
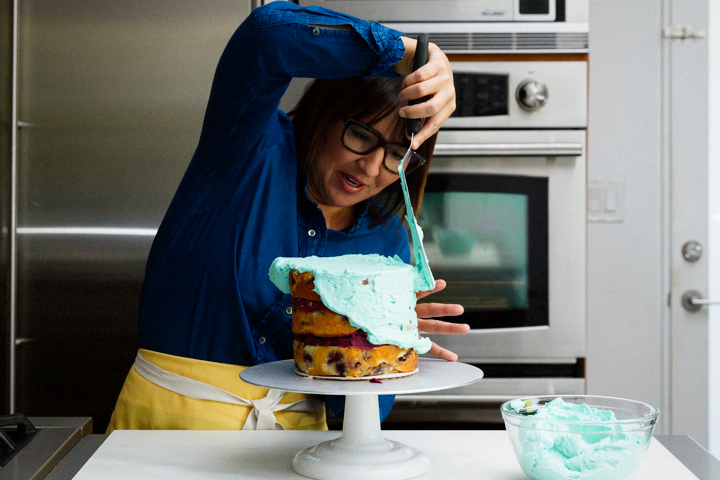
I love to crumbcoat because it is the ‘hakuna matata’ part of frosting a cake. Ain’t no worries for the rest of your day. Just apply the blue frosting for coverage and it’s fine if you see parts of the cake peek through.
Frost For Perfection
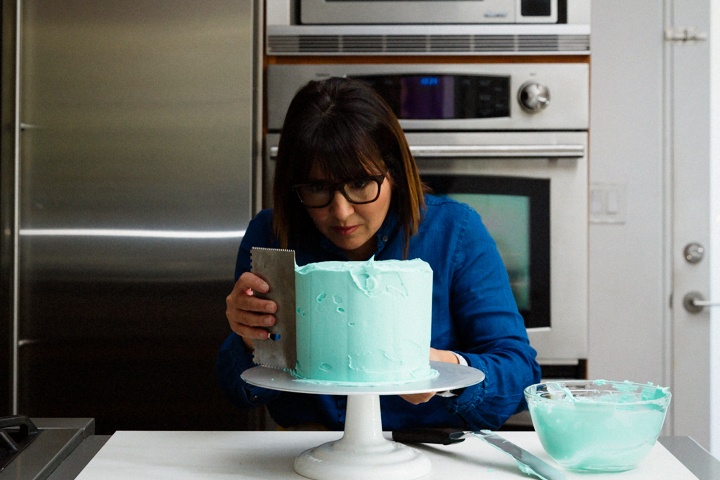
So, how do I create the most perfect frosting layer? Buy a cake smoother! I promise you won’t regret it. They are easy to use, and boy, do they make this process simple. If you don’t have one, use an offset icing spatula. I switch between the two! If you don’t have an offset, use your flattest longest butter knife with a smooth edge. See the video for a demo.
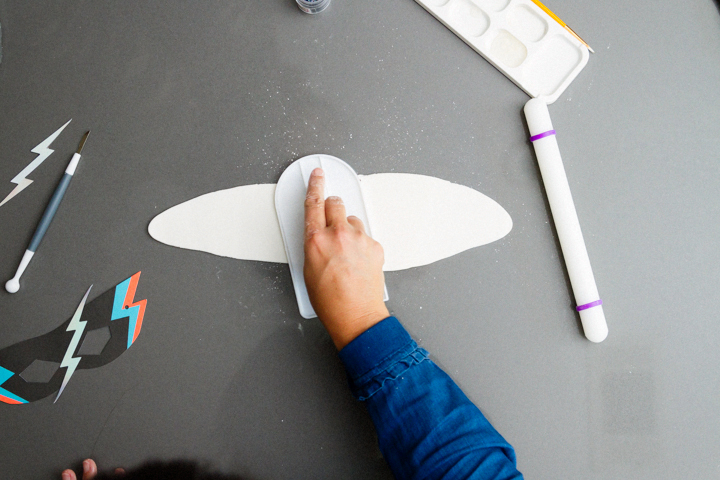
Mask
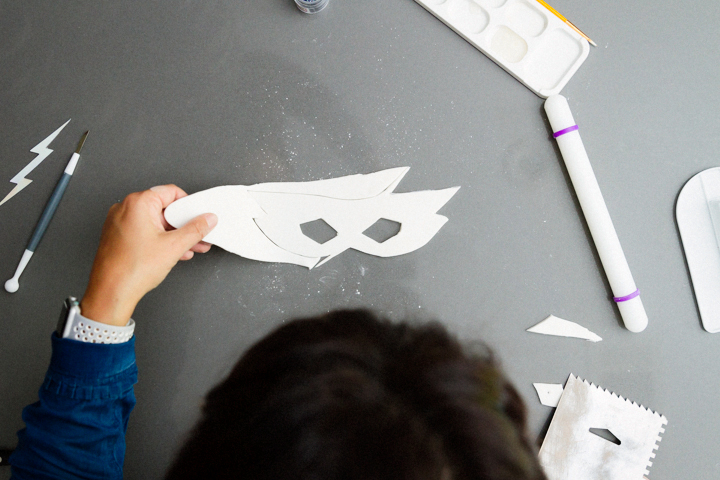
- Fondant Roll & Cut: Satin Ice Fondant has worked easily for me. I sprinkle a bit of cornstarch while rolling it (to prevent sticking) and then use a knife to cut out the shape of the mask. Roll over it with a fondant smoother. If you don’t have this, skip this step, and just use your roller.
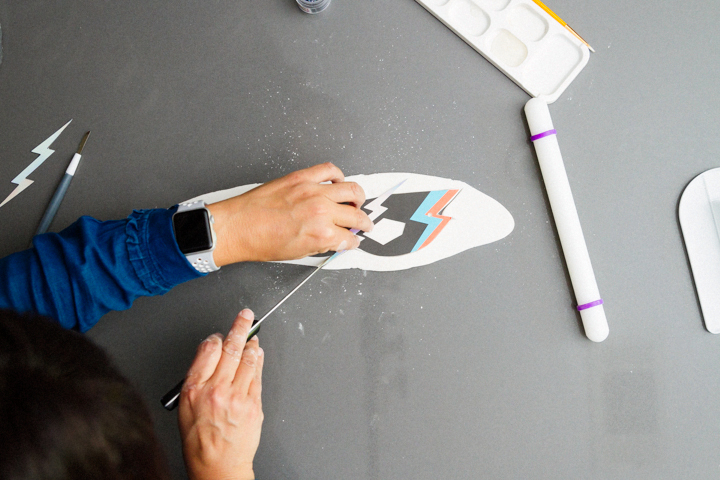
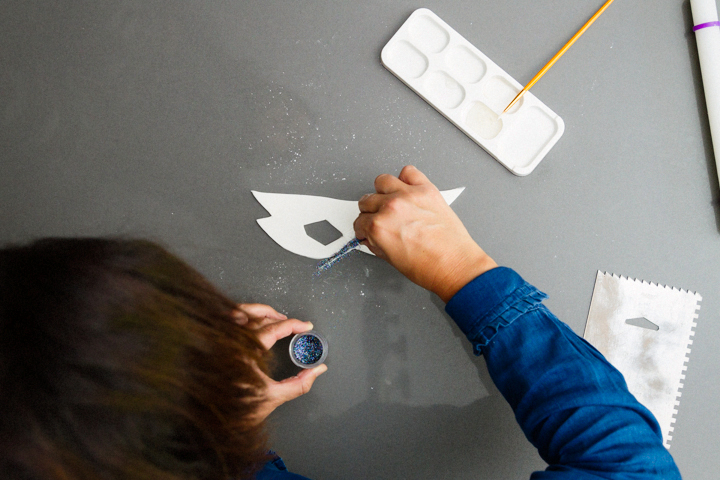
2. Glue: To adhere the glitter or disco dust to your cookie, I opted for Wilton’s piping gel, but there are so many ways to do this. If you don’t have this on hand, try brushing a little bit of corn syrup as your glue. Here is a great blog post from one of my favorite bloggers on how-to make edible glue at Sweetopia.net. Then sprinkle the edible glitter and wipe off the excess with a blush brush (use only for this purpose). I like the shop, Layer Cake Shop to buy disco dust.
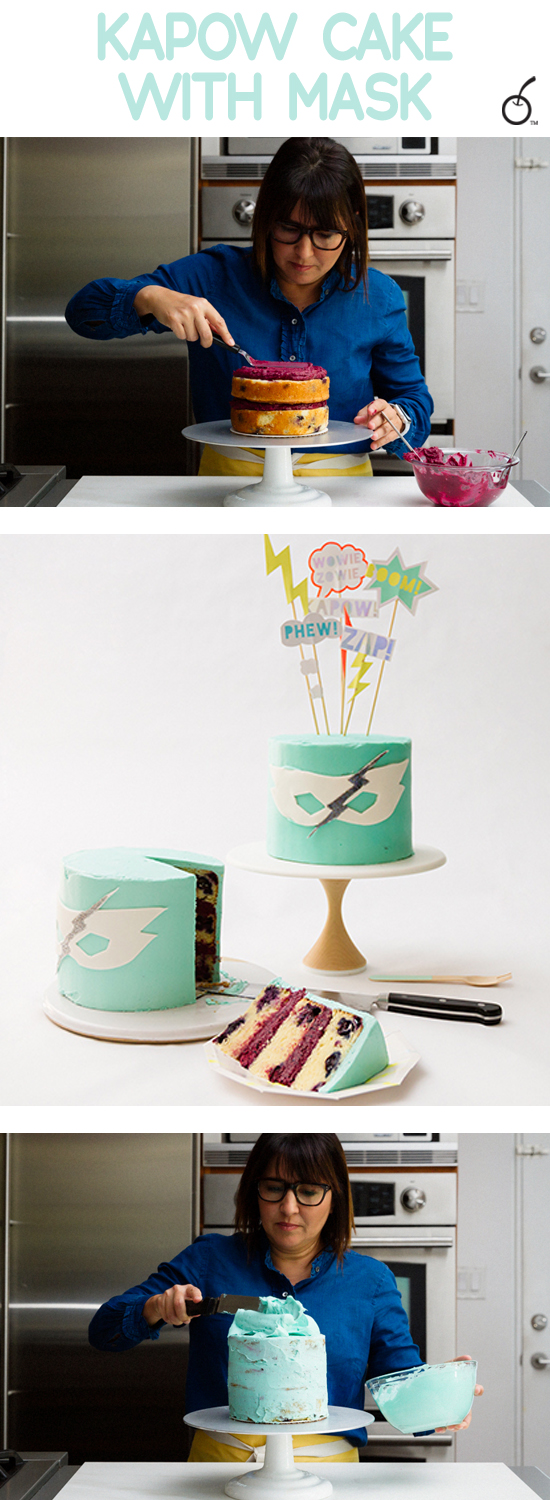
Final Touches
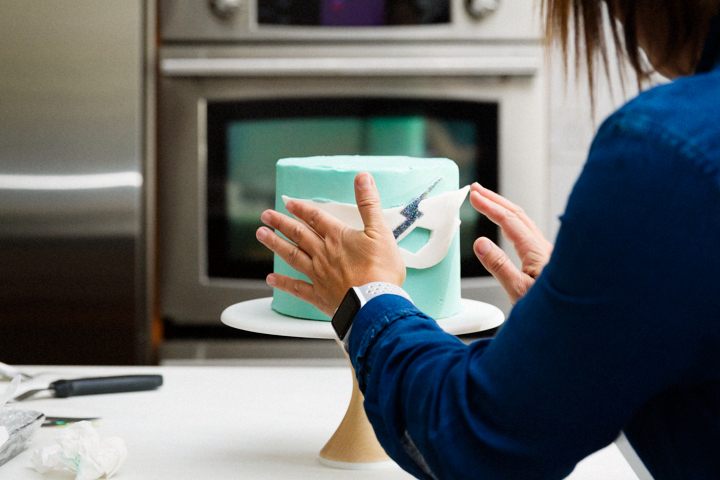
Apply the fondant mask on a cool, but room temperature cake so it will stick to the buttercream. Finally – whew, you made it. Step into nirvana now as you have worked hard! Place these lovely and adorable cake toppers to finish off this masterpiece.
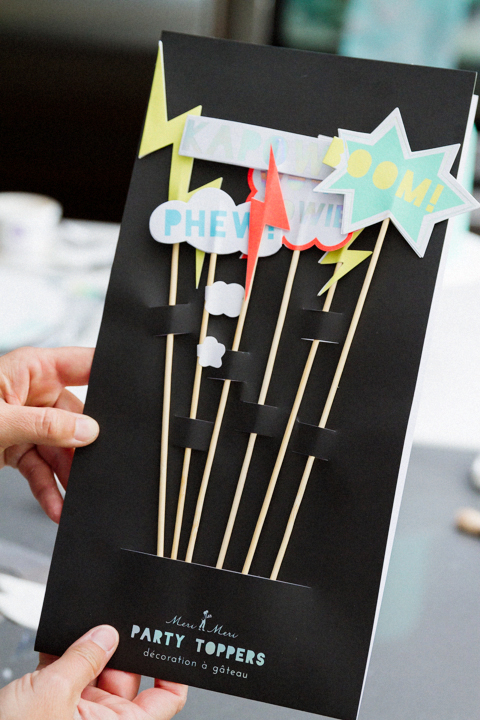
Now, I am being lame about this crush, but the products just keep getting better and better. Meri Meri…you had me at “party”. You must check out their fresh innovative product lines – they are just too darn hip. My go-to shop to buy Meri Meri is this lovely on-line shop that makes party-buying a cinch, Shop Sweet Lulu. Show them some love, eh?

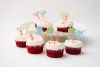
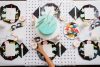
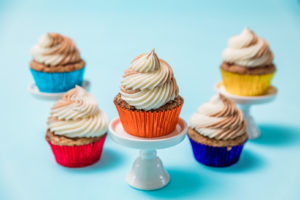
Now that the cookies, cupcakes, and cake are all done, what next? Check out the sweet table spread that we put together for this zippy Kapow-themed birthday party.
Photos by: Maria Hedrick Photography
Blueberry Cake 3 cups cake flour + 2 tablespoons cake flour, divided 8 ounces unsalted butter, room temperature 2 cups wild blueberries, frozen or fresh Blueberry Filling 9 ½ (2 ¼ cups) ounces confectioners sugar 4 ¼ ounces (1/2 cup) cup cream cheese, softened 2 fluid ounces or ¼ cup blueberry puree (1 cup blueberries pureed and strained) 1 ¾ ounce freeze-dried blueberries pulverized Blue Frosting 6 ounces unsalted butter, softened 4 ¼ ounces cream cheese, softened Blueberry Cake 1Preheat oven to 350 degrees. Butter and lightly flour three 8″ round pans. Line with parchment paper circles. 2Sift together 3 cups cake flour, baking powder, and salt. Set aside. 3In the bowl of a stand mixer, beat butter and sugar on medium-high using the paddle attachment. Beat until pale and fluffy, about 4 minutes. 4With the mixer on low, add eggs one at a time. Mix well after each egg. Add vanilla. 5Add the flour mixture in three batches, alternating with the milk, beginning and ending with the flour mixture. Do not over mix. Stop the mixer and scrape down the bowl. 6In a small bowl, gently toss blueberries with 2 tablespoons cake flour to coat. Using a spoon or spatula, gently fold blueberries into batter, being careful not to break berries. 7Divide batter evenly between the three 8″ round pans. Bake for 30-33 minutes, until toothpick inserted into center comes out clean. 8Let cool in pans for 5 to 10 minutes, then remove to wire rack to finish cooling. 9NOTE: If using frozen blueberries, do not thaw before mixing into cake batter. Avoid over mixing once the berries are added to prevent the cake batter from turning grayish-purple from their juices. Blueberry Filling 1Using an electric mixer, beat all the ingredients together for 3-5 minutes or until light and fluffy. Blue Frosting 1Using an electric mixer, beat all the ingredients together for 3-5 minutes or until light and fluffy. Carrie Sellman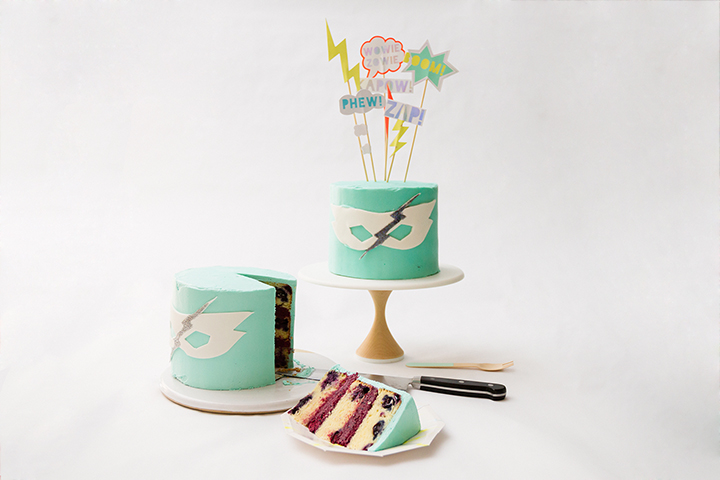
Ingredients
Directions


LET’S BAKE TOGETHER!
Don’t Miss A Recipe


I love the adorable MeriMeri party supplies! I’ll have to check out Shop Sweet Lulu! Plus that cake look delicious, perfect for the summer season with all those blueberries!
Thanks Kendall. I love their supplies too. So sweet how they “meri” lightning bolts and masks!
This is probably so basic, but I love seeing you use the cake smoother. I would love to hear what brand you love best. I aspire to make smoothly frosted cakes! Thanks Cindy.
I love using Ateco. They have high-quality smoothers and you can still easily find them at your local bake or craft store and on Amazon.
This is such a wow cake! Plus you get your frosting so enviously smooth!
Ha, thanks so much. Put on some easy grooving music and spin away with the cake round and smoother. Soon enough it will be picture-perfect.
This is such a cool idea! Can you make the mask ahead of time, so you don’t have to make everything at once? I’m not very familiar with fondant, and was just wondering if that’ll last a day or two in the fridge. Thanks!
Thanks Ryan. Fondant is best eaten the day it is applied as it gets “wet” after time in the refrigerator. Enjoy!
Such an awesome cake! You make it look so effortless and easy! LOVE IT!
Thanks Maryanne! I love the flavors and fun colors of this cake. It is delicious.