
Mummy cakes are roaming the halls of our Sweet Nerd Headquarters (ummm, that would be my kitchen, folks!). This past week, a brood of 4th graders joined The Sweet Nerd Halloween Workshop to mummify some white cakes. Loaded with deliciously sweet buttercream and fondant googly eyeballs, this cake was a Mummytastic success!

If you want to execute this cake, this is the time where it’s totally fine to make it easy on yourself. Go ahead and buy a box of cake mix or if you’re feeling up for the challenge, make a simple white cake (see attached recipe). Add a few halloween colored jimmies or nonpareils and you’re good to go. And don’t forget to prep the frosting for your kids in a piping bag (or a gallon ziploc will work) with a Wilton tip #789.

We started with rolling out fondant. You will need a knife or a pizza cutter and a fondant roller. These are the fondant shapes and colors you will need to execute the face:
- Black fondant face in a rectangle shape
- Yellow eyeballs, two in circular or oval shapes
- Black pupils, two in circular or oval shapes

We started with the backdrop for the face first. Facing your cake portrait-style, place it about 1/4 down from the top and center it across the cake.
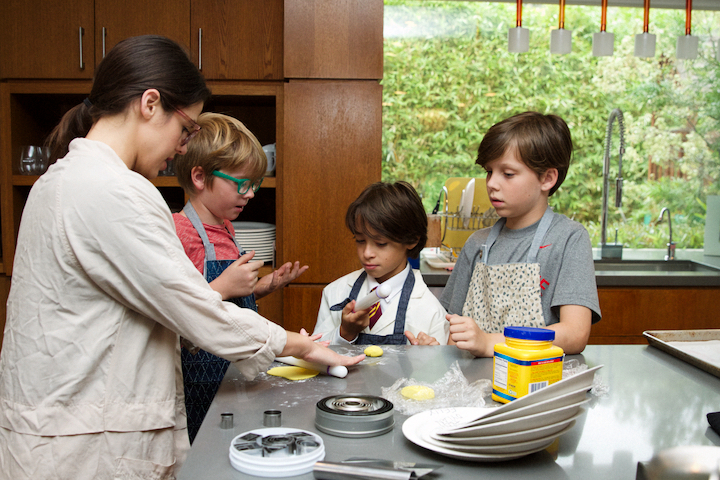

Next, it’s time to roll out some lovely yellow eyeballs. The kids had fun with this part – some rolled, some pressed, and some just smushed! All in all, we got the job done.

Then, these Little Nerd chefs got to cutting. Yep. Chop! Chop!

We were working with delicate colors, so I was careful to only sprinkle a dash of cornstarch before rolling out the fondant. And, although the fondant tends to stick a bit, it wasn’t a problem at all. The shape is so tiny that you can easily use a metal spatula or a dough scraper to scoop up those eyeballs.
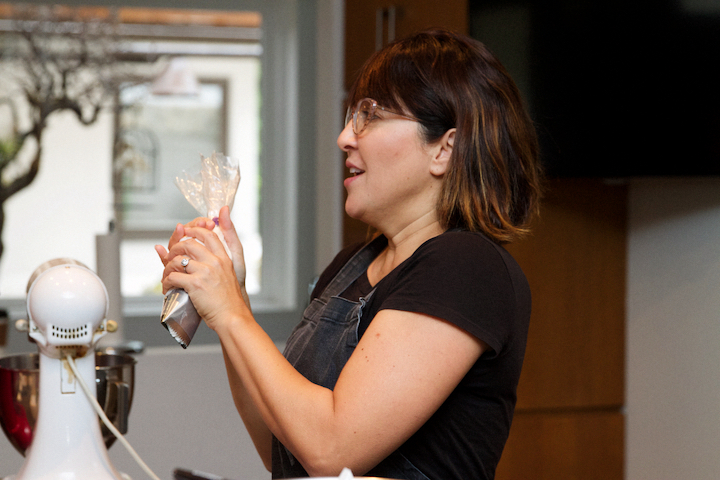
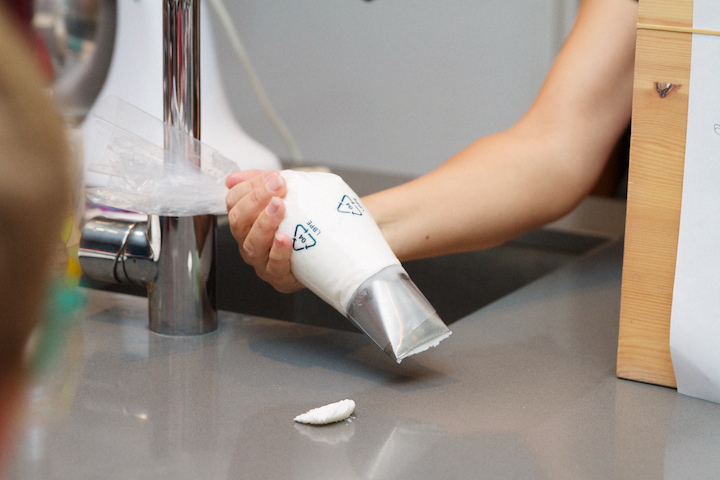
Hands-on time! So, now on to mummy layering with everyone’s favorite – American Buttercream. I demonstrated how to use both hands. One as a guide that is placed close to where the tip ends and the buttercream begins and the other is at the top. This was tough for the Little Nerds, but totally doable. Either way, we vowed to just have fun. If you run out of time with making buttercream, then try this brand, CK Buttercream.

These guys were no joke! There were some serious bakers in the house, unbeknownst to this Sweet Nerd. These chefs used their little hands as perfect guides to sending these mummies into the underworld.

We talked about layering around the eyes first in a diagonal position as this is the most difficult and ‘sets’ your mummy cake.

The young natives were getting restless as I started hearing murmurs of them getting hungry. I begged them to wait until at least their parents saw their prizes first before devouring! That was probably the toughest part of the exercise. Sigh, just waiting to eat these delicious cakes.

Mummytastic!

Photos by: Maria Hedrick Photography
Cake 1Preheat the oven to 335 degrees F. Grease and line the cake tins. Using a stand mixer or electric hand mixer, beat the butter and sugar for 3-4 minutes or until the mixture is pale and fluffy. Add the beaten eggs a little at a time, beating after each addition until they’re well incorporated. If the mixture curdles, add a tablespoon of flour to bring it back together. 2Sift the flour, baking powder, and salt into a clean bowl. Add half of the flour mixture to the butter mixture and beat until just combined. Add the milk and vanilla extract, continuing to beat, and then add the remaining flour mixture. Beat until just combined. 3Pour into cake tin. Bake in the oven for 35-40 minutes, or until a skewer inserted into the center of each cake comes out clean. Allow the cakes to cool for 10 minutes in the tin, then turn them out on to a wire rack to cool completely. Buttercream 1Whip butter until aerated. Add powdered sugar and cream, then whip. Lastly, add vanilla extract.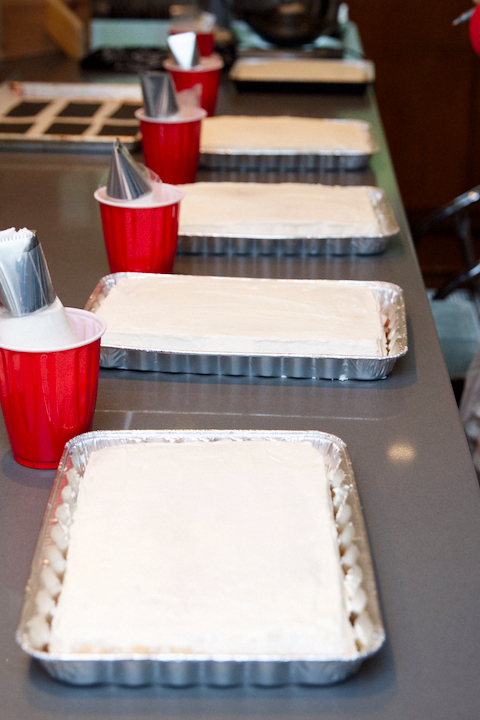
Directions


LET’S BAKE TOGETHER!
Don’t Miss A Recipe


Well it’s official. You are the best. mom. ever. And I recognize one of those sweet faces!! Love how you always include the kids AND look so composed. These cakes are almost as awesome as you!
Love this cake and so much fun for everyone!