Behind the Scenes with Graffiti & Grace
What I find so inspiring about the LA urban art scene is the abundance of “raw beauty” that is found throughout this vast city. The stark, artistic contrast has inspired me to create a kitchen collaboration section called Graffiti & Grace; A mash-up of sweets and LA’s urban art scene. I want to take you behind-the-scenes to get a sneak-peek into our entire array of handcrafted baking tools designed for our Graffiti & Grace kitchen collaboration. We hope it will inspire you to brand your own work!
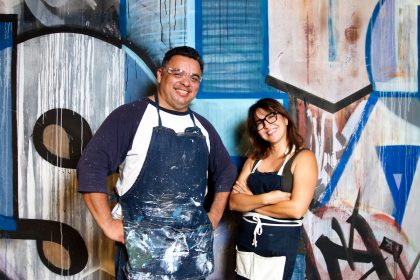
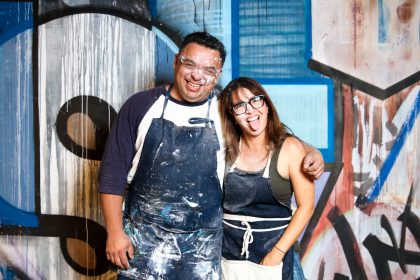
Enter Karlos, one of my faves in the world of urban art.
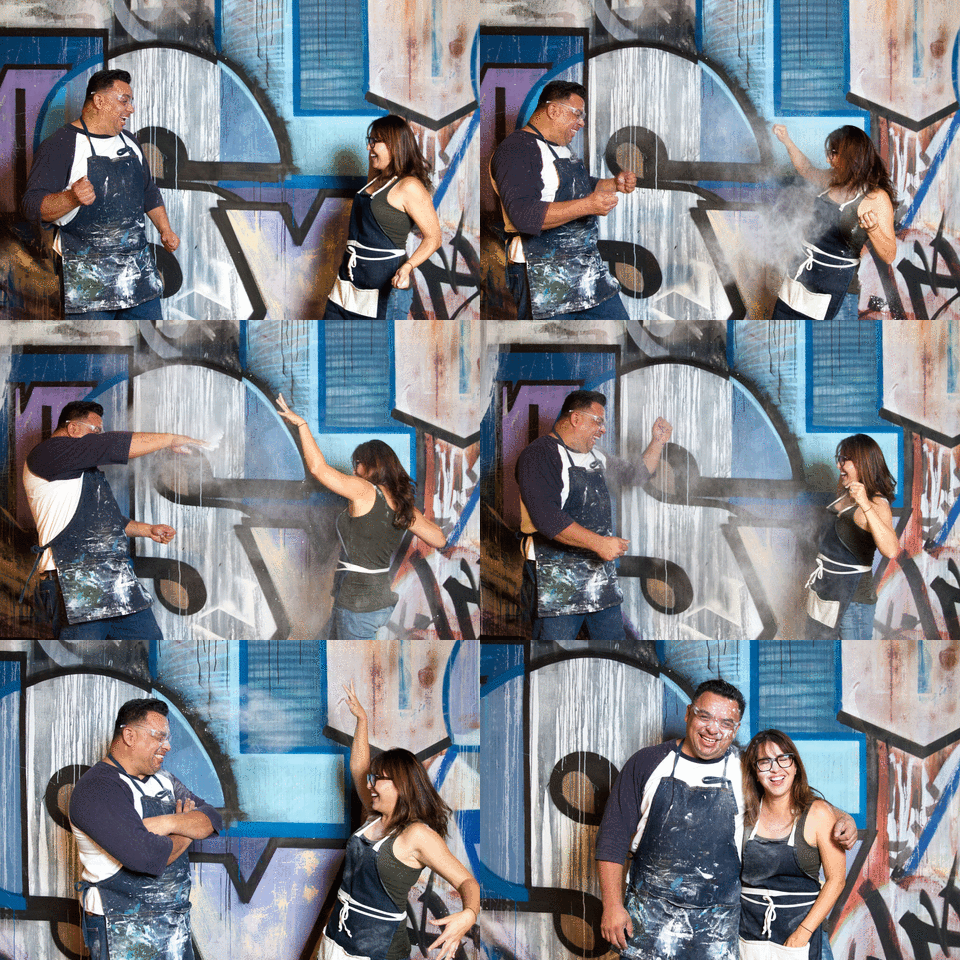 There’s Juan too, of course, and Jules, Prime and SO many other talented street artists. Today, however, the focus is on Karlos’ Love and XO Collection. Together, we created some cool baking tools that should serve as major inspiration for y’all!
Three Tips For Creating Your Own Theme
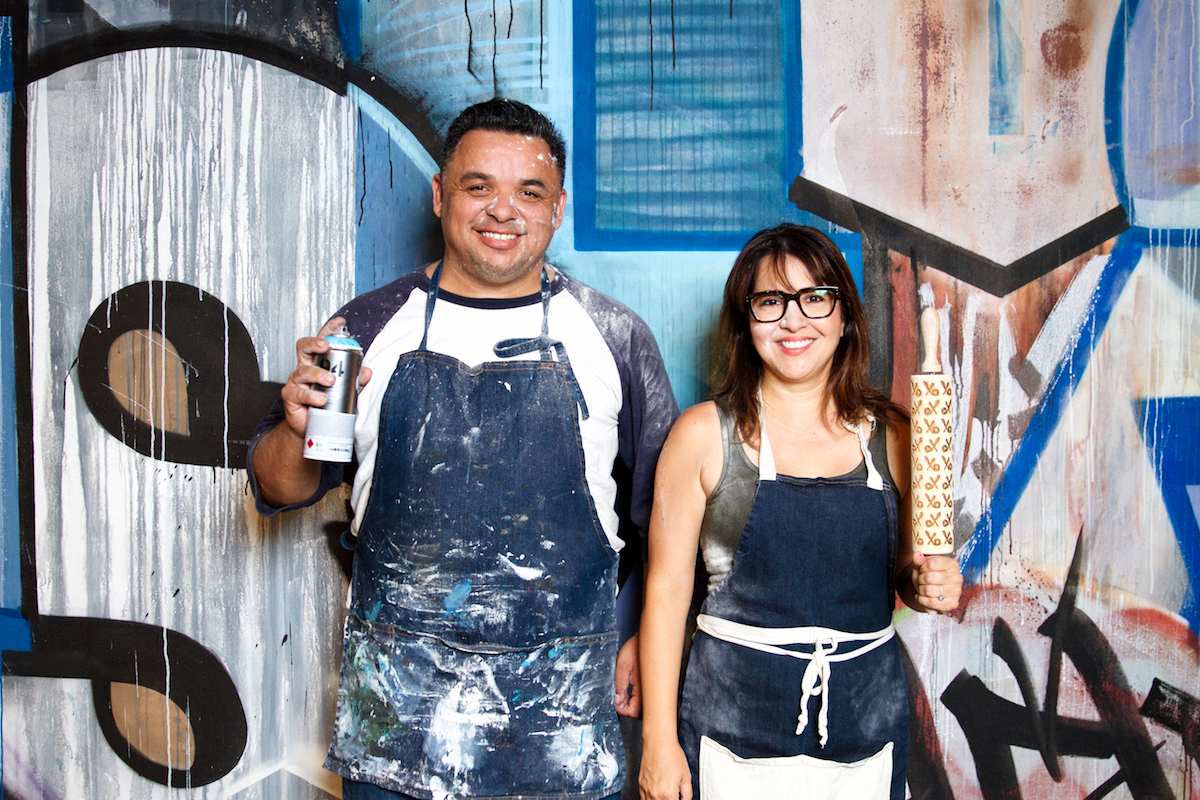
- First, we determined a theme of ‘Mix & Match’ with fonts, colors, patterns, and designs. Shapes, figures, silhouettes, whatever takes your fancy! For Karlos and me, it was anything with s paired up with a cool design.
- Second, pick key visuals and branding. I went with XO’s because they are super sweet and fun, then I chose dripping hearts for contrast. It’s all about attracting the eye!
- Third, pick a variety of mediums for baking tools. We went with stencils, rolling pins, cake toppers, stamps, and embossers. The more broad your baking tools, the more diverse your recipes can be.
Tool #1: Rolling Pins
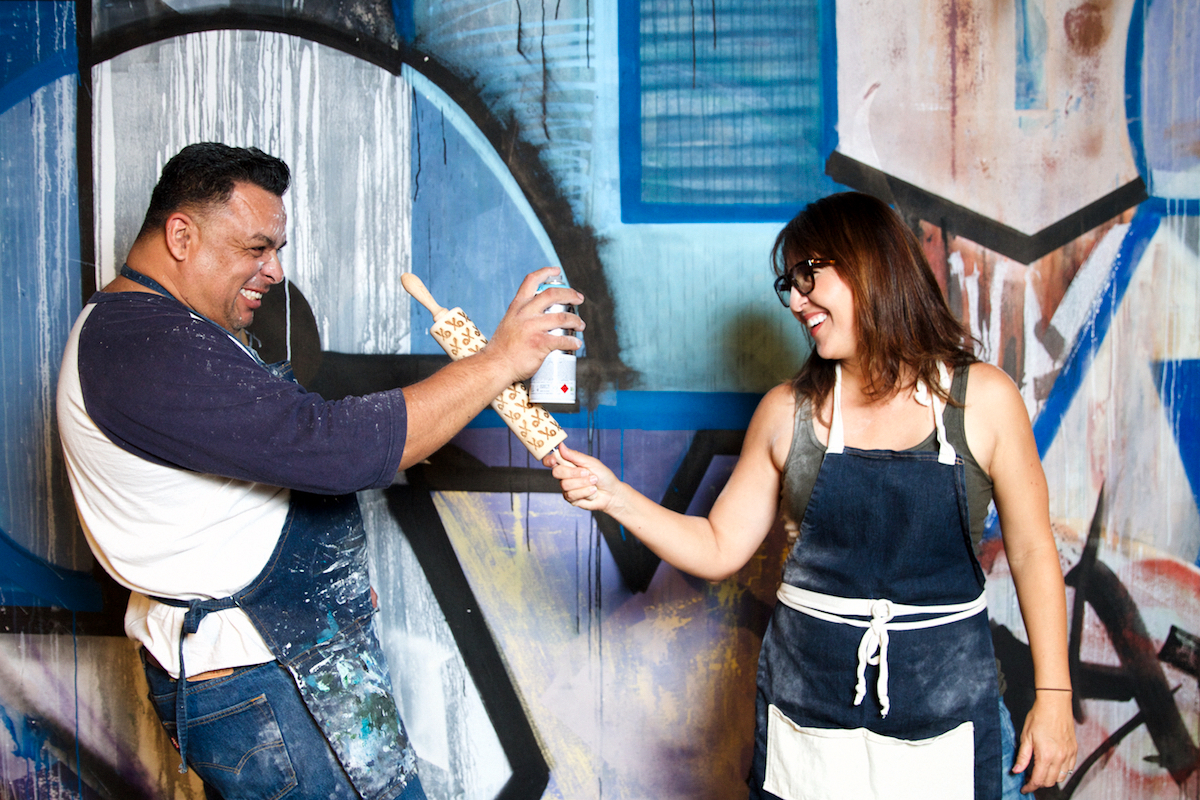
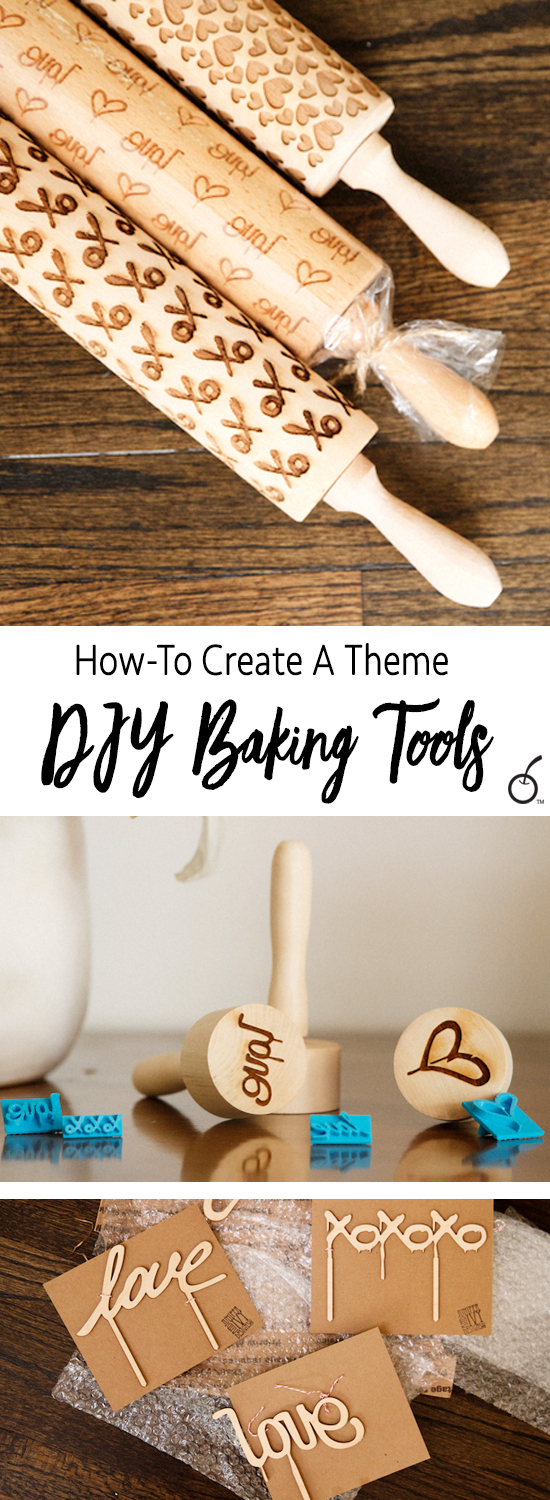
Rolling pins are a perfect choice for prepping and rolling out sugar cookies or shortbread cookie dough. For me, pattern play is a must when creating a baking themes. I ordered these to-die-for rolling pins off of Etsy from a company called Rolling Woods and Valek Rolling Pins.
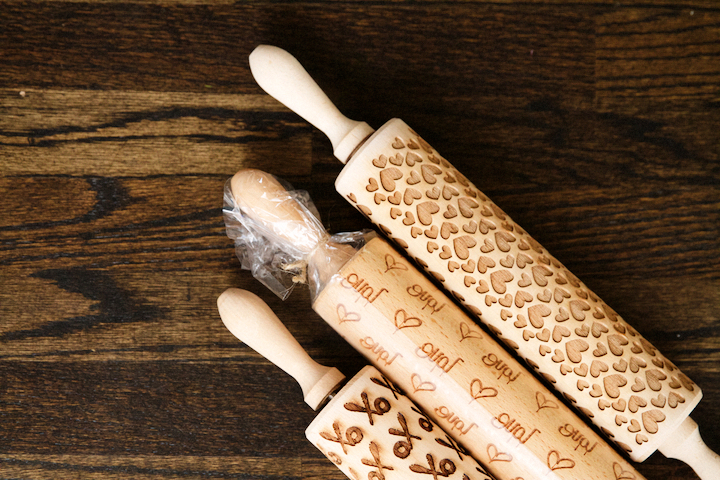
Two of the above rolling pins are custom, Xo (left) & Dripping Heart (middle). The third rolling pin I ordered is made with carved out hearts, a basic stock item and readily available. They came out perfectly, and straight up emulate the emotion behind ‘Graffiti and Grace’.
Tool #2: Embossers
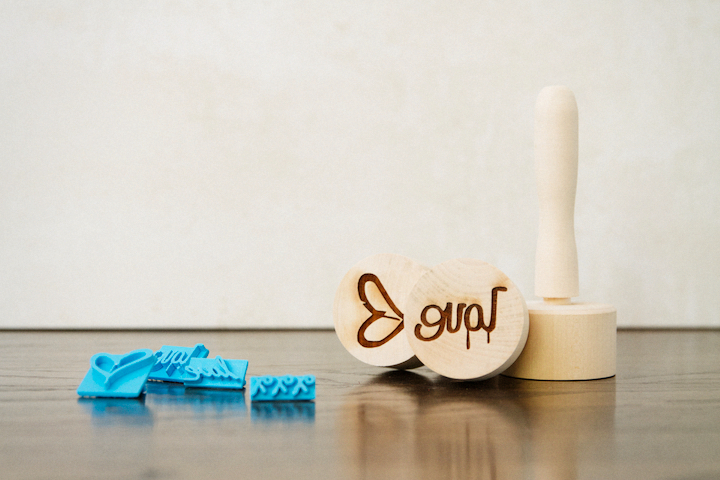
I love ordering off of Etsy because there are so many incredible vendors to choose from! As a baker, I love that there are endless amounts of creative baking tool options that constantly inspire my sweet creations. I’ve found that one effective way to personalize cookies is to use embossers. I ordered these customized wooden eco-friendly cookie stamps from Maria Konstantin.
Remember: it’s all in the details, folks! I use these embossers to press directly onto the cookies before baking. The blue embossers are also found on Etsy from a retailer called ThreeDGeek. I found these to be perfect for decorating on fondant.
Tool #3: Stencils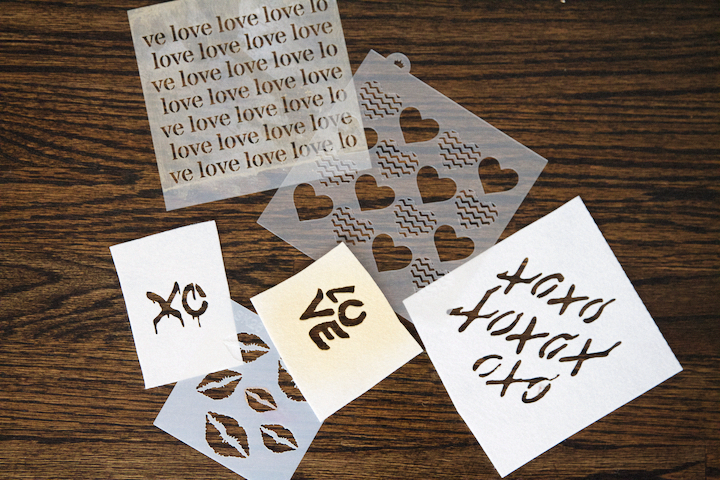
Stencils are key for cookie decorating and, well, for any decorating, really. Juan Barajas of Crownhill Designs, another incredible street artist, helped me craft and draw up these stencils. Again, we’re keeping our branding in mind across each of our baking tools here, maintaining some consistency. I also purchased some fitting stock stencils from The Cookie Countess.
Tool #4: Stamps
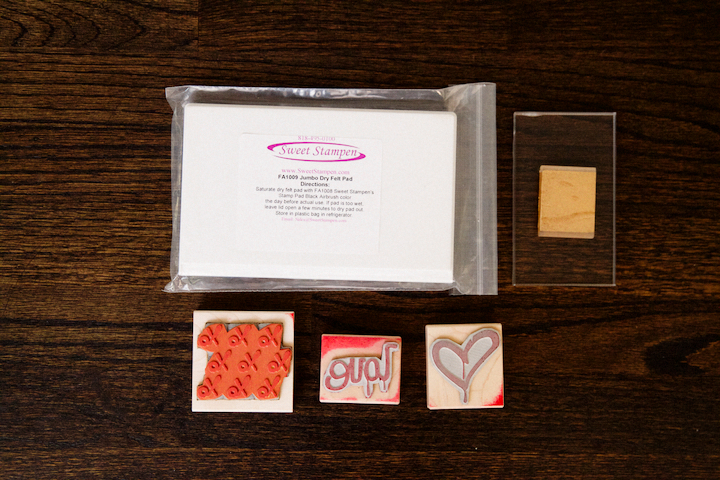
I’ll always jump at the opportunity to make an impression (pun intended!), this time using special stamps and food grade ink pads. This was a fun option for me as there are so many different patterns, fonts, and customizations that make your creative possibilities endless. I went with the food safe rubber and ink from a company called Sweet Stampen.
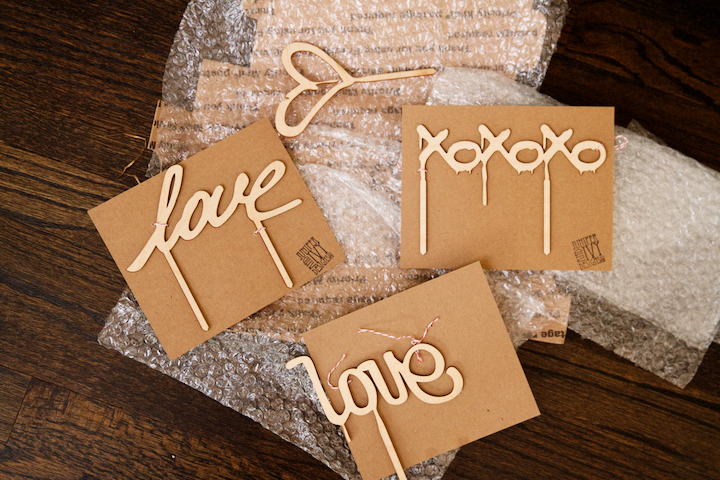
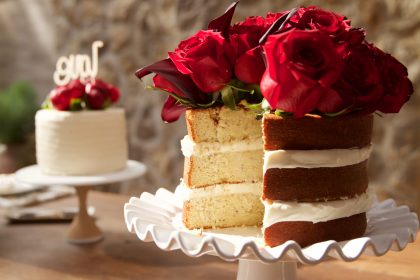
Cake toppers can often be considered the “frosting” on my cakes. With these placed atop a beautiful cake, there isn’t really much more that you need for decoration. I found a vendor that I love to use for high quality raw wood toppers called Juniper & Ivy. These babies are true showstoppers!
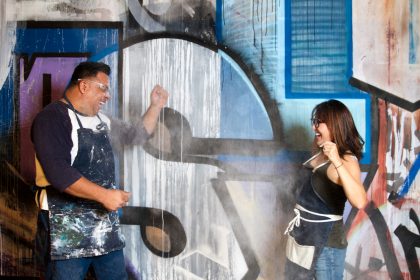
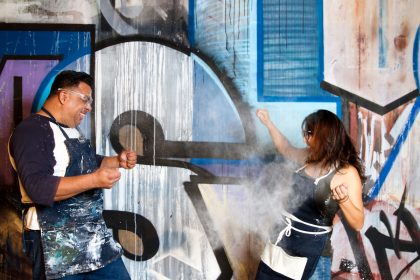
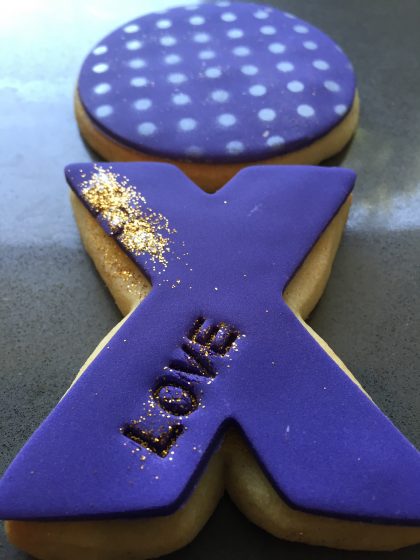
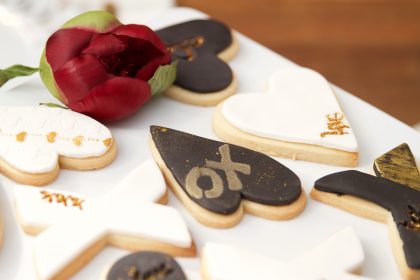
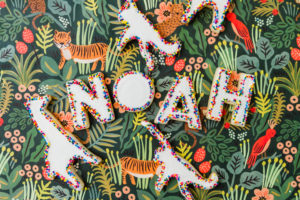
Check out this sneak preview of how we will use these fun baking tools in future posts!
