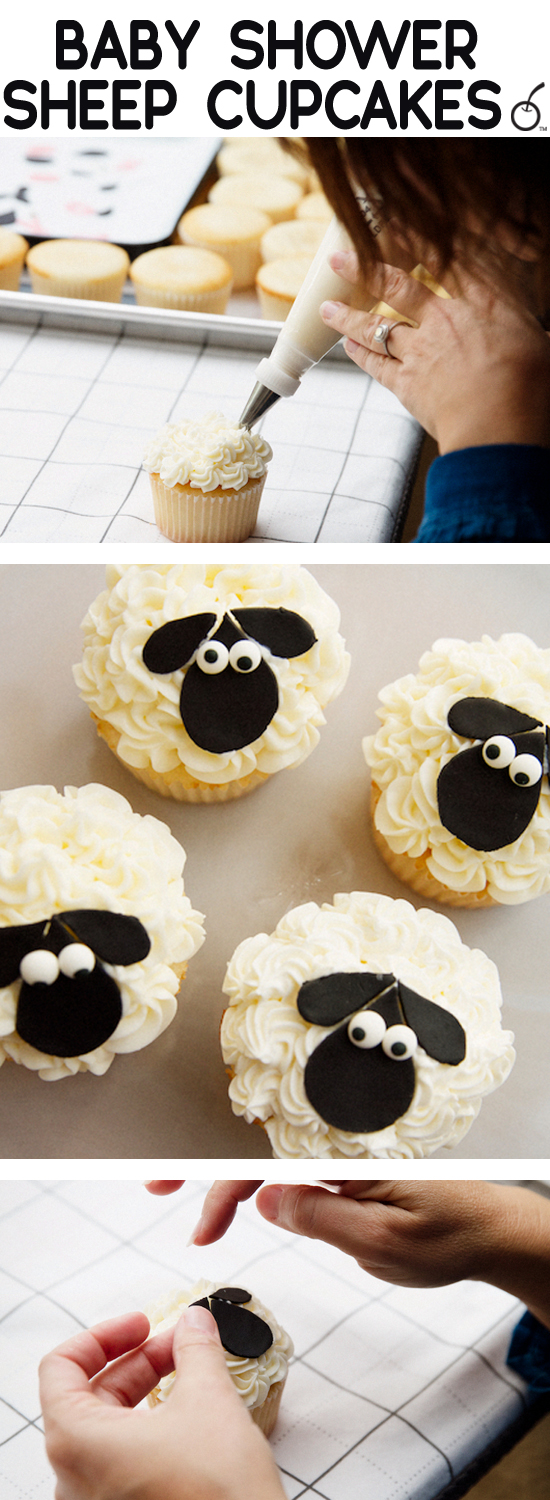
I’m baaaaaack! Want to try your hand at some fun Baby Sheep Cupcakes? Little frosting swirls and fondant shaped cut-outs transform these baby shower cupcakes into the cutest of sweets. It takes a slight bit of practice, but if you follow along with some basic steps, ewe will have these sheep grazing in babyland in no time!
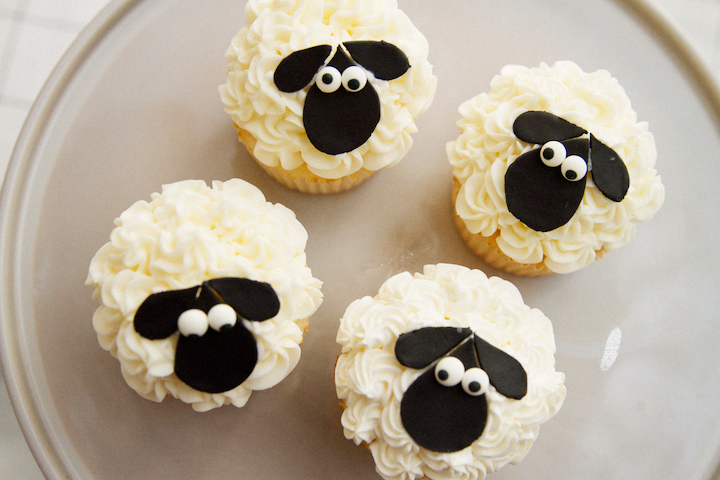
You will need these ingredients:
- Cupcakes – I made some classic and simple vanilla cupcakes. They are moist, light, airy, and the perfect base for these decorative sheep.
- White American Cream Frosting in a piping bag and Ateco Tip#18.
- Black Fondant Cut-outs (ears and face). I like Satin Ice Fondant sold online or at Michael’s Craft Store.
- Small Eyeballs. (Try online vendor Layer Cake Shop – one of my faves!)
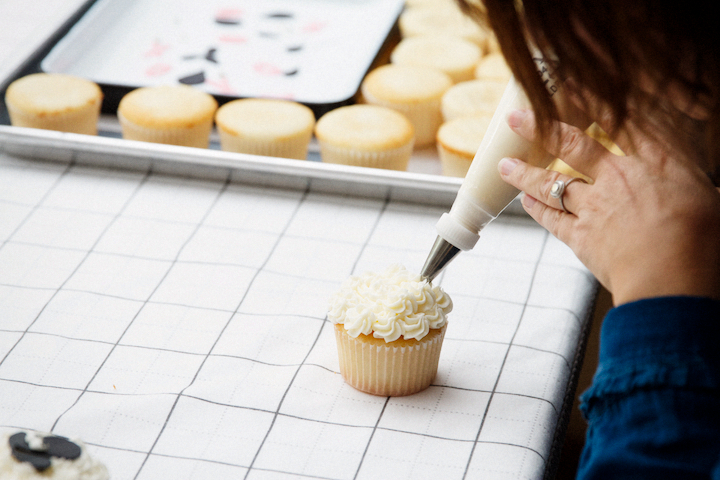 Steps:
- Make your cupcakes first and let cool.
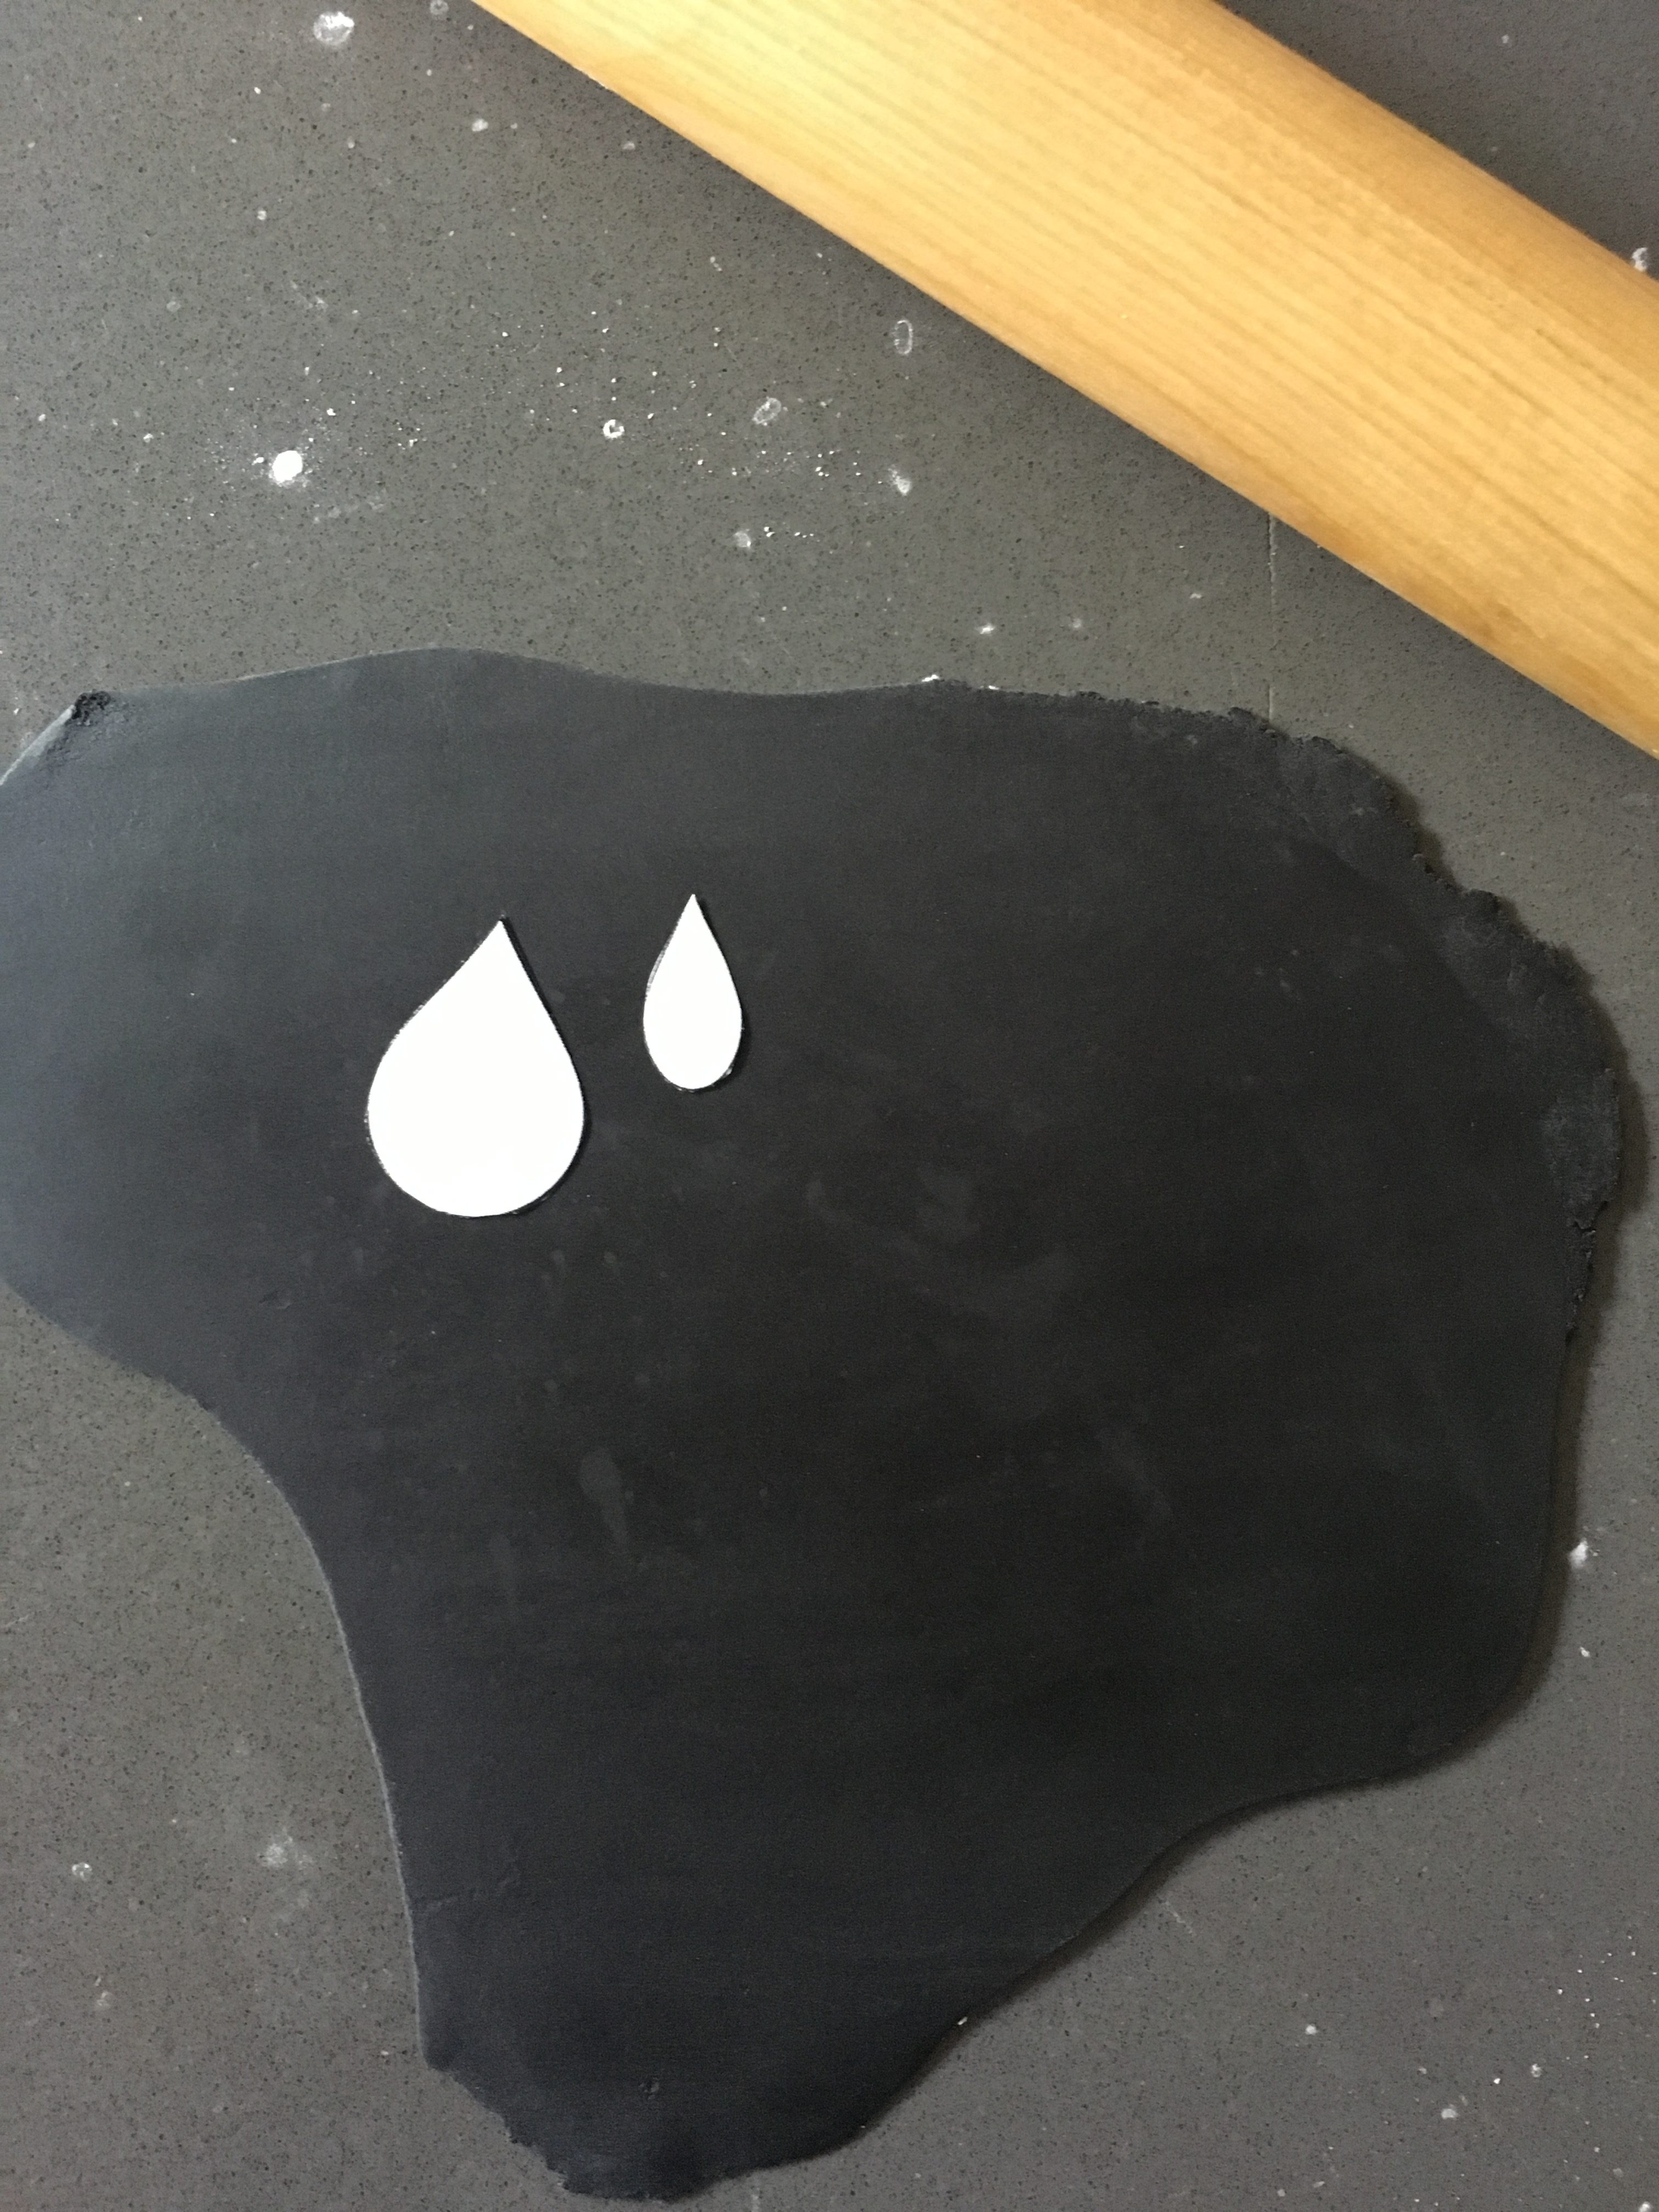
- Next, sprinkle cornstarch on a flat surface. Roll out black fondant and cut the sheep shapes. The smidgen of cornstarch helps avoid the fondant ‘sticking’ to the surface. You can buy black fondant from Satin Ice Fondant and it is quite pliable and easy to handle. I made a pattern on plain blank printer paper and used that as my cutter.
 Lay the pattern onto the fondant and use a sharp paring knife to cut the shape. You will need the following pieces which will make up the sheep: 2 ears shaped like teardrops and one face (slightly larger than the ears size). Pro Tip: Let the ears and face shapes air dry and harden a bit (for at least 30 minutes) before putting on the cupcake.
- Next, create some fluffy white American buttercream frosting. I used a basic buttercream frosting recipe and added white food coloring from Americolor to really help the white color pop, otherwise, it takes on the yellow coloring from the butter.
- Now, load your frosting into a piping bag and use an Ateco Tip#18. Holding your piping bag upright, you’re going to do two things at once: apply slight pressure on the bag and move it in a small circular motion at the same time. Voila! I started on the outside of the cupcake and work my way inward.
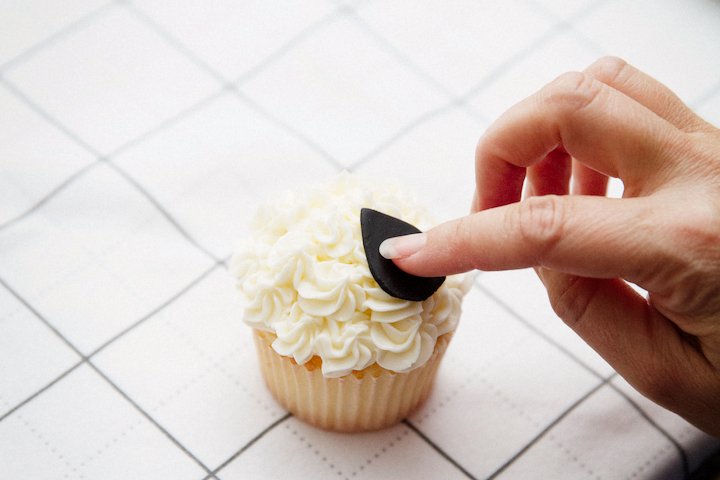
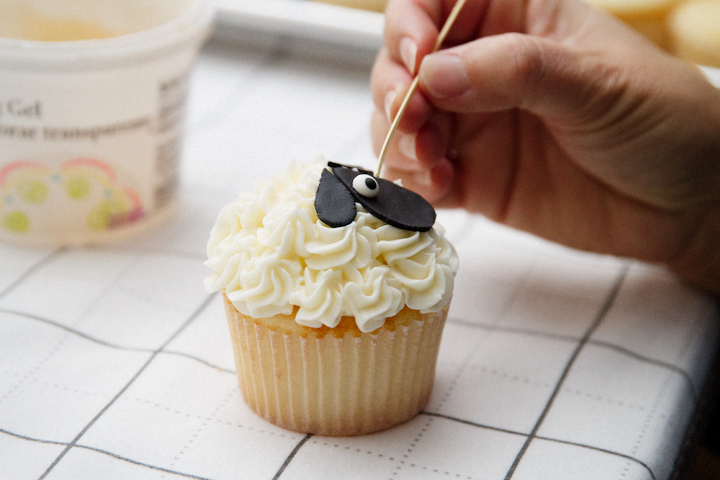
Step 1, Add Face - Now it’s time to apply the face and ears. First, lay down the face and then apply those adorable ears.
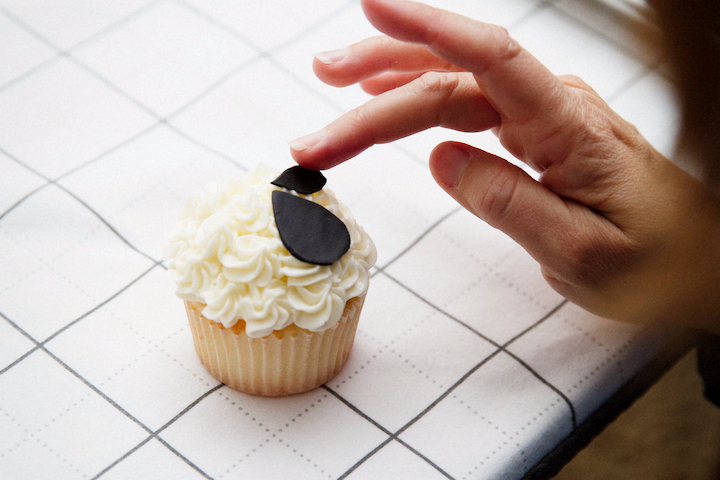
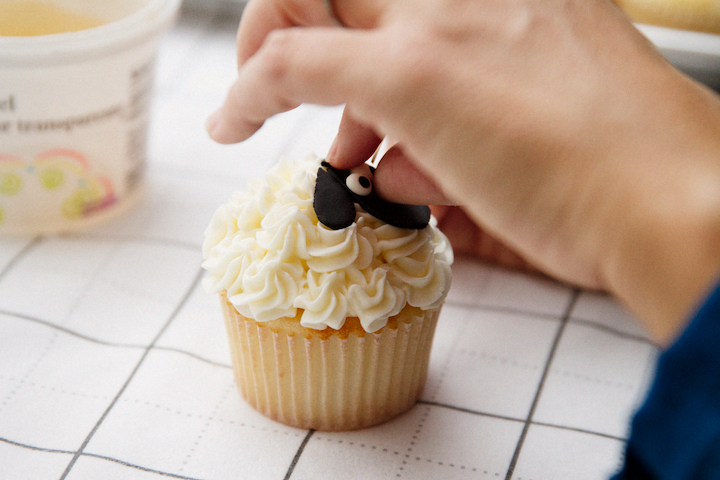
Now Add One Ear 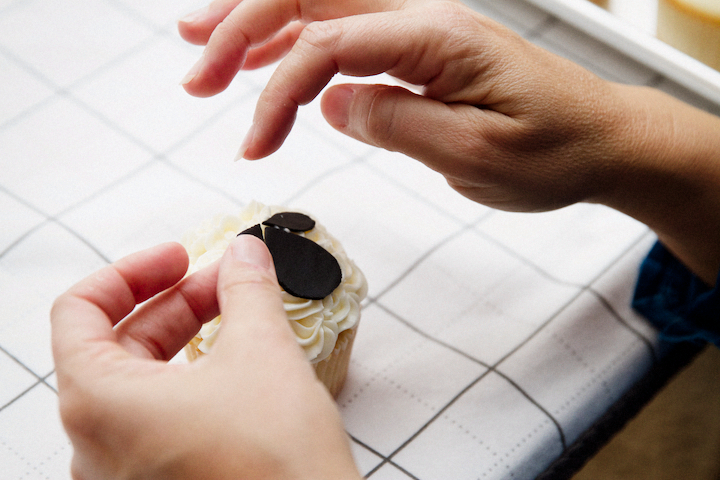
Apply The Other Ear - For the eyeballs, apply a bit of edible glue or clear piping gel. You can find these types of ‘glue’ at Michaels Craft Store, or if you’d like, you can use corn syrup, too. Basically any edible adhesive will work.
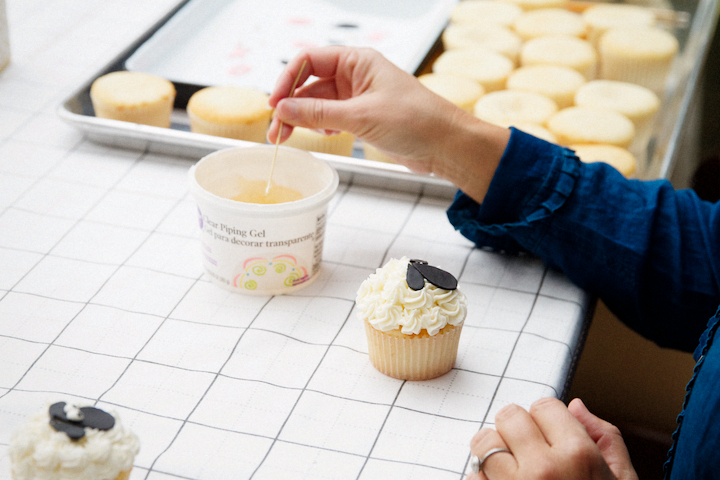 Apply a dab of glue with a toothpick to the back of the eyes so they adhere nicely. You can find eyeballs online, but I like the ones from one of my favorite vendors, Layer Cake Shop. You can get eyeballs in all sizes and colors.
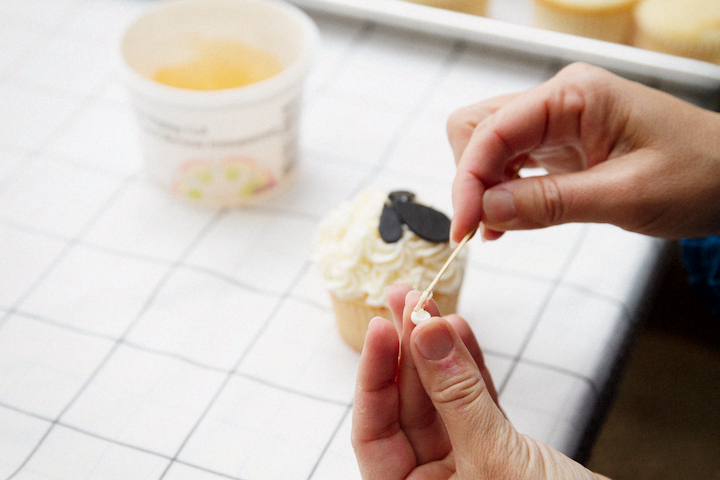 Doesn’t that make you happy?!? I’m smiling from ear to ear knowing that this vendor will always have my eyeballs covered!!!
  Well done on putting together these sweet sheep treats! I promise your baby mama will love you for doing these.
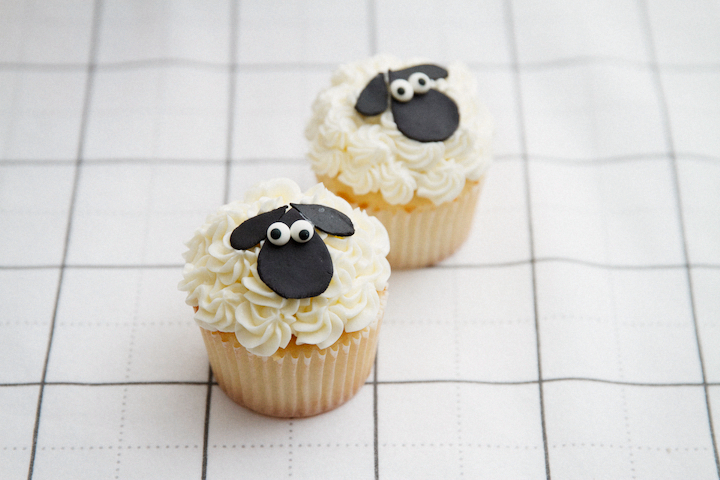 Aren’t these to die for? Stay tuned for the wrap-up post on how we threw this rad shower together. Ericka’s baby girl is going to be set! to mix and match patterns, shapes, and sweets, can’t you tell?
Photos by: Maria Hedrick Photography





These are the cutest!! I’m actually going to a baby shower this weekend — maybe I’ll try to find time to squeeze these in! 🙂
These are to die for and so cute for spring and of course, a baby shower! Well done!
Thank Lorna. It was a fun theme for a baby.
These are so adorable! And I appreciate the step-by-step with the images. Sometimes I feel like bloggers don’t give enough for us mere mortals to get the same results, but I love that you always walk us through it. Cheers!
Awww thanks so much. I love step by step too. It is the best way to learn.
So cute! I’m feeling more adventurous about using fondant after your directions. Thanks!
Fondant is really quite simple, especially when you are using it for decorating. It can be a bit more challenging as you get to covering a whole cake, but that isn’t too bad either if you step by step.
These are totally adorable Cindy! Perfect for a baby shower!!
Awww shucks. Thanks Mary Ann. I loved this shower. It was so casual and fun.
So, so cute! This is perfect for any spring/Easter party! Love the idea and need to try. Thank you for putting where you purchased the items for the adorable sheep face!
Anna, it was awesome! I love the monochromatic spread. It was awesome.
Baby Camille will love these cupcakes! I know I do. Thanks so much Cindy for always having adorable content!
Oh I can’t wait to see what you do for Baby Camille. What an adorable name!
So precious! You know what I love? You make it possible for folks to present a professional looking and tasting sweet to their friends and family! Thank you for your expert instructions, my friend!
Thanks Annie! So glad you find it user-friendly. Cheers!
Woah girl! These are the cutest. Ewe (see what I did there?) need to come and teach me how to frost like that. P.S. Thanks for clueing me in on the white food coloring. I didn’t even know it existed and will be adding it to my collection of gel colors.
Awww, thanks Lynn! Love your play on words…. woan’t you make these with me one day? (see what I did back?)