As a parent, I feel like I should let you know that the recipe for Stained Glass Cookies comes chock-full of parental advisories. I guess that’s to be expected, given that kids will be dealing with melted, hammer-crushed hard candy. My aim in this recipe was getting my boys amped and excited about creating beautiful art, which ended up being pretty successful.
A few warnings here before we begin: be sure to double-Ziploc your bag your candy before you let the kids go at it with a hammer (uhhh, maybe you go at it instead). Similarly, make sure you’re dealing with a silicone mat as opposed to parchment paper, unless you want to end up eating sand paper (like my 1st attempt).


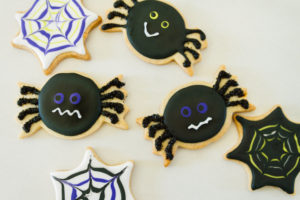
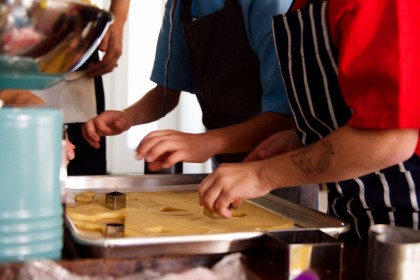
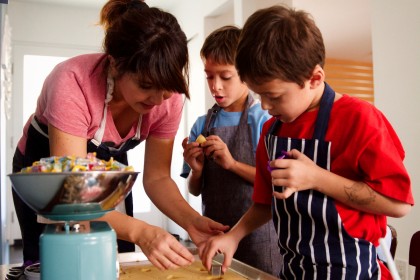
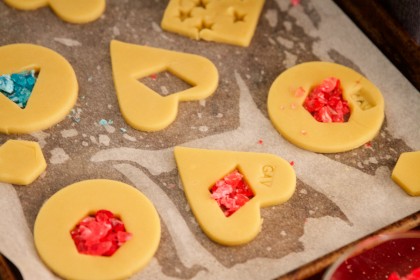
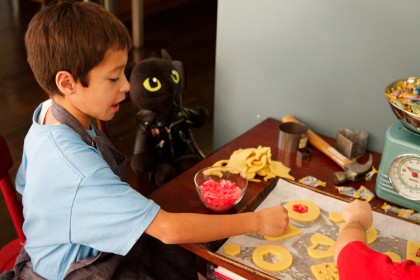
Your ‘last’ warning: kids will definitely be clamoring to do this recipe again. These stained glass cookies are made from a simple sugar cookie. Gather all your crushed candy and geometric shaped cutters and get busy.

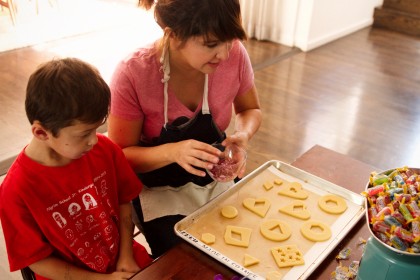
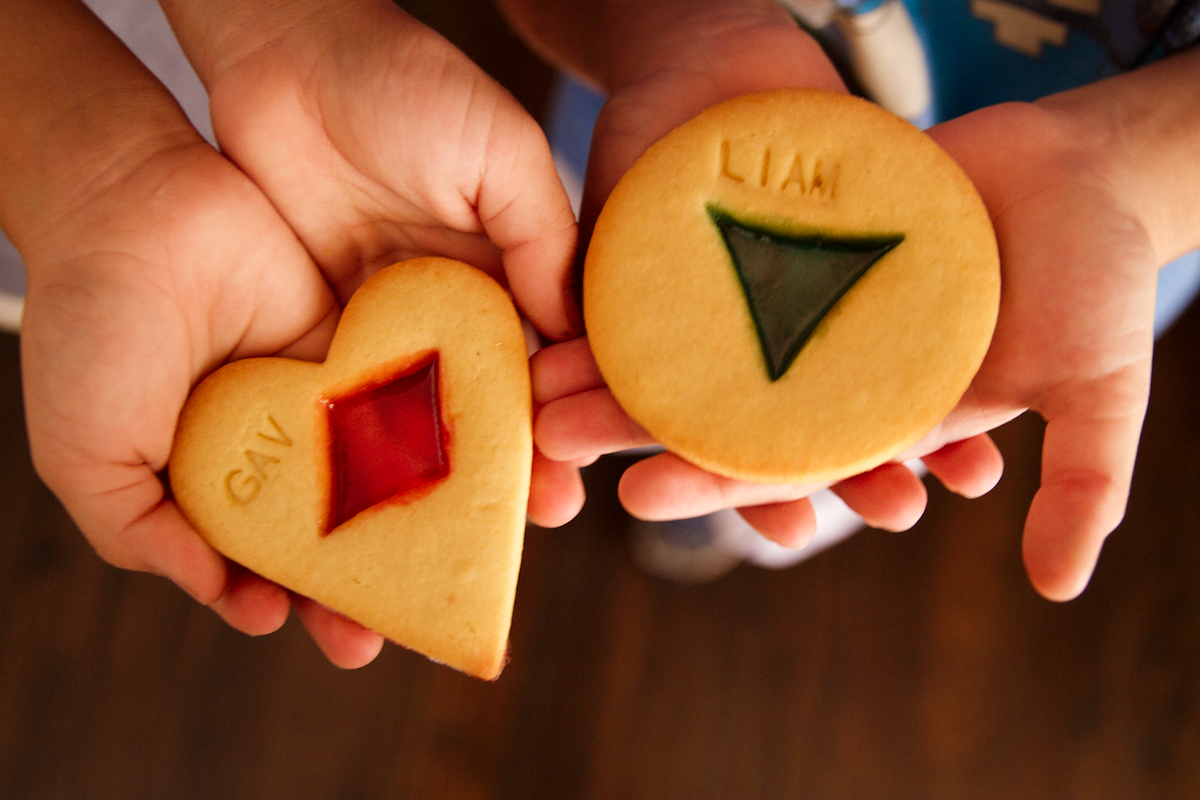
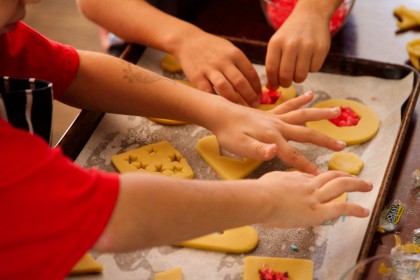
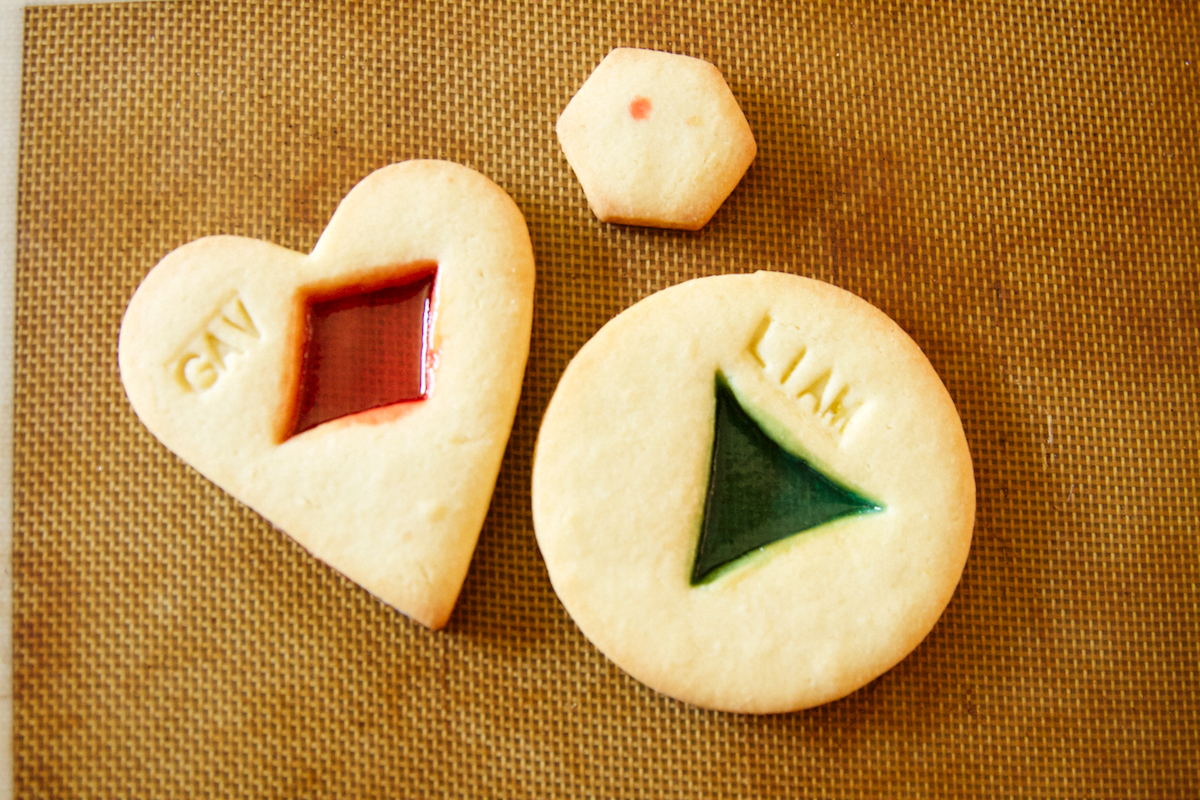
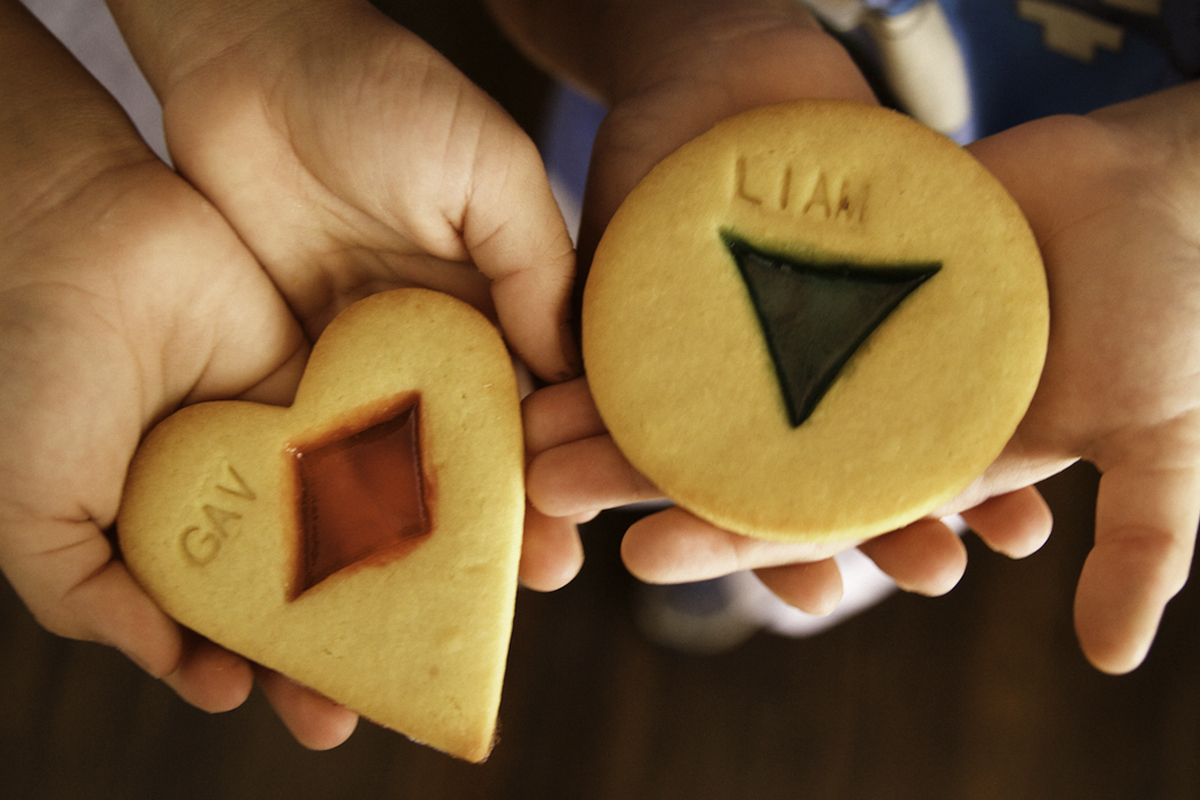
It’s sticky fun while filling the cut-outs with jolly ranchers. We embossed our names with alphabet imprint stamps.
Photos by: Maria Hedrick Photography

Directions
Cookies
1Dries: Whisk flour and salt in a bowl. Set aside.
2Base: In a mixer, cream together butter and sugar. Next, add eggs, vanilla and optional flavorings of citrus zest or spices (ie: cardamom).
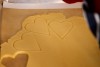
3Gradually, add dries to base just until incorporated. Chill in refrigerator up to one hour. Roll on lightly floured surface. Cut shapes.
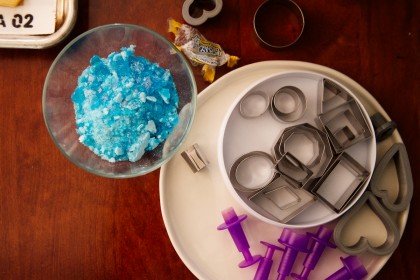
4Decorate: Unwrap Jolly Ranch candies and place in a ziplock back, doubled. Then, pound it out with a hammer until they are crushed into small pieces. Place into cutouts (fill because candy will melt down).
5Optional: We used imprint letter stamps. See blog post for the link on Amazon.
6Use a silicone pat so the candy won't stick.
7Bake at 350F for 8-10 minutes or until edges are slightly browned.

LET’S BAKE TOGETHER!
Don’t Miss A Recipe