
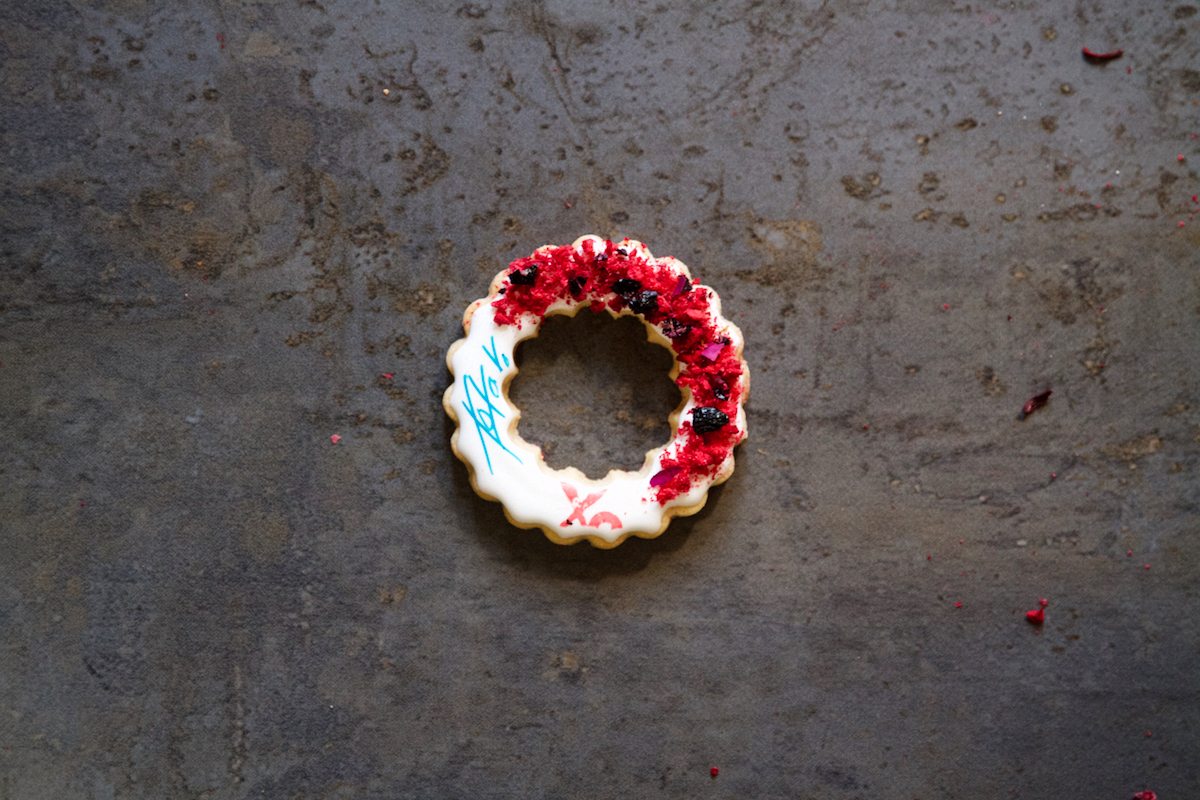
Edible love? I challenge you to try and envision a more enticing concept. We bring to you an edible cookie that boasts a sprinkling of fresh, edible flowers, dried berries, and tagged XOs. My partner-in-crime, Juan Barajas of Crownhill Designs, helped me spray paint these heart cookies to push the envelope of ‘LA graffiti.’ With his help, we incorporated beautifully scripted XOs into these Valentine’s Day show-stoppers. Another street artist friend – Karlos Marquez – specializes in gorgeous ‘love revolution’ art with XOs, ‘Love’ tags, and much, much more. Do yourself a favor and check out his site; to put it lightly, it’s insanely inspirational.

This was free-form art. Our only goal here was to incorporate edible florals/berries with font stamps. Then, Juan went in and added subtle fades with his master airbrush skills.


Kick-off baking your heart cookies with our classic, go-to sugar cookie recipe. Feel free to spice-up the cookie with a bit of cardamom or citrus zest.
After you make the dough, it’s time to roll & cut-out your shapes. Cookie cutters can often be overwhelming, but having the same shaped cutters in varying sizes will really help! There are many cookie cutters on the market – check out the Ateco circle and heart cutters; they’re fluted on one side and plain round on the other. I used a combo of different sizes and some with cut-outs, some without. Let your creative juices start flowin’!
As for the icing, fall-back to an old favorite: our royal icing recipe. There’s a 10-second rule I like to use when trying to figure out the consistency for ‘filling’ your cookies, and it goes as follows:
The secret here is a careful balance of water and the thickness of the icing itself. Check by dragging the tip of a spoon or knife through the icing (1″ deep) and count to 10. If the surface smoothes out when you get to 10, you are golden. If it takes too long, add a tad bit more water and re-test. If it stirs too quickly, add a bit more sifted icing sugar to thicken it. Once you’ve passed the test, it’s time to prep the bag with an Ateco#2 or #3 tip, and put the icing in a piping bag. While I’m frosting the cookies, I keep my icing bags covered with a wet paper towel as to avoid the tip drying out. Once decorated, let your cookies dry well for a few hours, or overnight.

- Americolor Food Coloring (or Gel Paste) For Airbrush or Edible Spray Paint, Red
- Stamps & Edible Stamp Pad
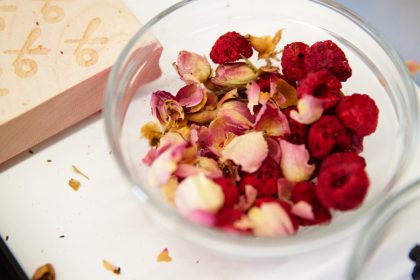
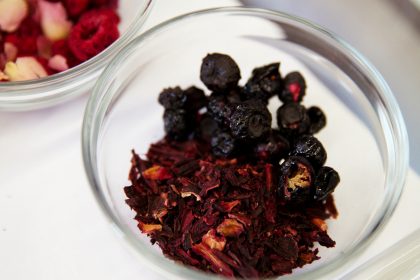
- Edible Florals (ie: Hibiscus) & Dried Berries, crushed
- Edible Paint Markers
- Brush
- Edible glue paste (like Sugarcraft or Wilton)


Here’s where you can begin to flex your creative genius. Start with airbrushing a fun design or creating a gradient pattern across the heart cookies. Then, brush edible glue paste or piping gel on one side of your cookie and carefully sprinkle crushed dried florals or berries. Be patient, this can take a moment to get full coverage! Then I stamped XO’s, or wrote in XOs with edible markers. I follow this amazing baker called the Bear Foot Baker and she does an awesome tutorial on how to stamp cookies.


Your love will eat up this love-ladden sweet. How could they not?
XOXOXO, Cindy
Photos by: Maria Hedrick Photography
Sugar Cookie 1Dries: Whisk flour and salt in a bowl. Set aside. 2Base: In a mixer, cream together butter and sugar. Next, add eggs, vanilla and optional flavorings of citrus zest or spices (ie: cardamom). 3Gradually, add dries to base just until incorporated. Chill in refrigerator up to one hour. Roll on lightly floured surface. Cut shapes. 4Bake at 350F for 8-10 minutes or until edges are slightly browned. 5Note: When you cut into a shape, chill in freezer to set. Then, transfer directly to hot oven. Royal Icing 1Add vanilla flavoring into 1/2 cup water and set aside until step 3. 2In the mixer (paddle attachment), gently mix confectioners sugar and meringue powder on low. 3Add 1/2 cup flavored water and mix on low until it is thick and lumpy. 4Now drizzle the remaining water as needed until it becomes a thick like honey consistency. 5At this point, turn mixer on medium speed for 3 minutes or so until icing is thick and fluffy. Stop when it forms a soft peak. Leave lots of time for decorating and fun!
Directions


LET’S BAKE TOGETHER!
Don’t Miss A Recipe


Wow! So pretty!
Thanks so much. They were fun to make!
Oh my goodness, Cindy….how GORGEOUS are these? They are like little pieces of art!! I would have just as much fun decorating these as I would eating them. What a wonderful gift to give….food gifts are definitely always the best 😉
Thanks Dawn. I love decorating cookies, and my friend Juan and I can chat away for hours while decorating. It is both theraputic and creative!
Absolutely beautiful cookies! Hope you had a wonderful Valentine’s Day 😉
Thanks Jennifer. I love the look of these cookies too, and they taste great too with the dried berries and florals. V-day was great. Hope yours was too.
Wow. These really are too pretty to eat. I love the crushed up flower petals. Happy Valentines Day!
Never to pretty to eat! Happy Vday to you as well – thanks for popping by.
omg – i can’t wait to bust out my airbrush set! i haven’t done it in forever but these beauties have completely inspired me! love your designs and creativity and i bet they taste even better.
Yeah, the airbrush machine actually STILL scares me! I saw a video once on how to ‘clean’ the airbrush, and I wanted to cry. Baby steps and knowing a few great street artist has helped me conquer this fear.
I absolutely adore these beauties! I love that you show your LA roots through your baking <3
Thanks Kendall. Yep, I am an LA girl, tried and true! Long live street sweets.