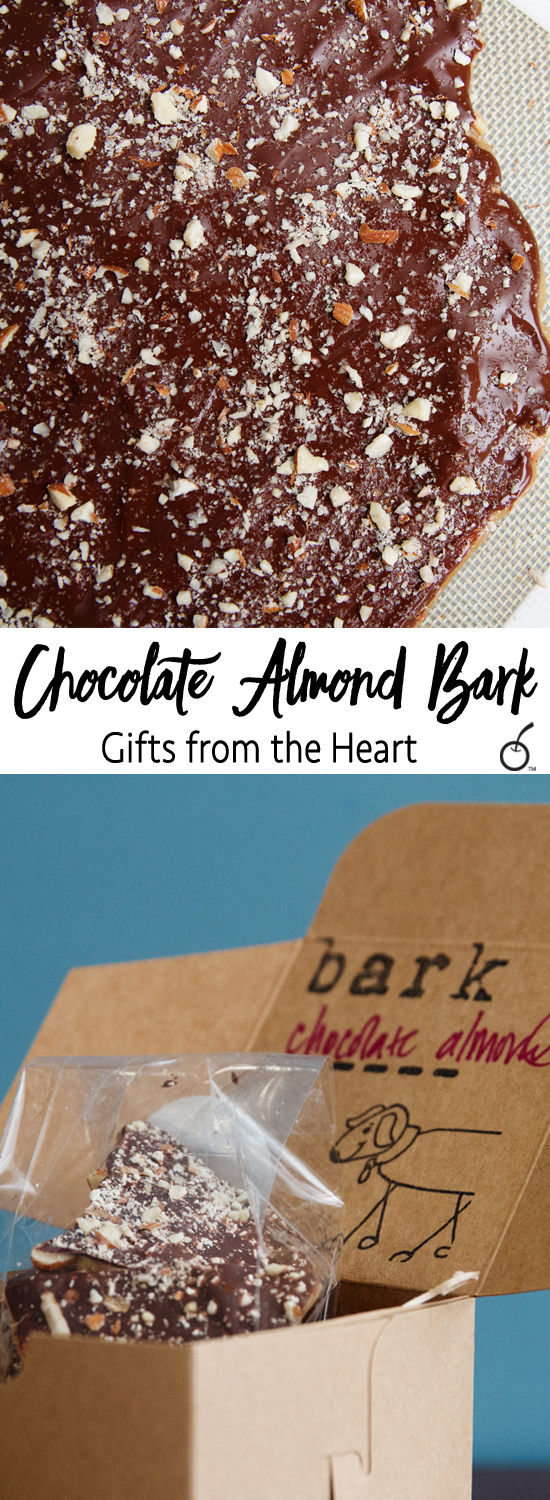
Bark for all! This is the perfect homemade treat for the holiday gift-giving season. I am always looking for ‘duplicate’ gifts that I can spread amongst my three sisters, my running group, Gavin and Liam’s teachers, or my besties. Making chocolate bark is perfect because you can make a huge batch, then break up those supreme shards into masterful gift-giving portions. It’s all about dividing and conquering, people!
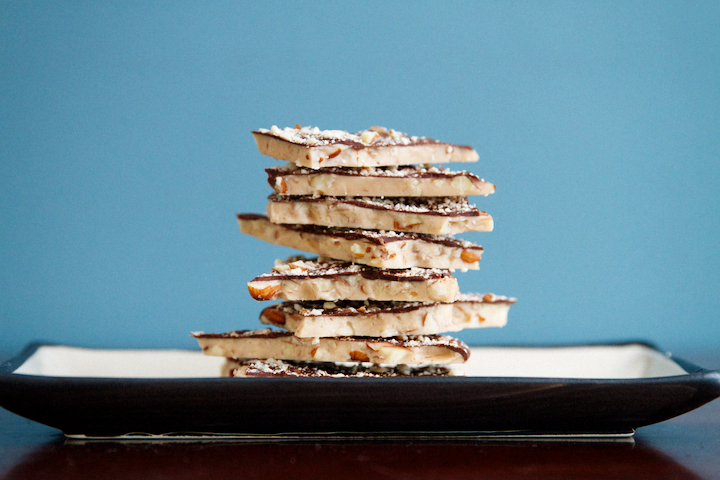
I once took this gift down to our family in Bogota, Colombia. I tightly sealed the entire bark piece in a baking container. Then I layered kraft boxes, packed my homemade stamp, ribbon, and even scissors because I am sort of a Type-A manic like that.
When we arrived at our hotel, I pulled everything out and had a chocolate bark wrapping party. We see “mucho familia” when we are down there so I wanted something I could share with each individual family. They loved it! Muchos besos y abrazos! That’s kisses and hugs
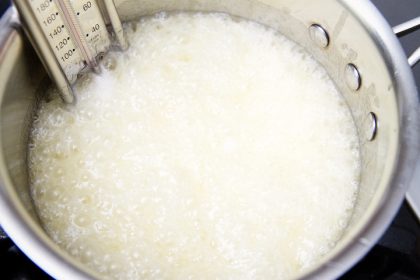
Just remember 300 degrees + Nuts = Happy Nutty Bark. The recipe itself is fairly easy if you repeat this mantra: “The Thermometer Is My Friend.” Listen, making chocolate bark is really quite simple, you just need to have all your ingredients ready beforehand to execute each step along the way successfully.
The secret to great candy-making is to be ready and work fast!
- Attach the thermometer to a medium to large saucepan and load ingredients. Try not to stir often, as the sugar just needs to boil.
- When it reaches 300 degrees, get ready for action…!
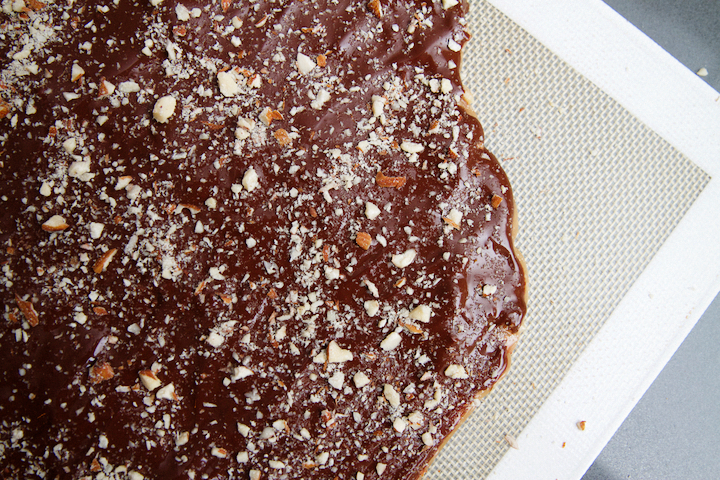
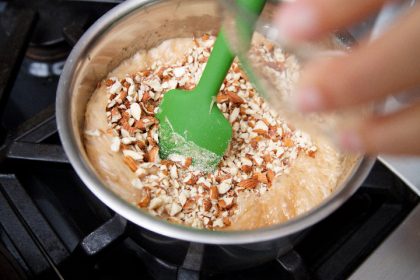
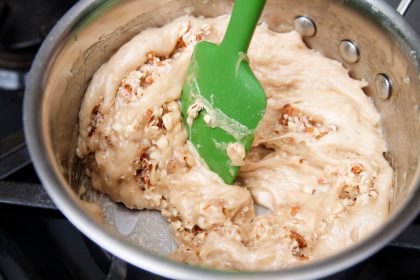
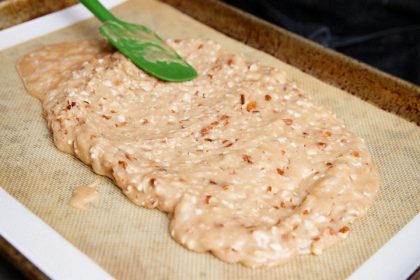
- Add in coarsely chopped nuts and quickly spread onto your parchment or sil pat sheet. Work fast and spread with a spatula as best you can with the first layer of the bark.
- Let it cool.
- Begin melting the chocolate.
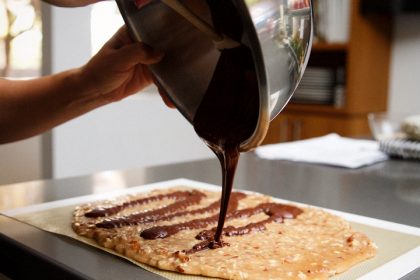
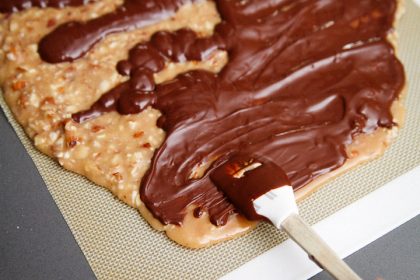
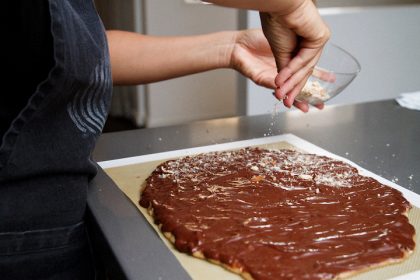
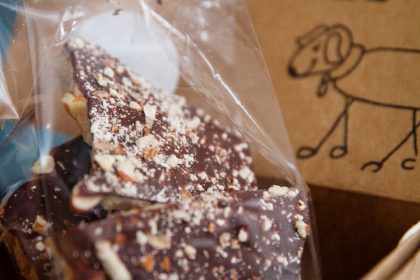
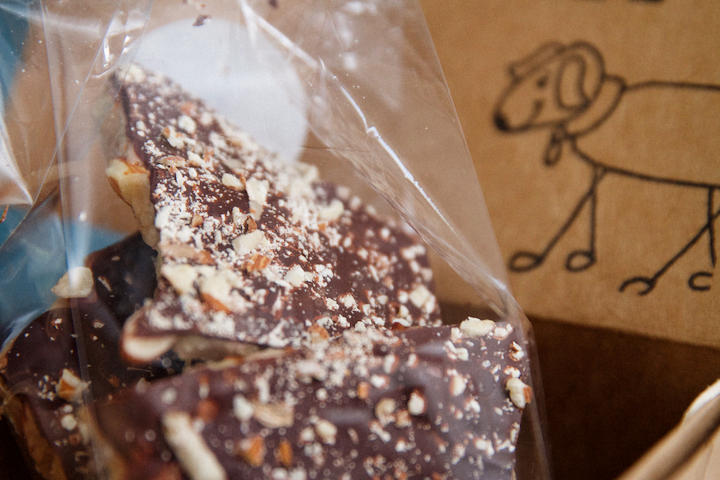
- Once the bark is cool, spread the deliciously melted chocolate on top the bark and sprinkle with nuts. Amazeballs!
- Keep whole until you are ready to serve, gift, or sneak a bite. It’s best to keep the bark in a sealed container for 5 to 7 days. Do not refrigerate.
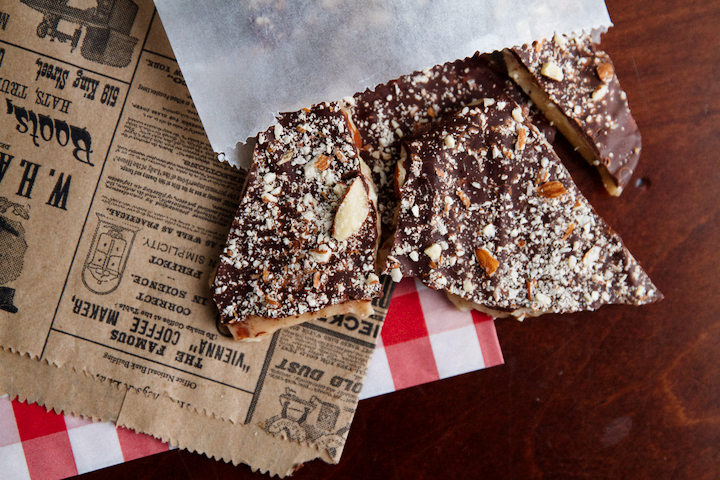
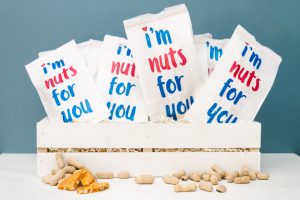
Here are a few of my favorite ideas for gift-giving. Wrap it up in glassine bags which is simple, affordable, and easy. Or, try a few other styled holiday bags (be sure to put it in parchment or glassine first so it won’t grease the bags). I absolutely love the vintage newspaper look or the checkered red-n-white gingham style design. Check out Papermart if you are looking for fun bag ideas. Etsy also has some awesome smaller quantity vendors, too!
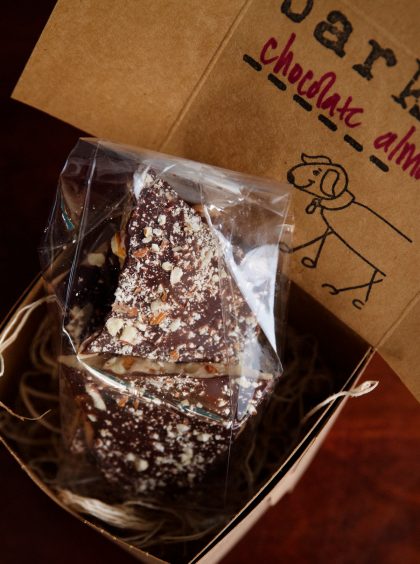
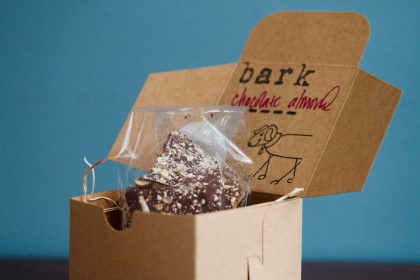
These kraft boxes are so awesome for bakers and gift-givers (Papermart). On Pinterest, there are some crazy great ideas for the range of patterns and ribbon combinations you can use to match every season or holiday. For the kraft box idea, I used:
- Kraft Box, 3″
- Large 3″ Stamp
- Paper Filler
- Clear Plastic Bag
- Ribbon
A quick shout out to Chef Eric from the Culinary Classroom. He shared this recipe with us and called it Cuttlefish. I modified it ever so slightly, but it was a winner. If you are looking to take classes from an excellent chef, I highly recommend his classes.
I love this nutty part of the holiday season. This is the time of year when I can truly Sweet Nerd out on ‘presenting’ sweets. (It’s my time to shine!) I hope this chocolate bark can help you ‘divide and conquer’ the holiday gift-giving demands. Ho! Ho! Ho!
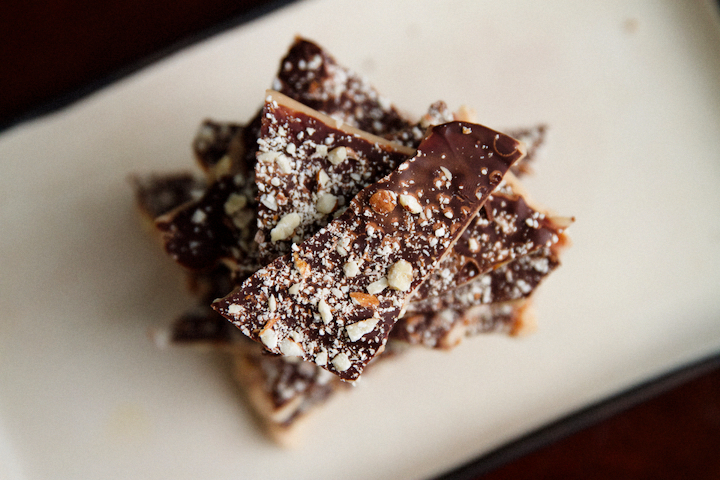
Recipe Credits: Chef Eric, Culinary Classroom
Photos by: Maria Hedrick Photography





Thanks for this, Cindy. It’s so festive. It’s going to make the perfect treat for the neighbors.
Thanks April! I love gifting this bark. It keeps well and tastes spectacular.